Solution-Deployment
Creating a Registered App
The following section outline the steps needed to deploy our product to your Environment.
1. Login to the Microsoft Entra Admin Center, Note: You must be logged in as a user with admin privileges.
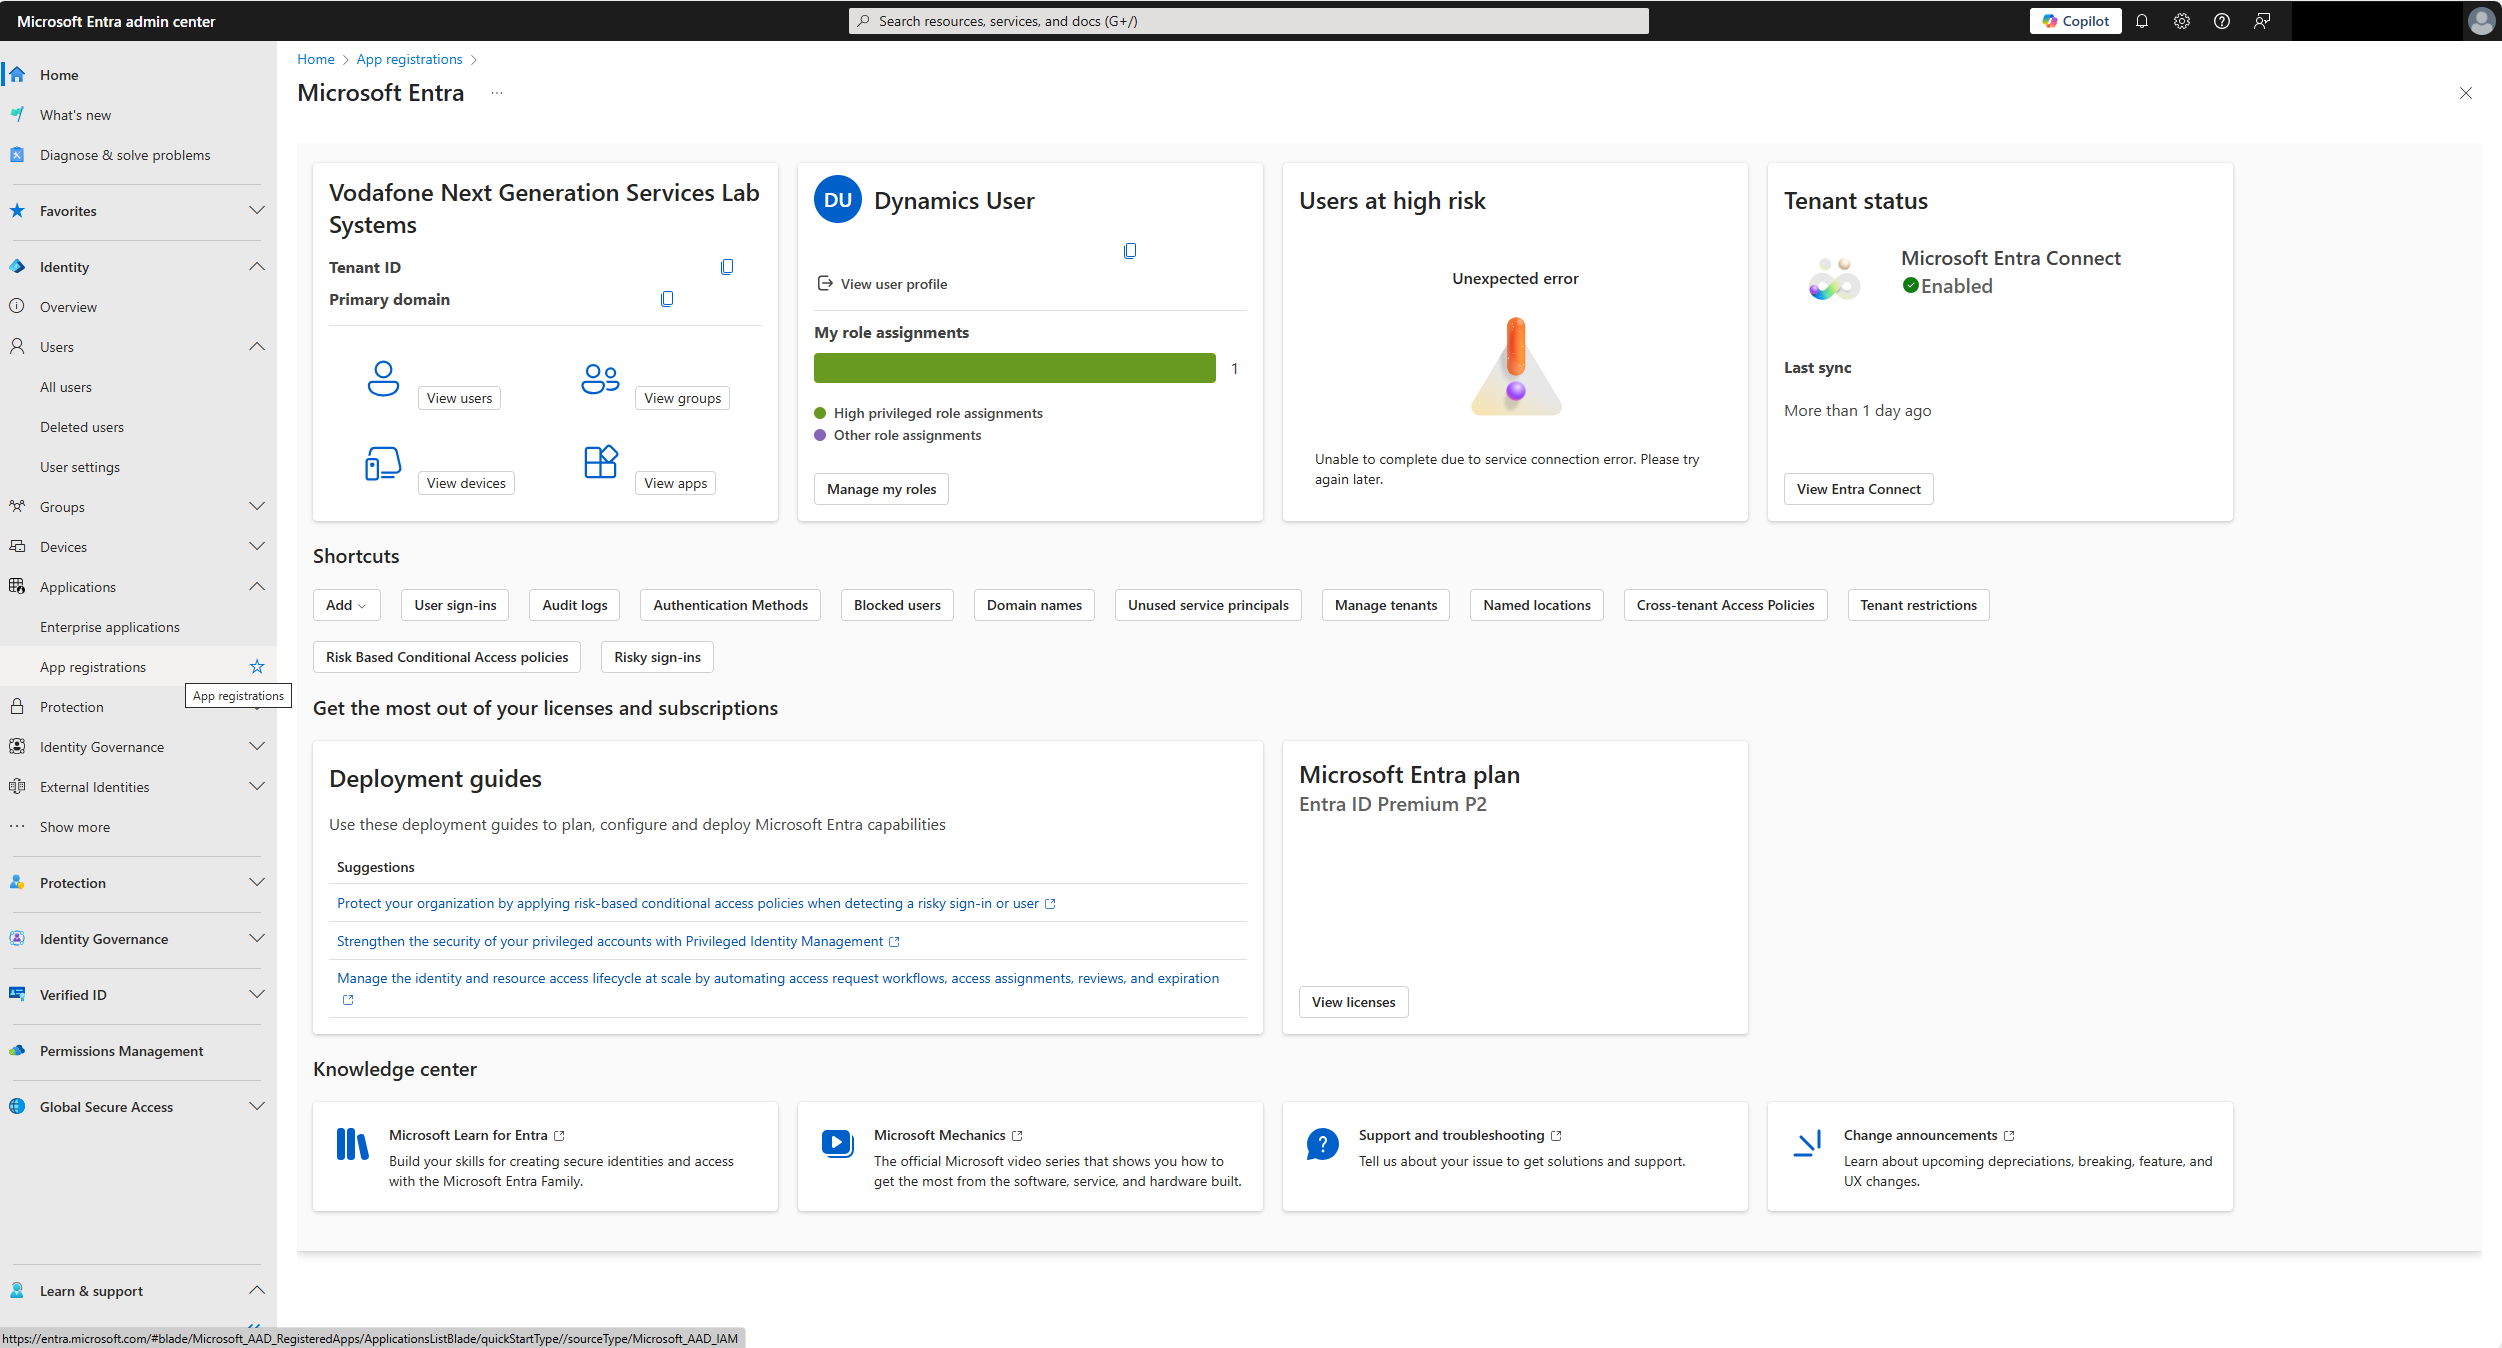
2. From the left side navigation bar, select "Identity > Applications > App Registrations".
3. Select "+ New Registration" with the following settings Name: Connect Integration Supported Account Types: Single Tenant Redirect URI: Use the default settings
4. Click Register.
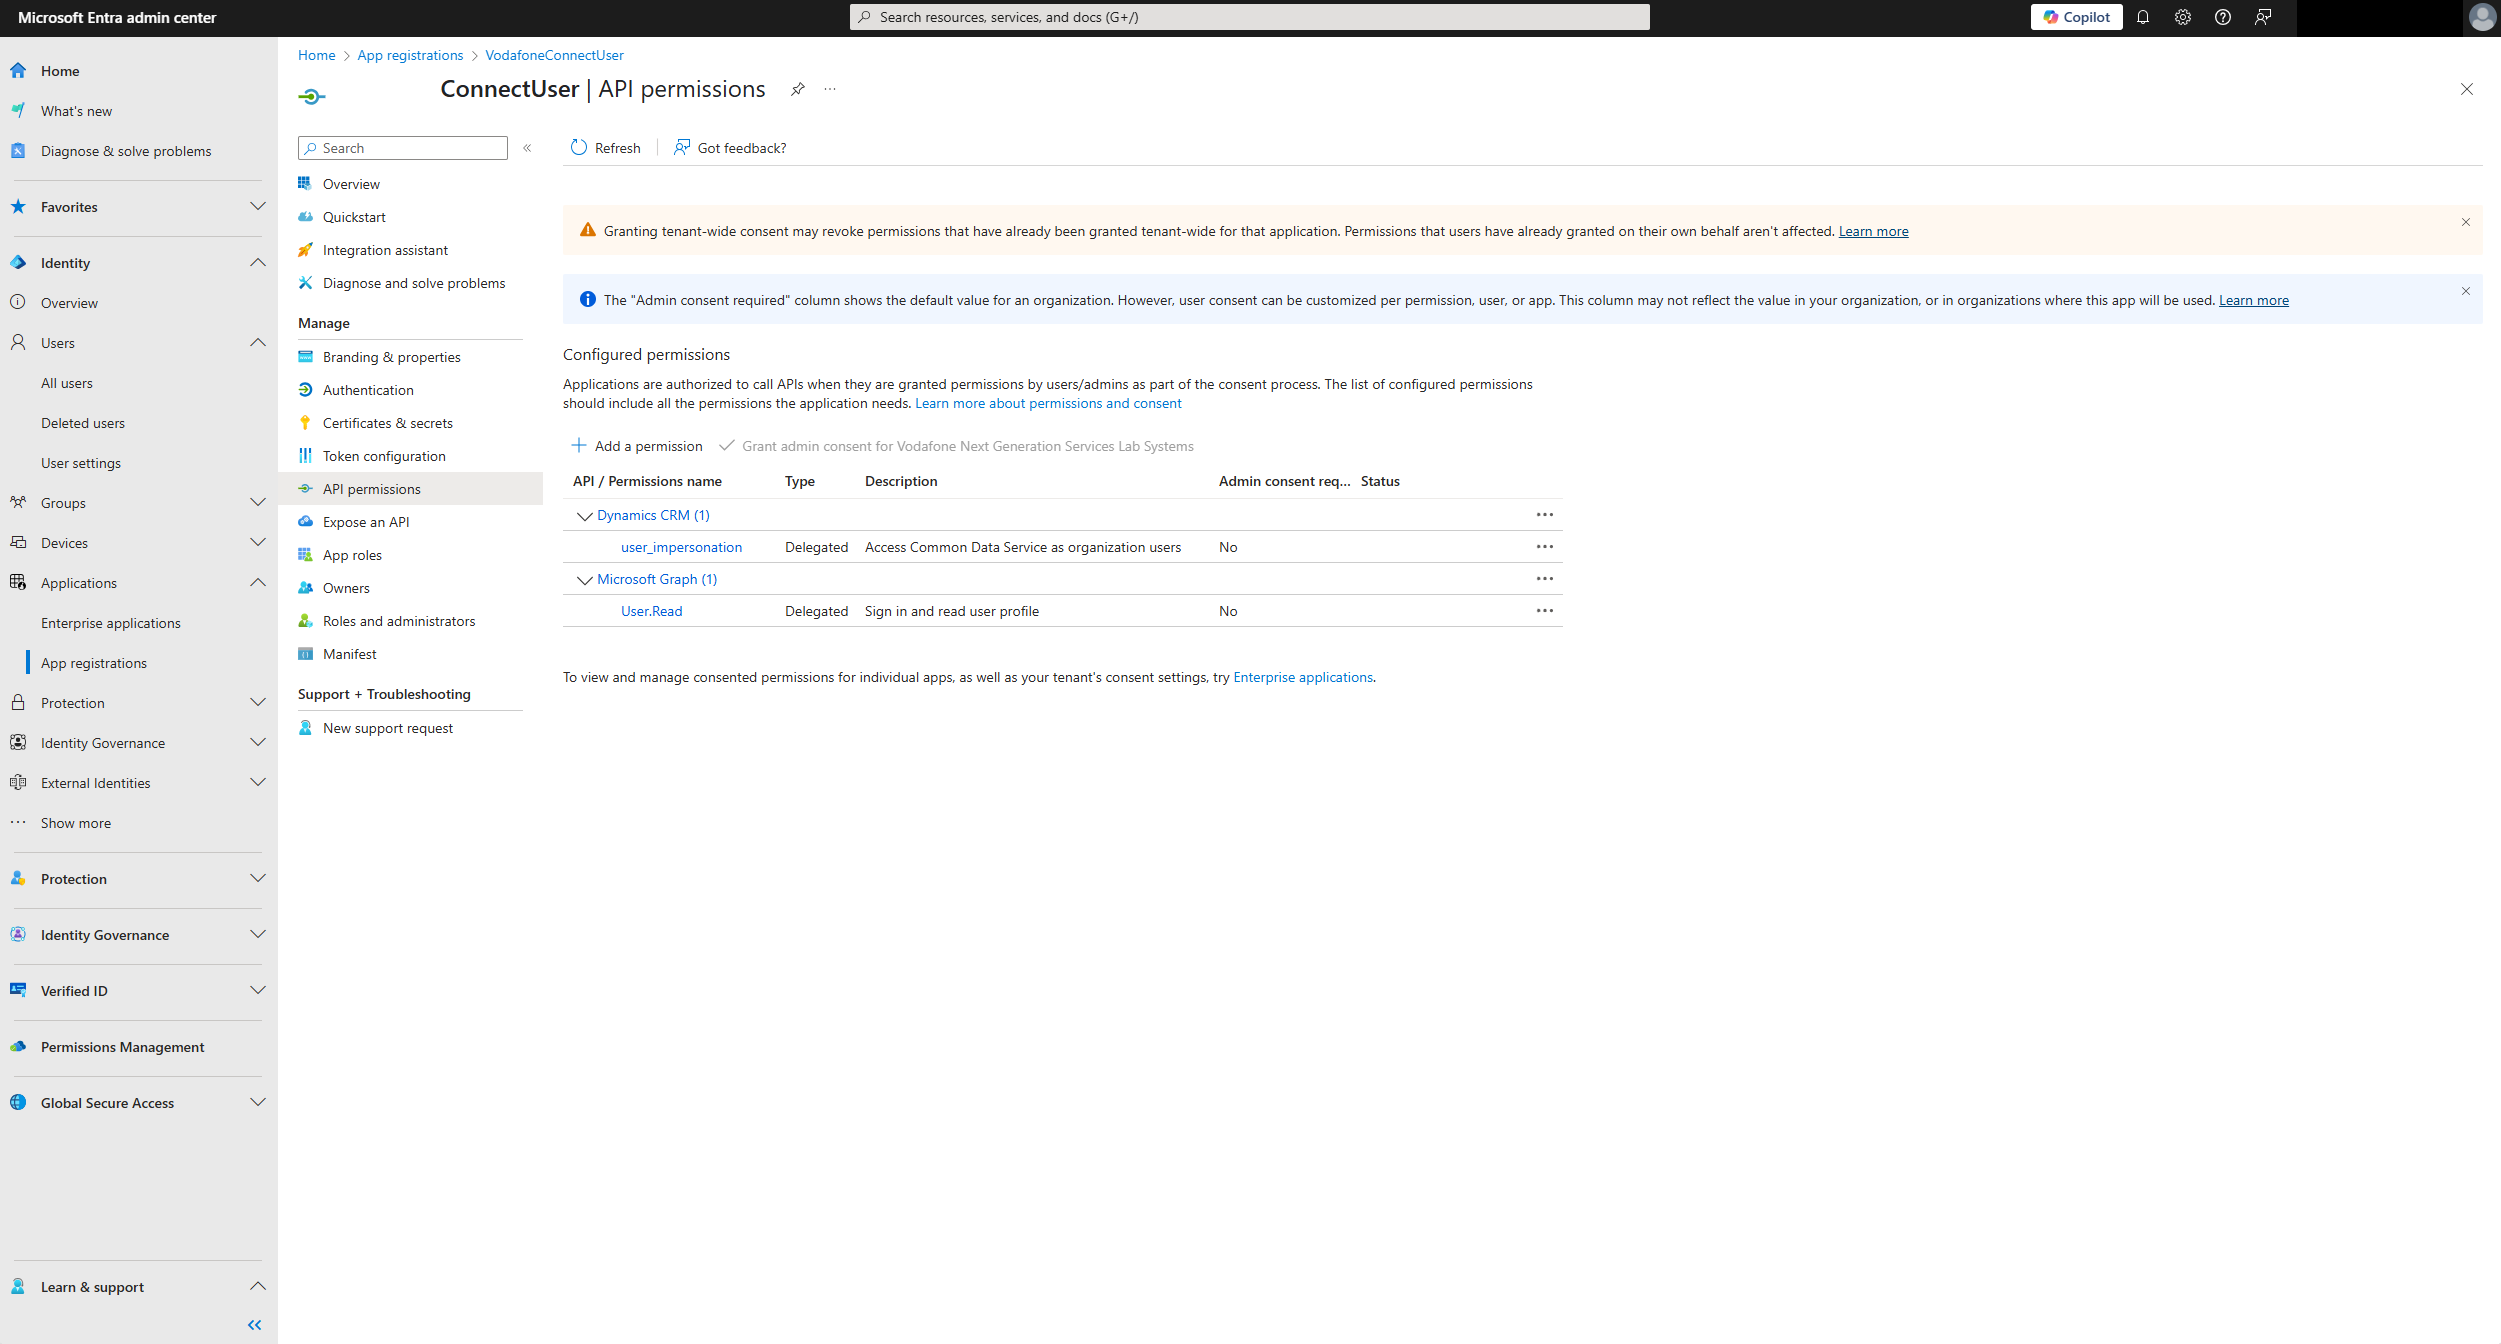
5. On the page for your new app registration, select "API Permissions" from the menu on the left.
6. Under your configured permissions, select "+ Add a permission".
7. From the Microsoft APIs, select "Dynamics CRM" and check the "user_impersonation" permission…..
8. Click "Add permissions".
9. Select "Certificates & secrets" from the menu on the left.
10. Click "+ New client secret".
11. Enter a description for your secret.
12. Choose an expiration. We recommend selecting the maximum of 24 months.
13. Click "add"
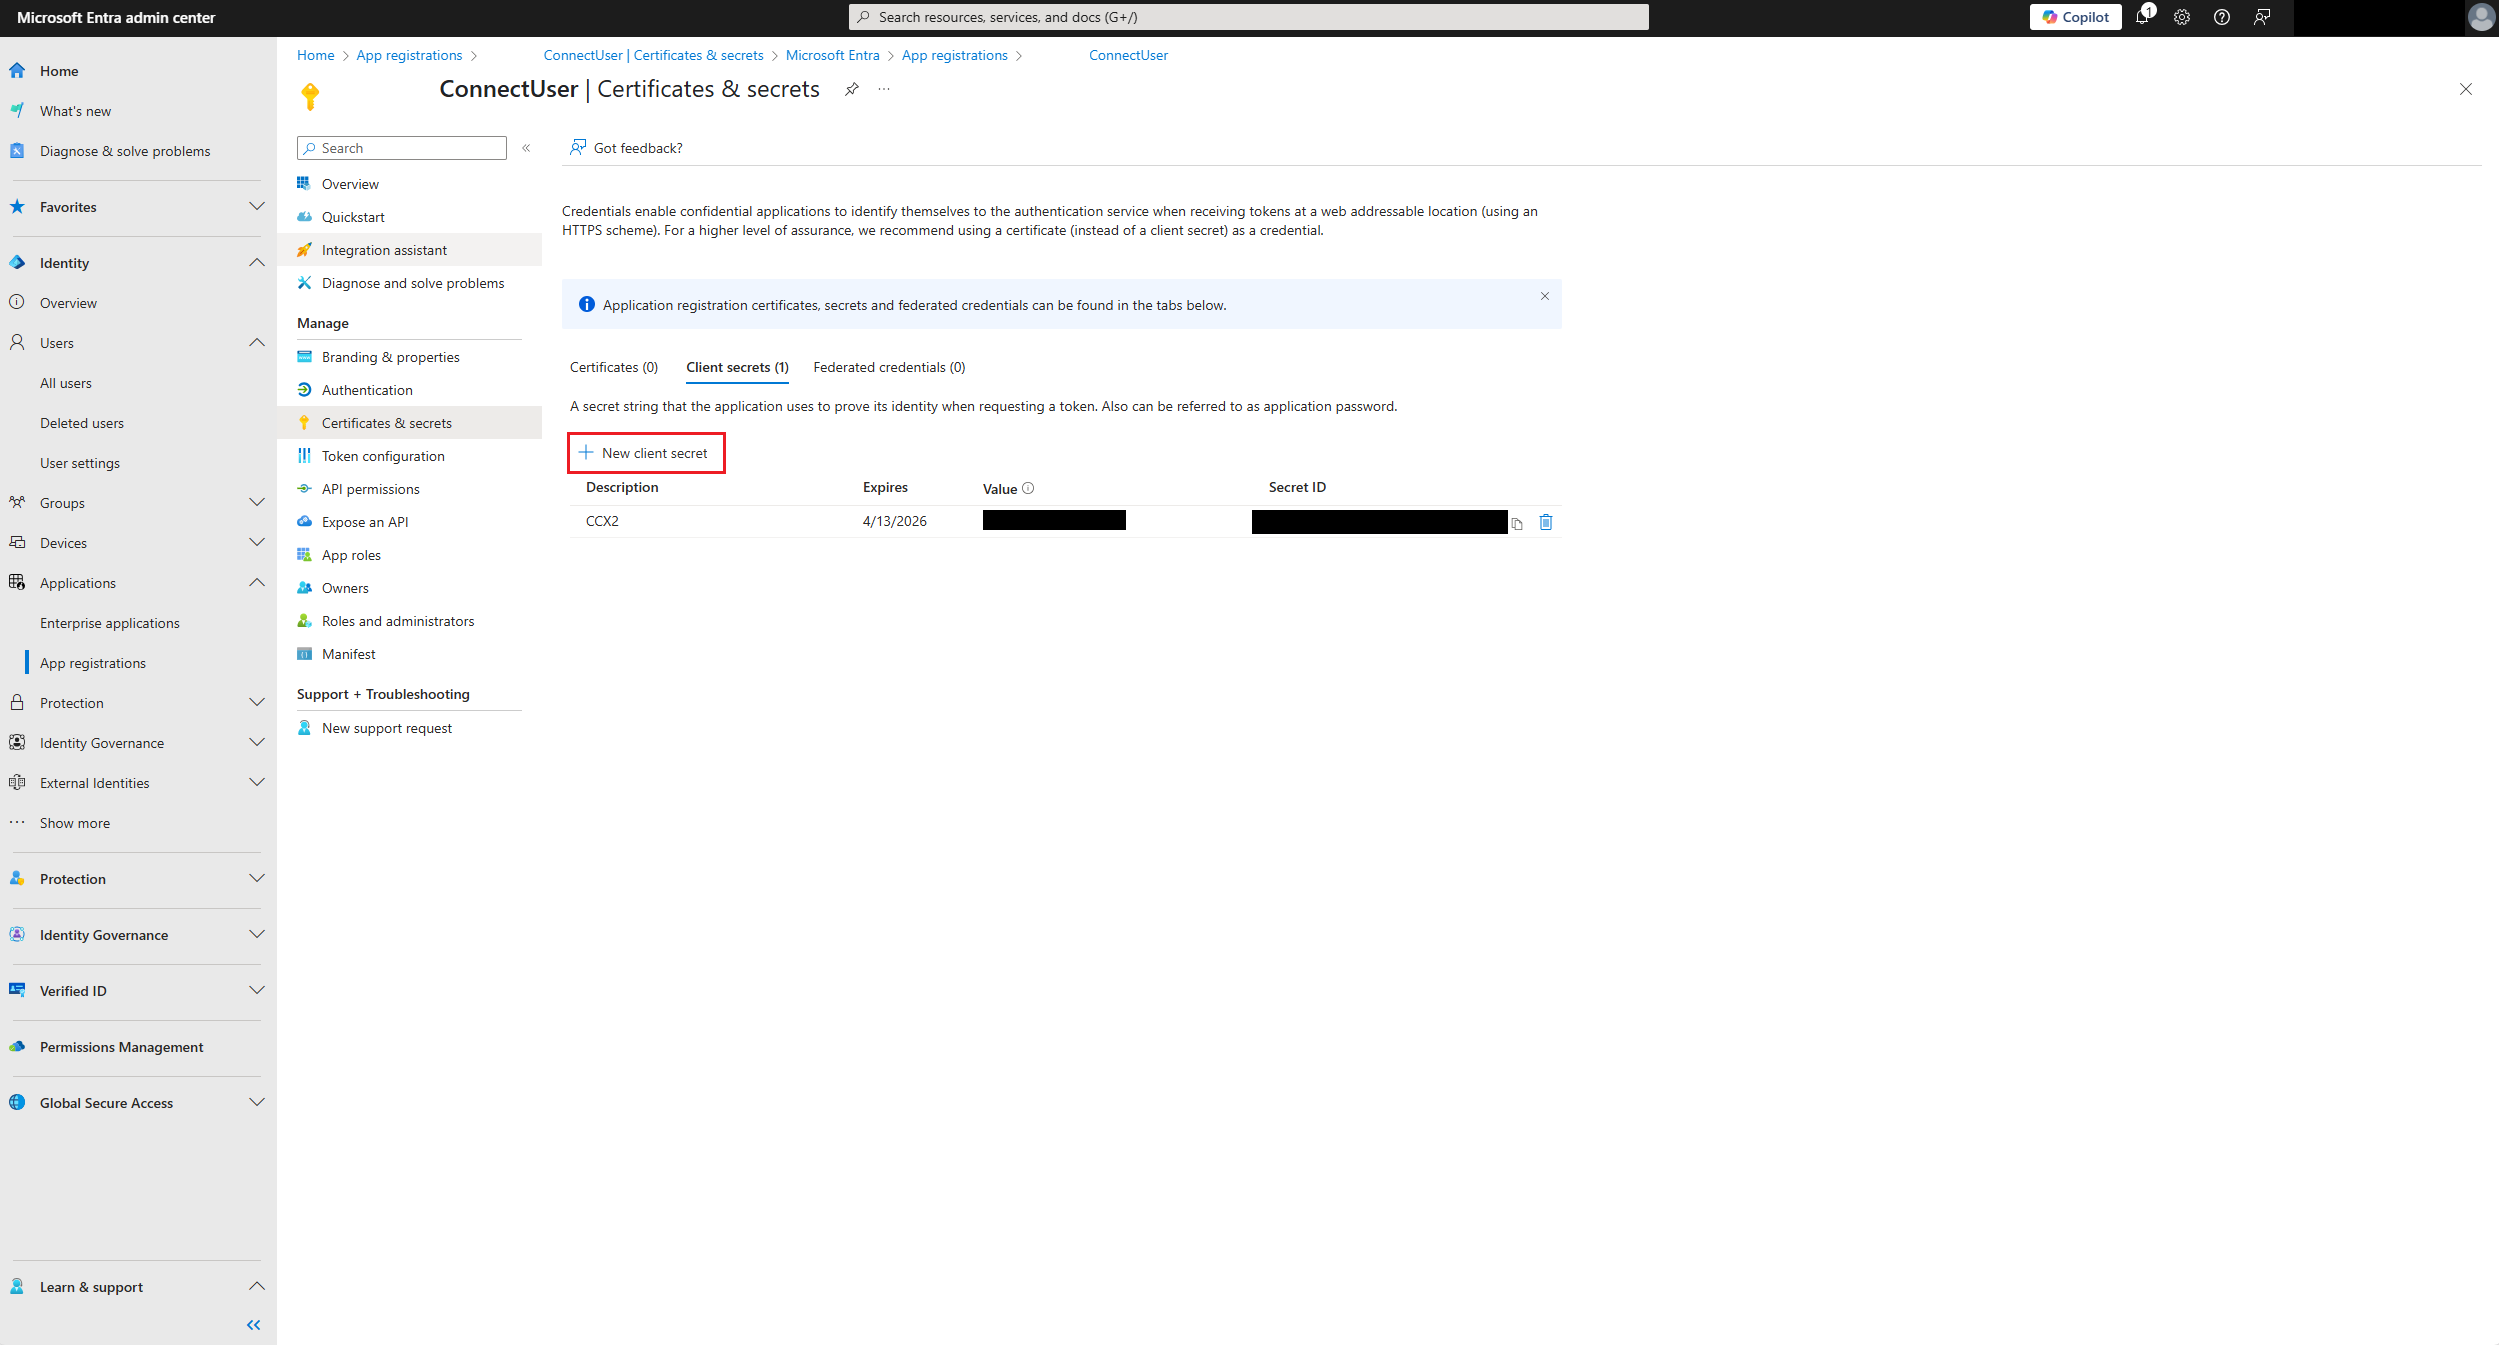
14. Copy out the values of the "Value" and "SecretID" from the new secret. You will need these available later.
15. Select the "Overview" option on the App Registration.
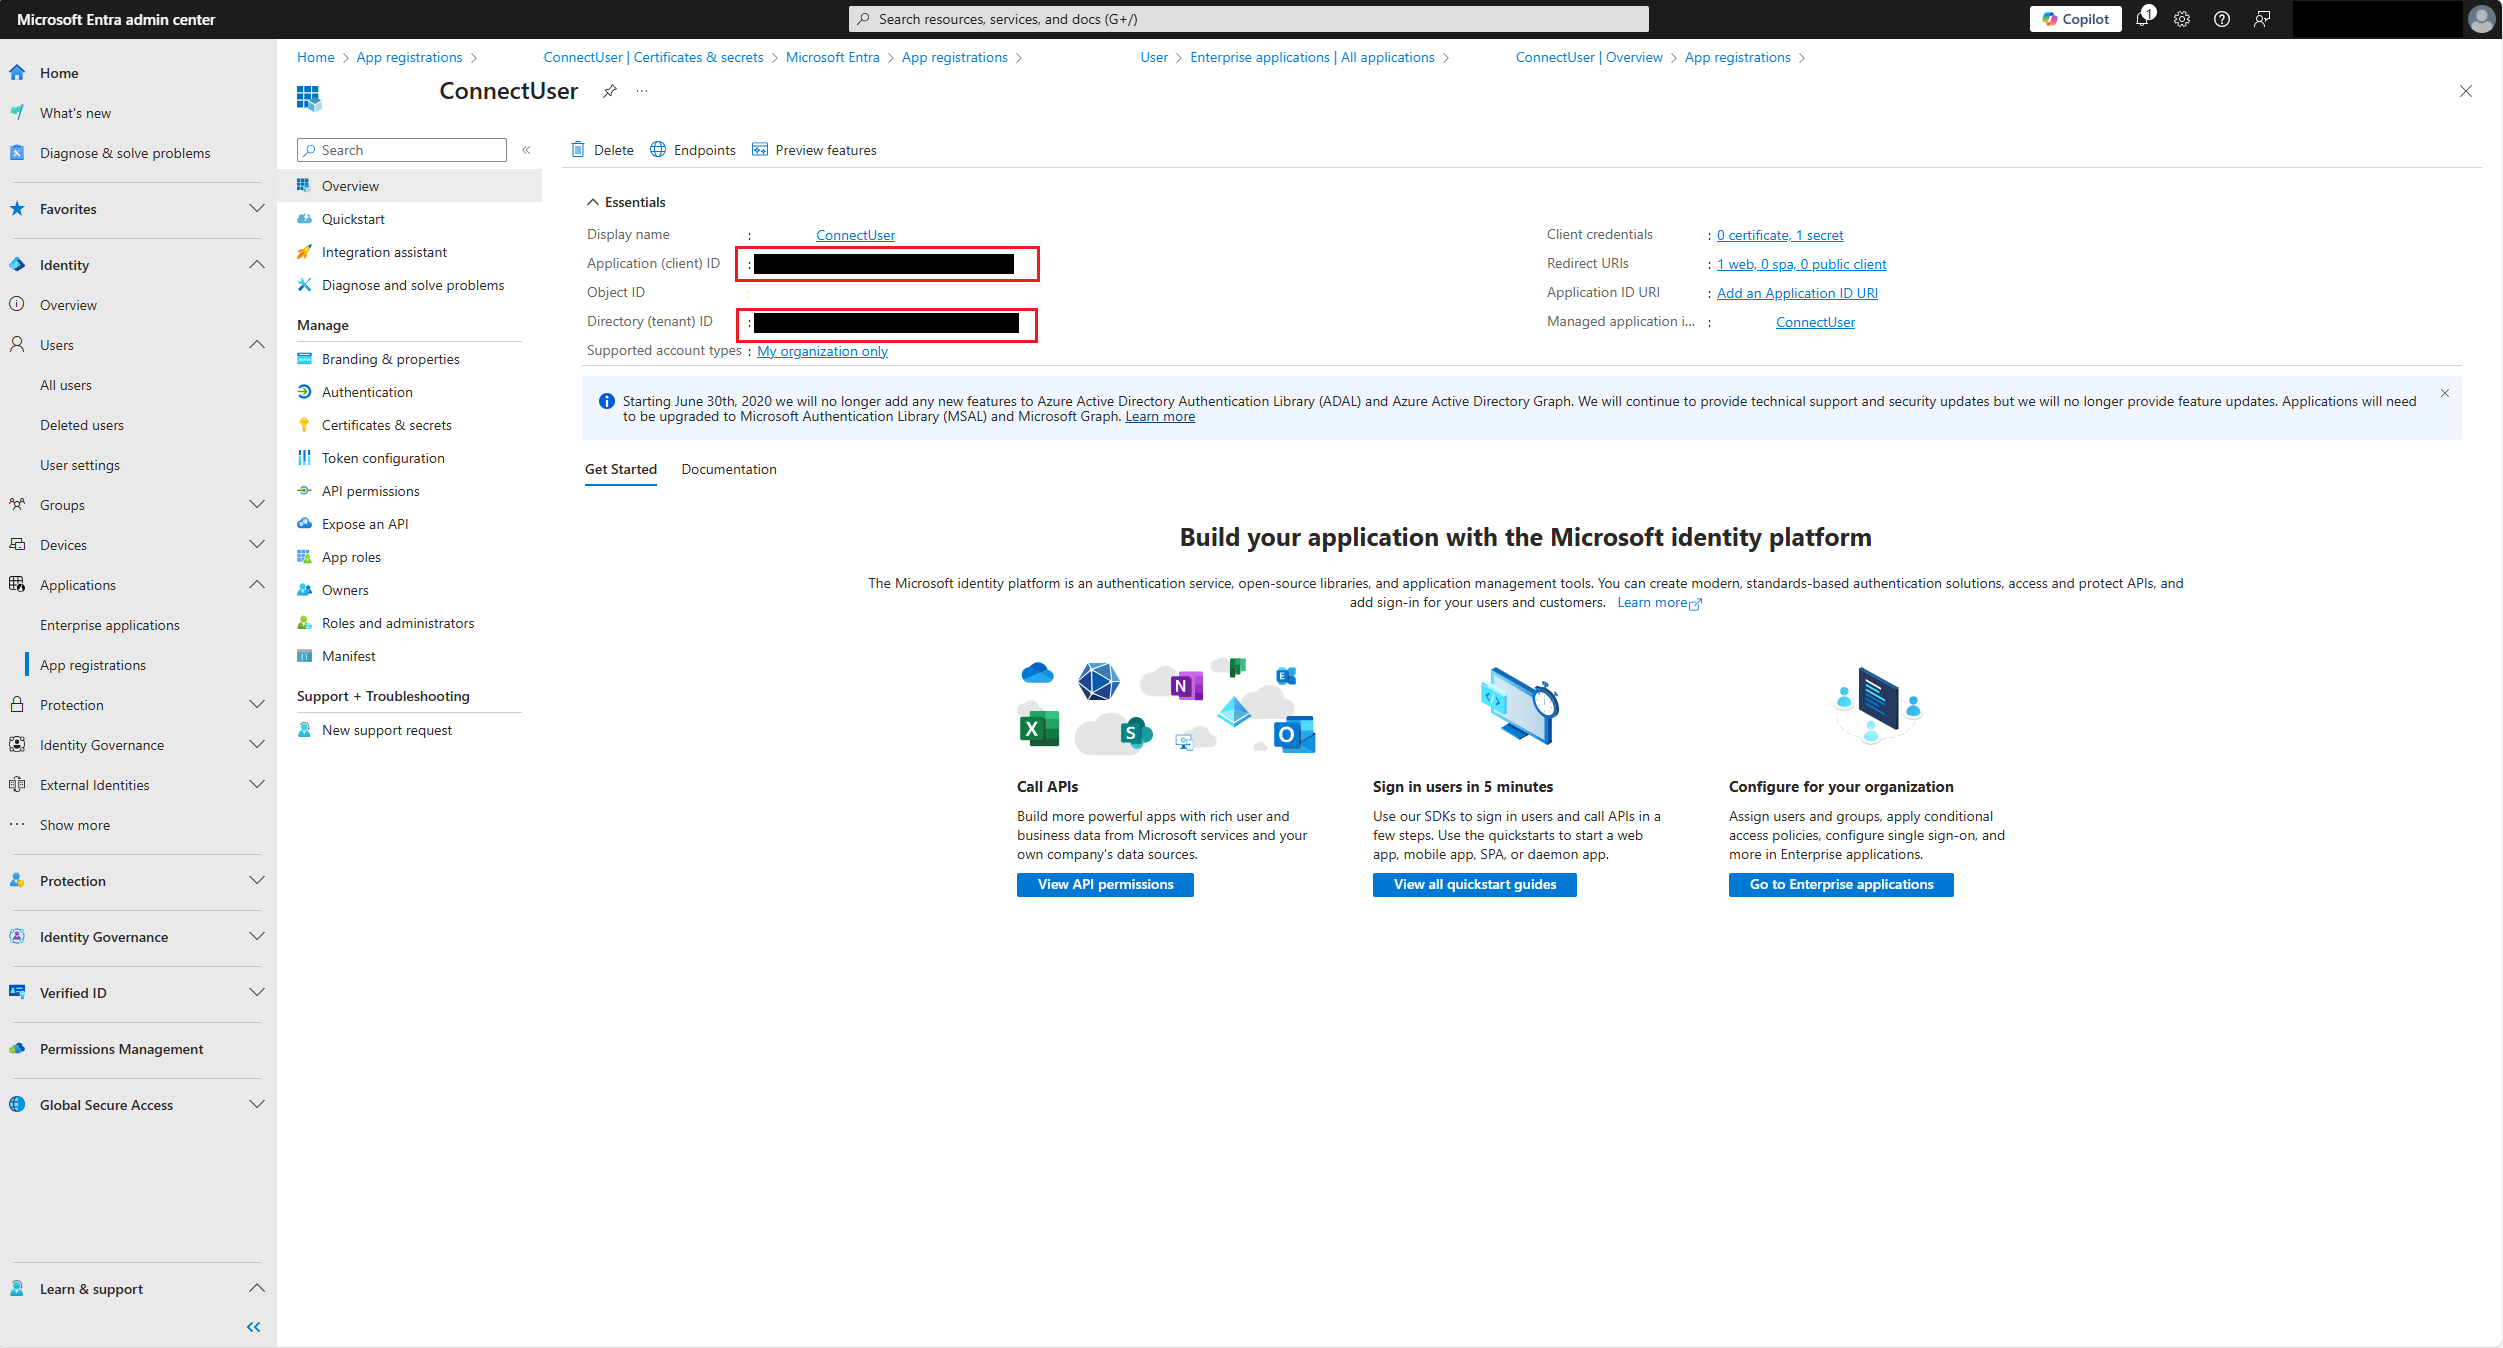
16. Copy out the value of your Application ID and your Directory Tenant ID.
Configure API User
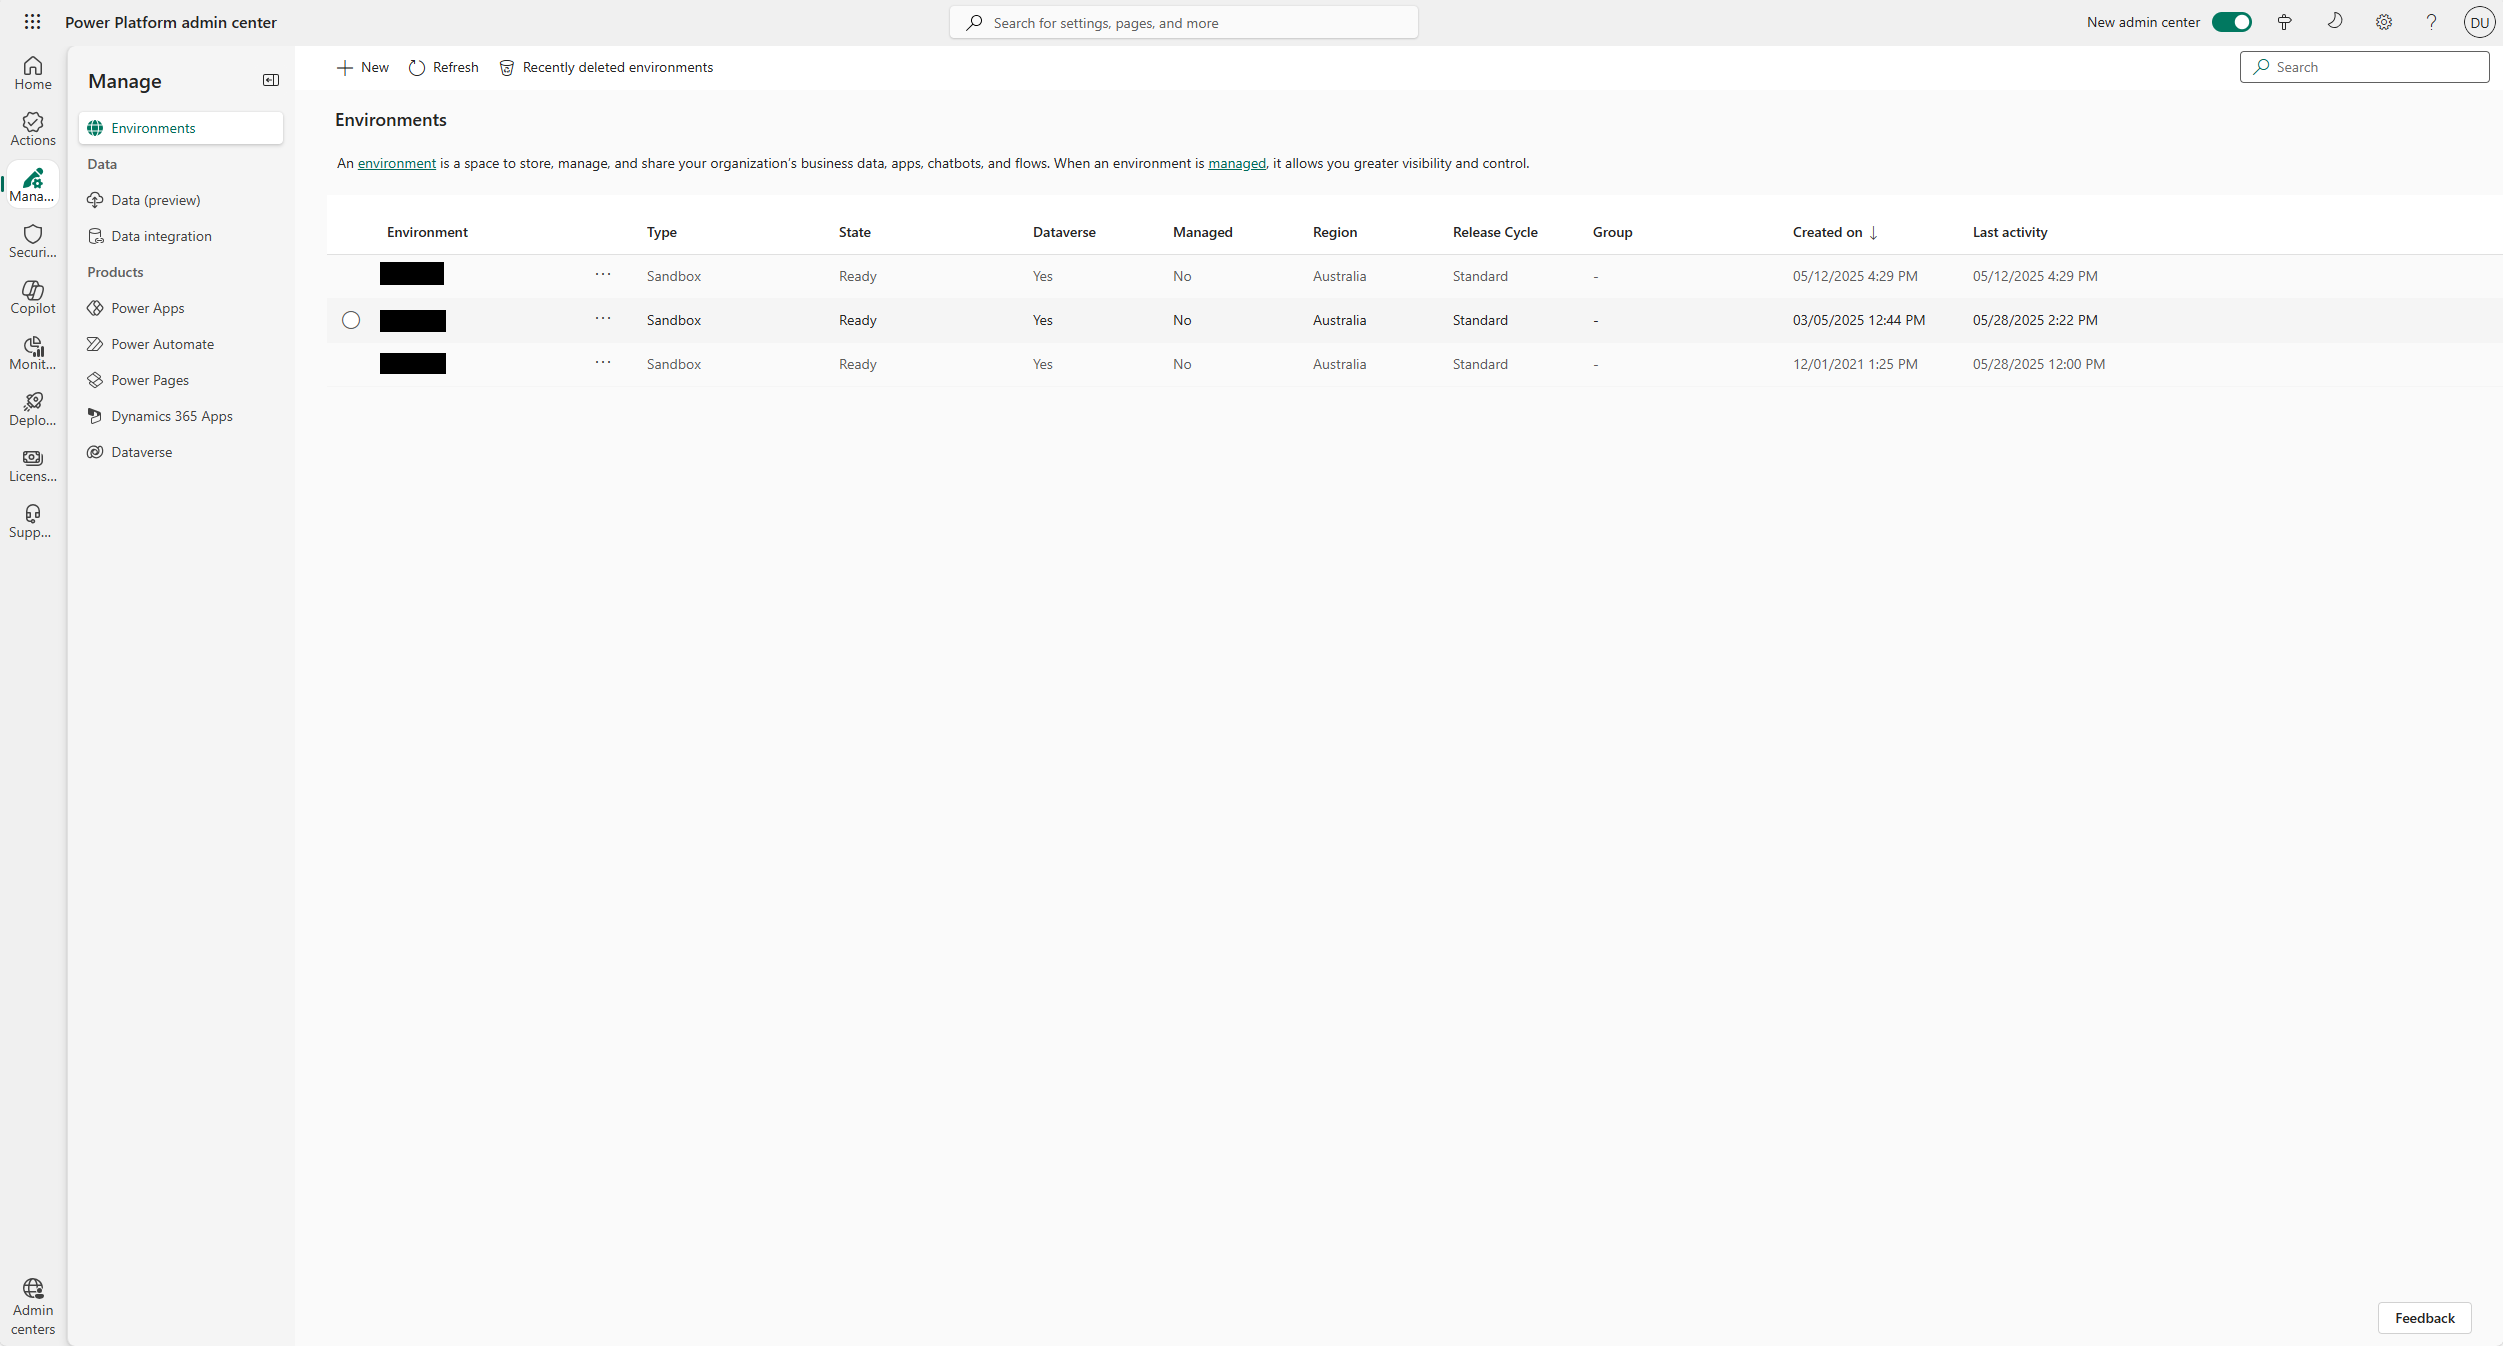
1. From the Power Platform Admin Center, Note: You must be logged in as a user with admin privileges.
2. From the left side navigation bar, select "Manage”, then select your dynamics environment you wish to integrate with Amazon connect.
3. From the top navigation, select "Settings".
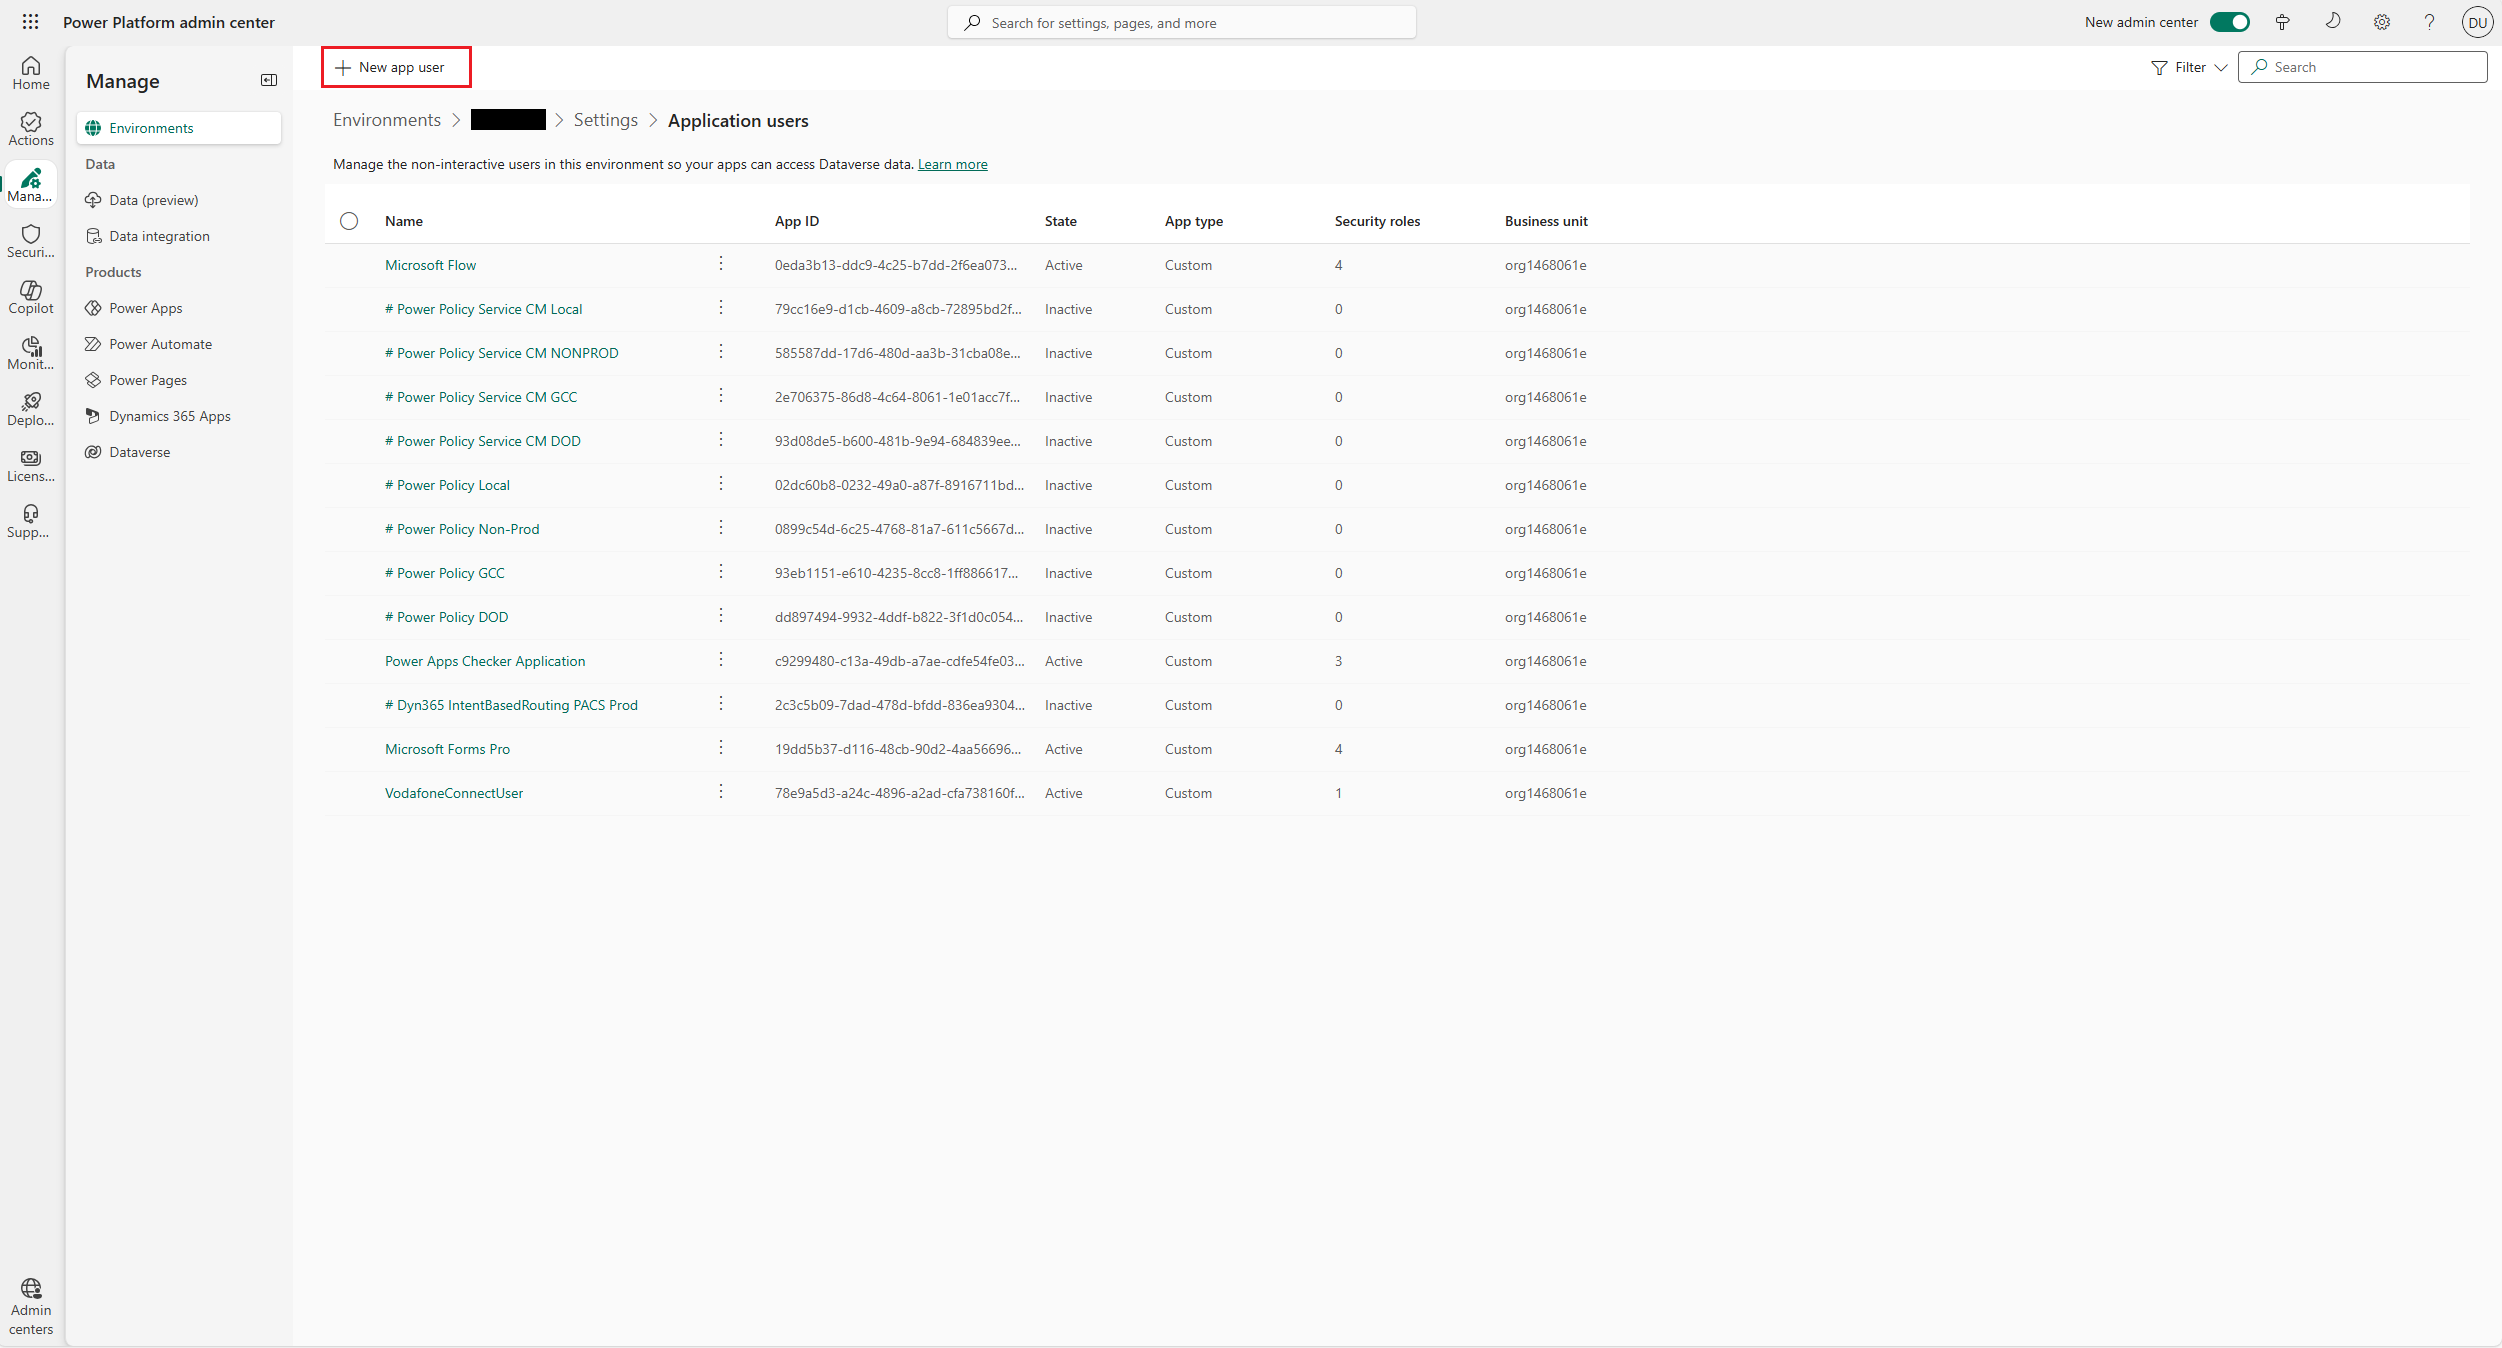
4. Select "Users + Permissions > Application users".
5. Select "+ New app user" from the top navigation.
6. In the new window, click "+ Add an app". You will want to select the app you've just created in Entra ID, (step 16. from above).
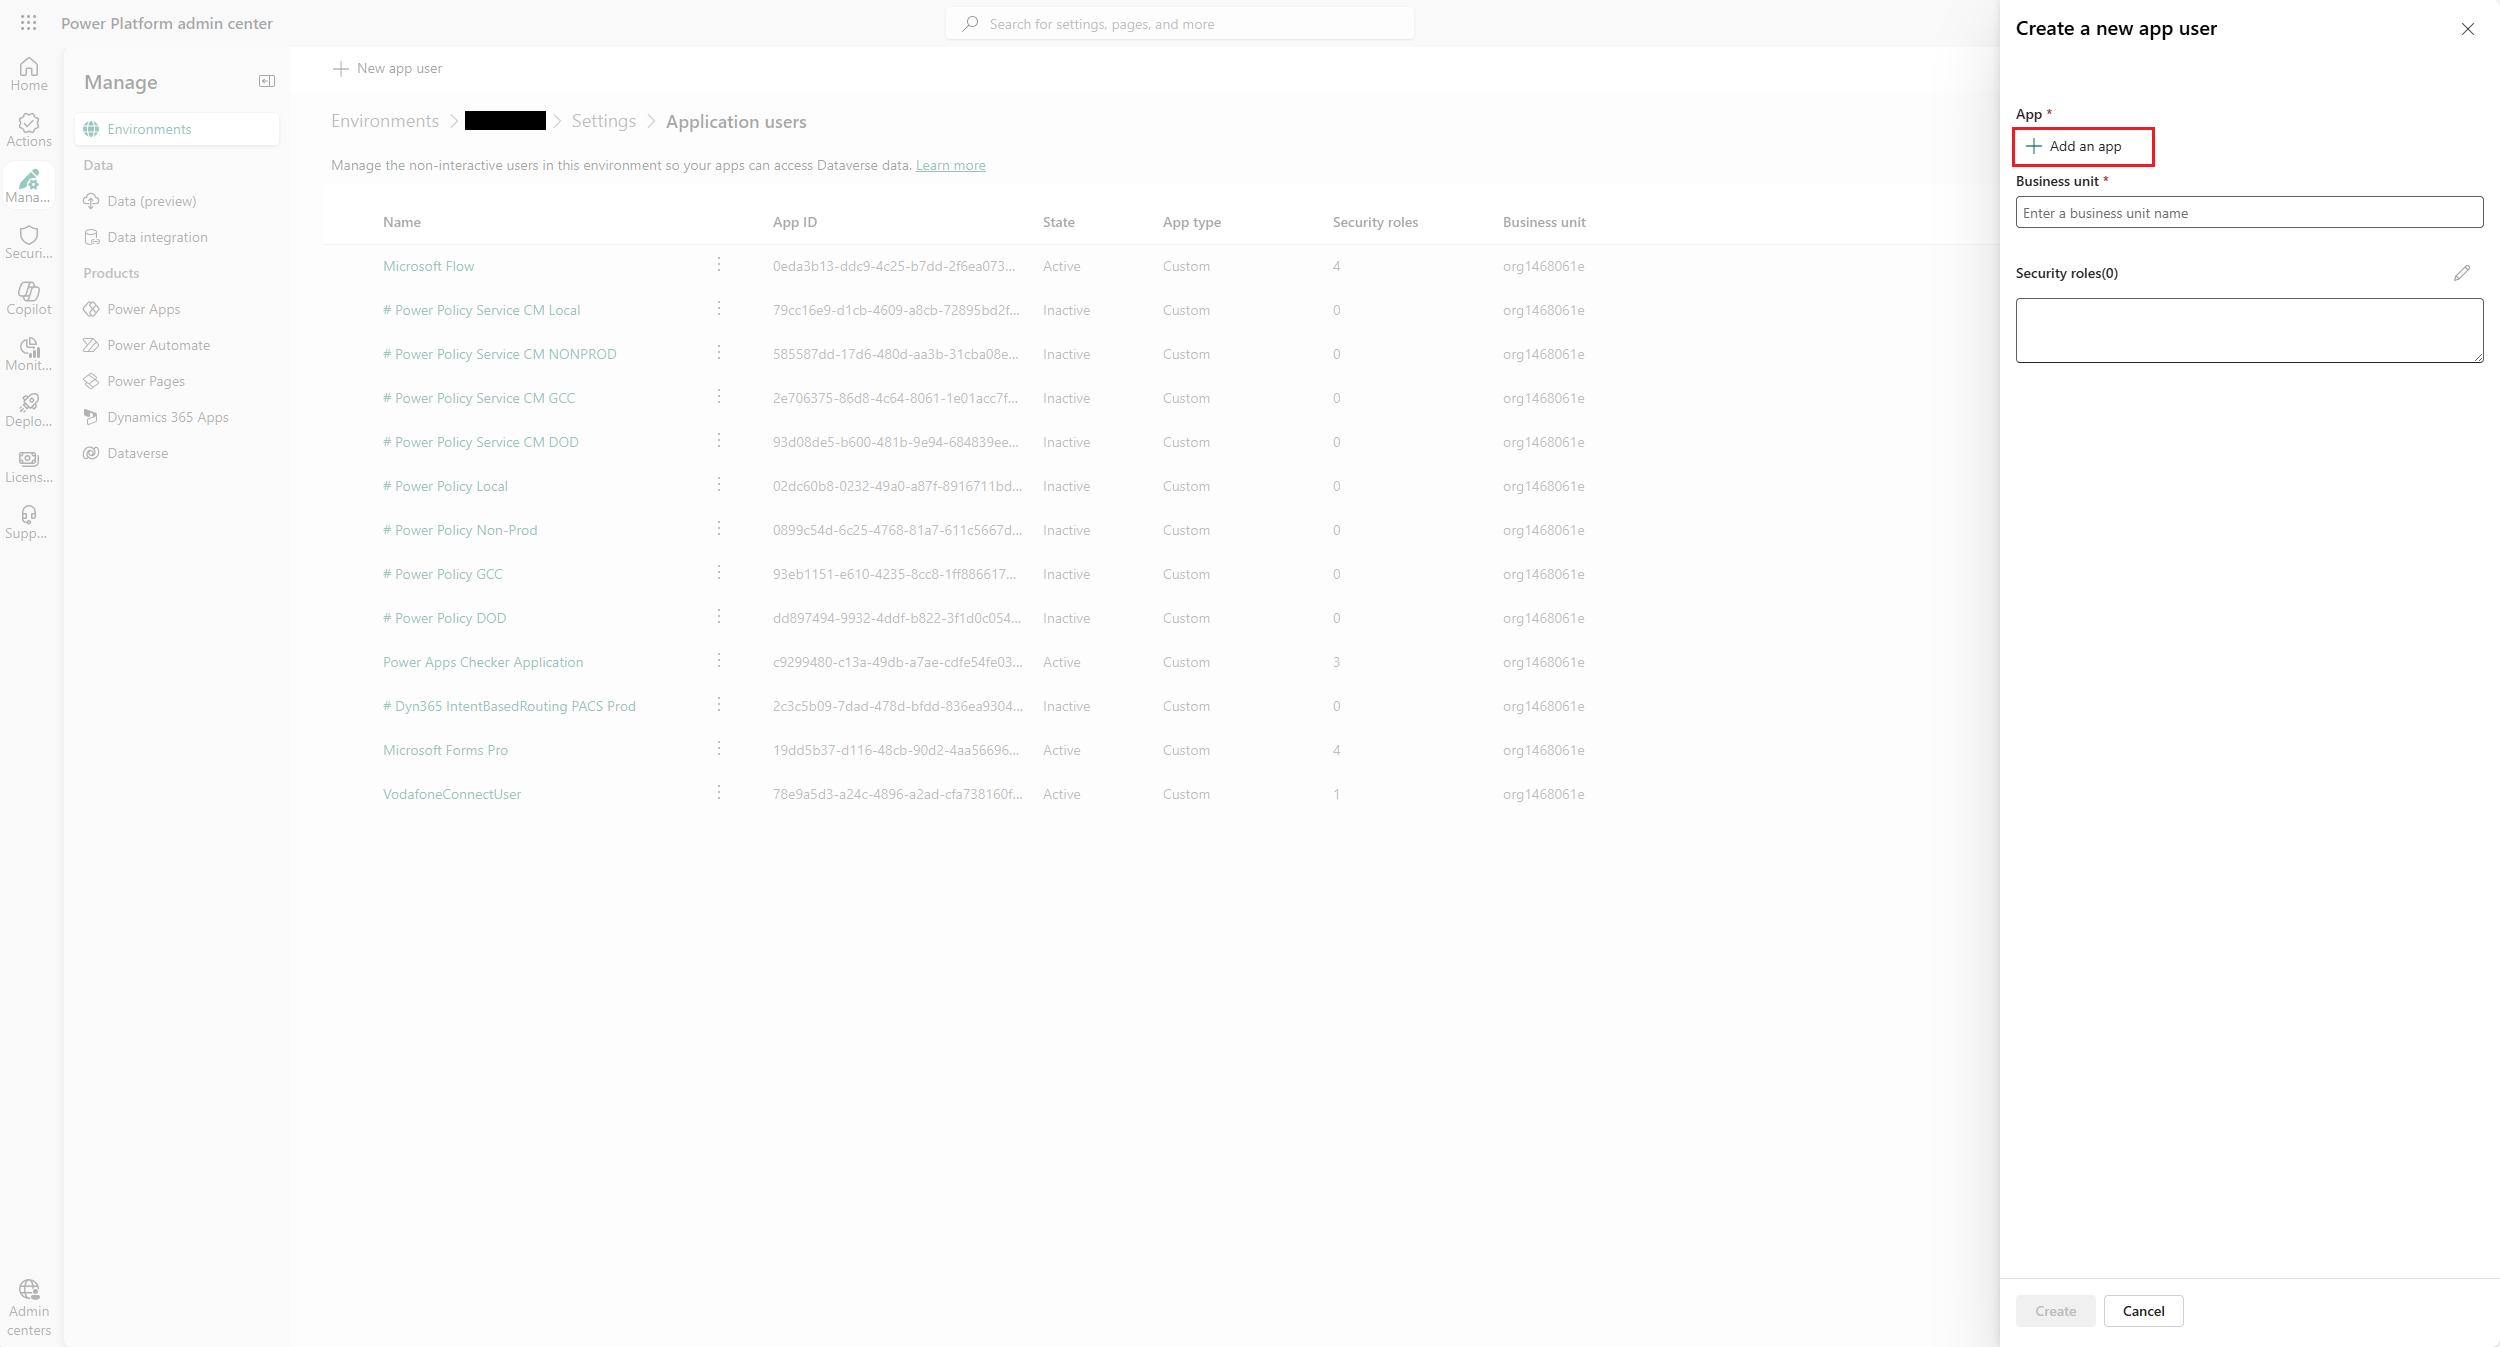
7. For your business unit, this should be the first part of your Dynamics Environment URL ie “org123456”.
8. Click "Create".
9. From the list of users, select this app user for your environment.
10. Edit the security roles on the user and assign the "System Administrator" role.
Agent Desktop Integration
Our integration uses Microsoft’s Channel Integration Framework for Dynamics 365 to embed CornerStoneCX Agent Desktop widget into Dynamics 365 applications for real-time communications and access to Dynamics 365 data from a single screen. This framework enables third-party channel providers like CornerStoneCX to integrate with Dynamics 365 Unified Interface Apps using a browser-based JavaScript API library, and in turn, provide communication experiences via a third-party communication widget like Agent Desktop. The following instructions will show you how to configure your CornerStoneCX Contact Center to be an active channel provider and interact with Dynamics 365 via the Agent Desktop widget.
Install Channel Integration Framework app
1. Go to Power Platform Admin Centre, Note: You must be logged in as a user with admin privileges. https://admin.powerplatform.microsoft.com 2. From the left navigation select “Manage > Dynamics 365 Apps”

3. Locate the "Dynamics 365 Channel Integration Framework . please ensure the “Status” of this feature is set to “Enabled”. n.b. if this is not listed as an option you may need to download and install it Dynamics 365 Channel Integration Framework
Install CornerStoneCX Contact Centre Solution app
1. From the email title “New Domain Provisioned - Amazon Connect For Dynamics 365”, select the embedded download link to CornerStoneCX Contact Centre app. The follow file will be downloaded “CCXAgentProfiles_1_0_0_14.zip”.
2. Go to Power Apps Admin Centre, Note: You must be logged in as a user with admin privileges. https://make.powerapps.com
3. From the left navigation select Solutions, on the top menu select Import solution, select the downloaded file from step 1 (above), click [Next] followed by [Import].
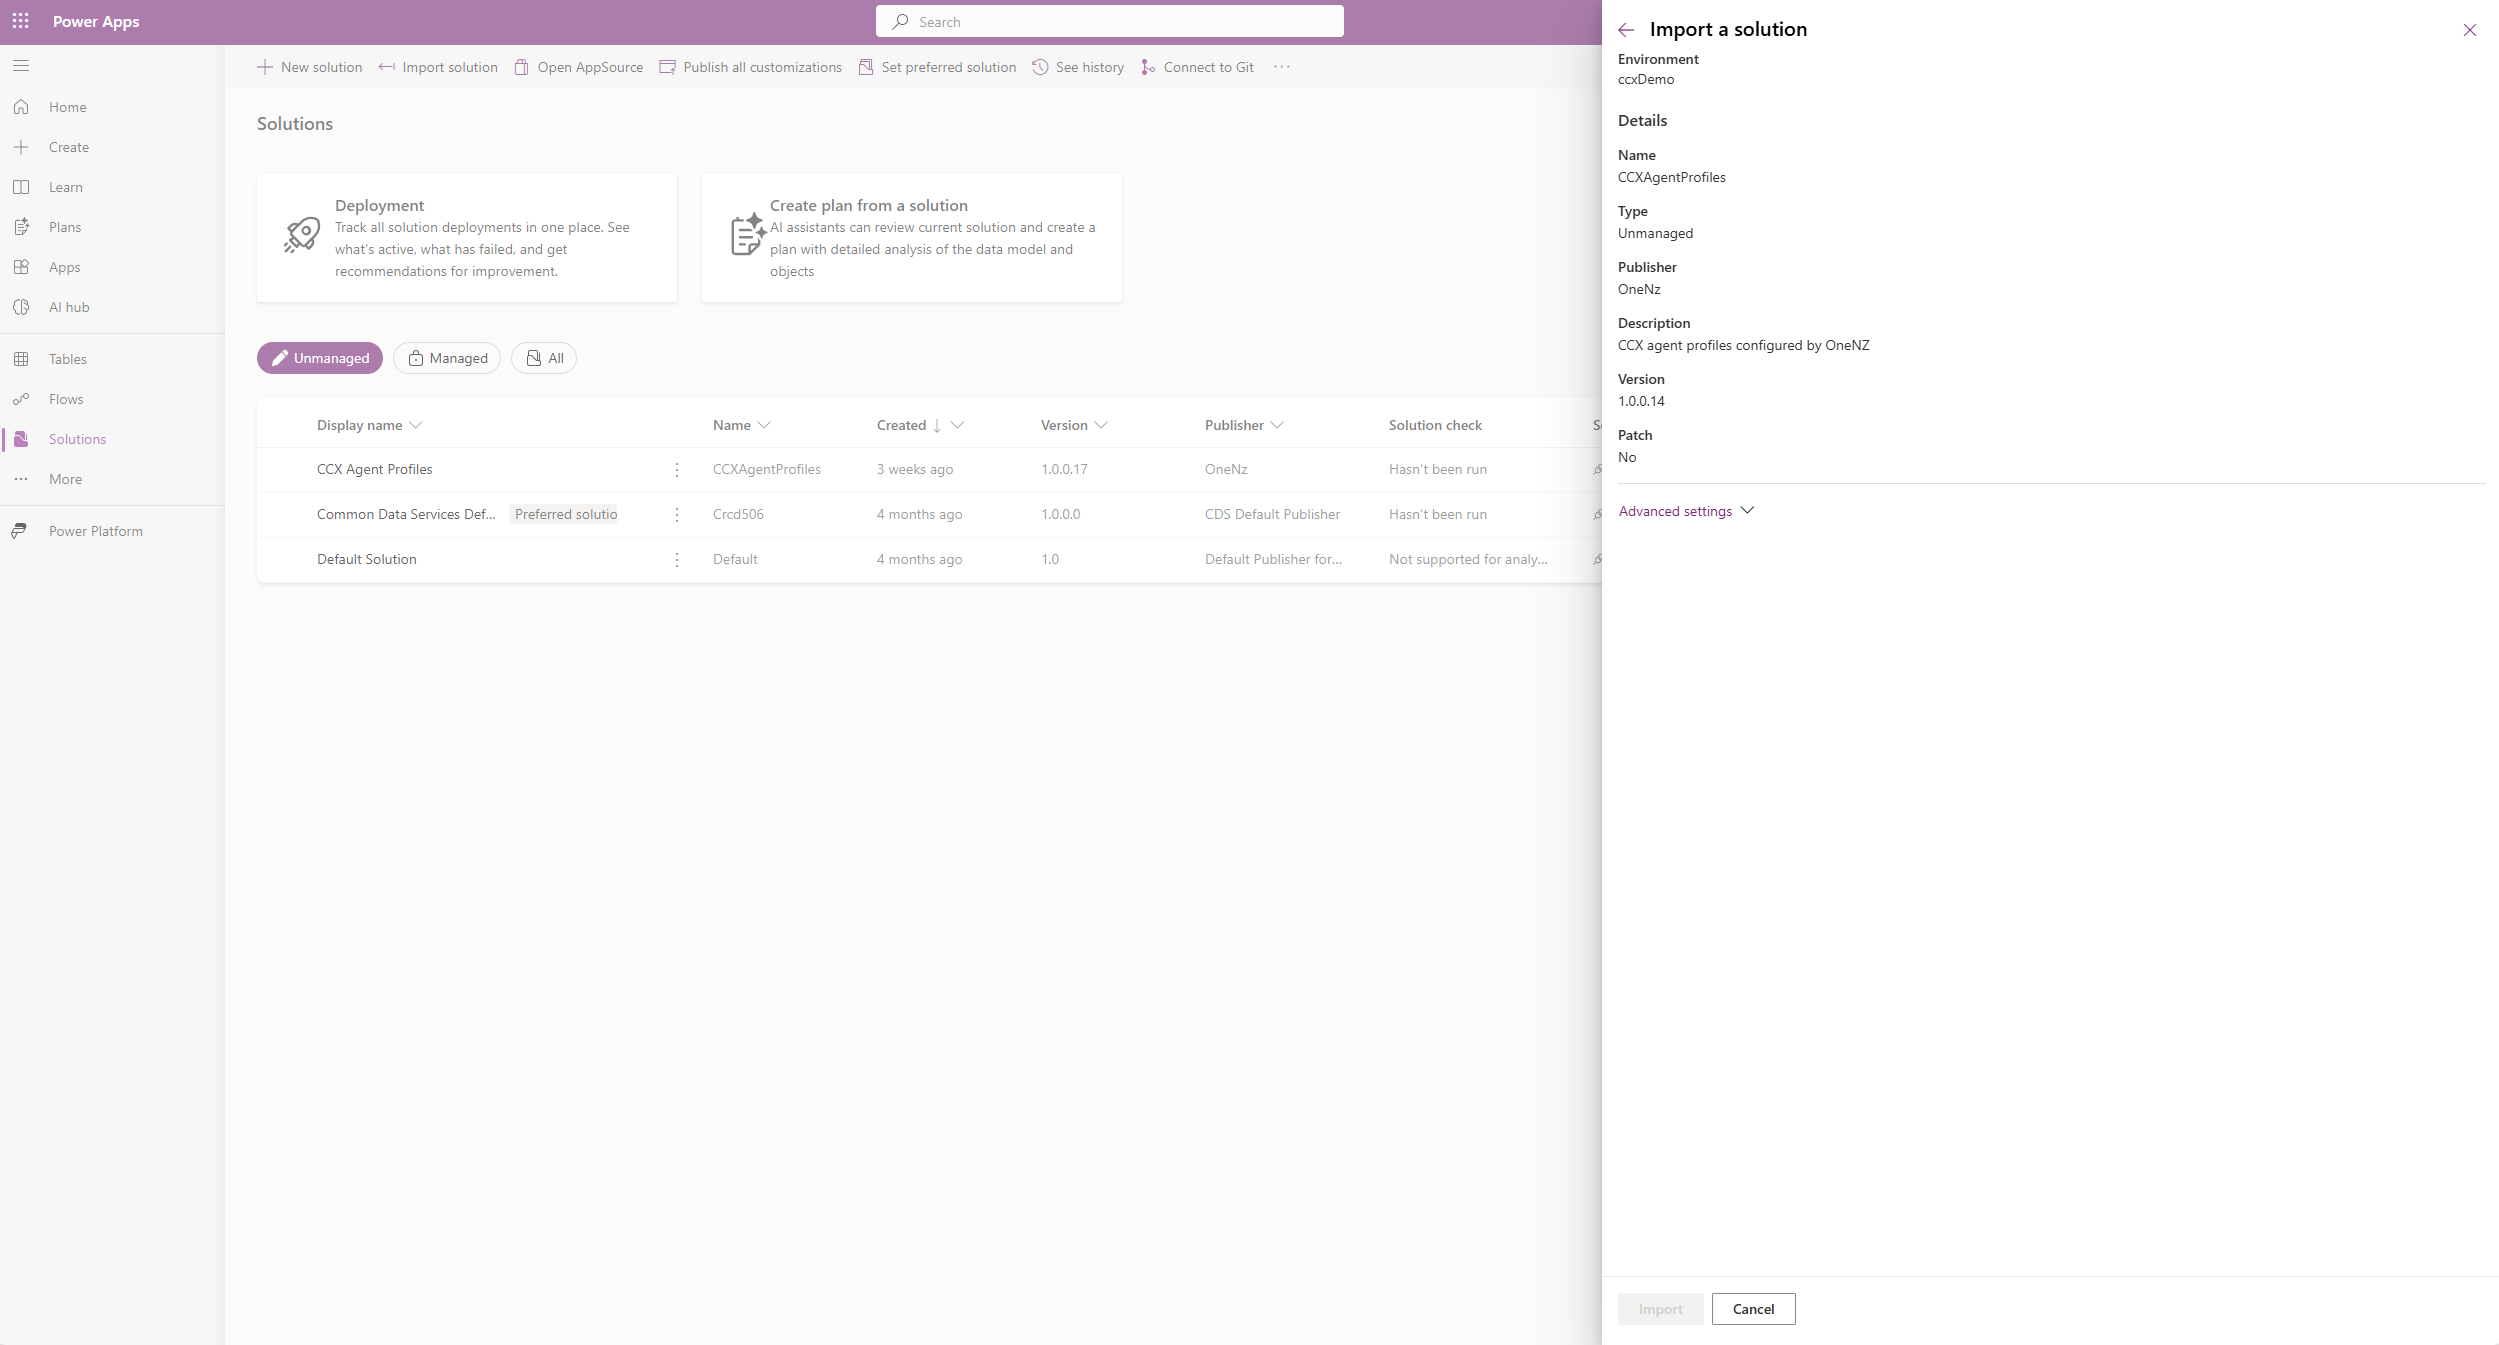
Importing solution "CCX Agent Profiles" will begin. Depending on what region your Dynamics 365 instance is in, installation may take some time.
4. Once the import has completed the follow message will be displayed “Solution "CCX Agent Profiles" imported successfully.
5. From the top menu click Publish all customizations.
Validate App
1. Re-Sign into your Dynamics 365 instance, Note: You must be logged in as a user with admin privileges.
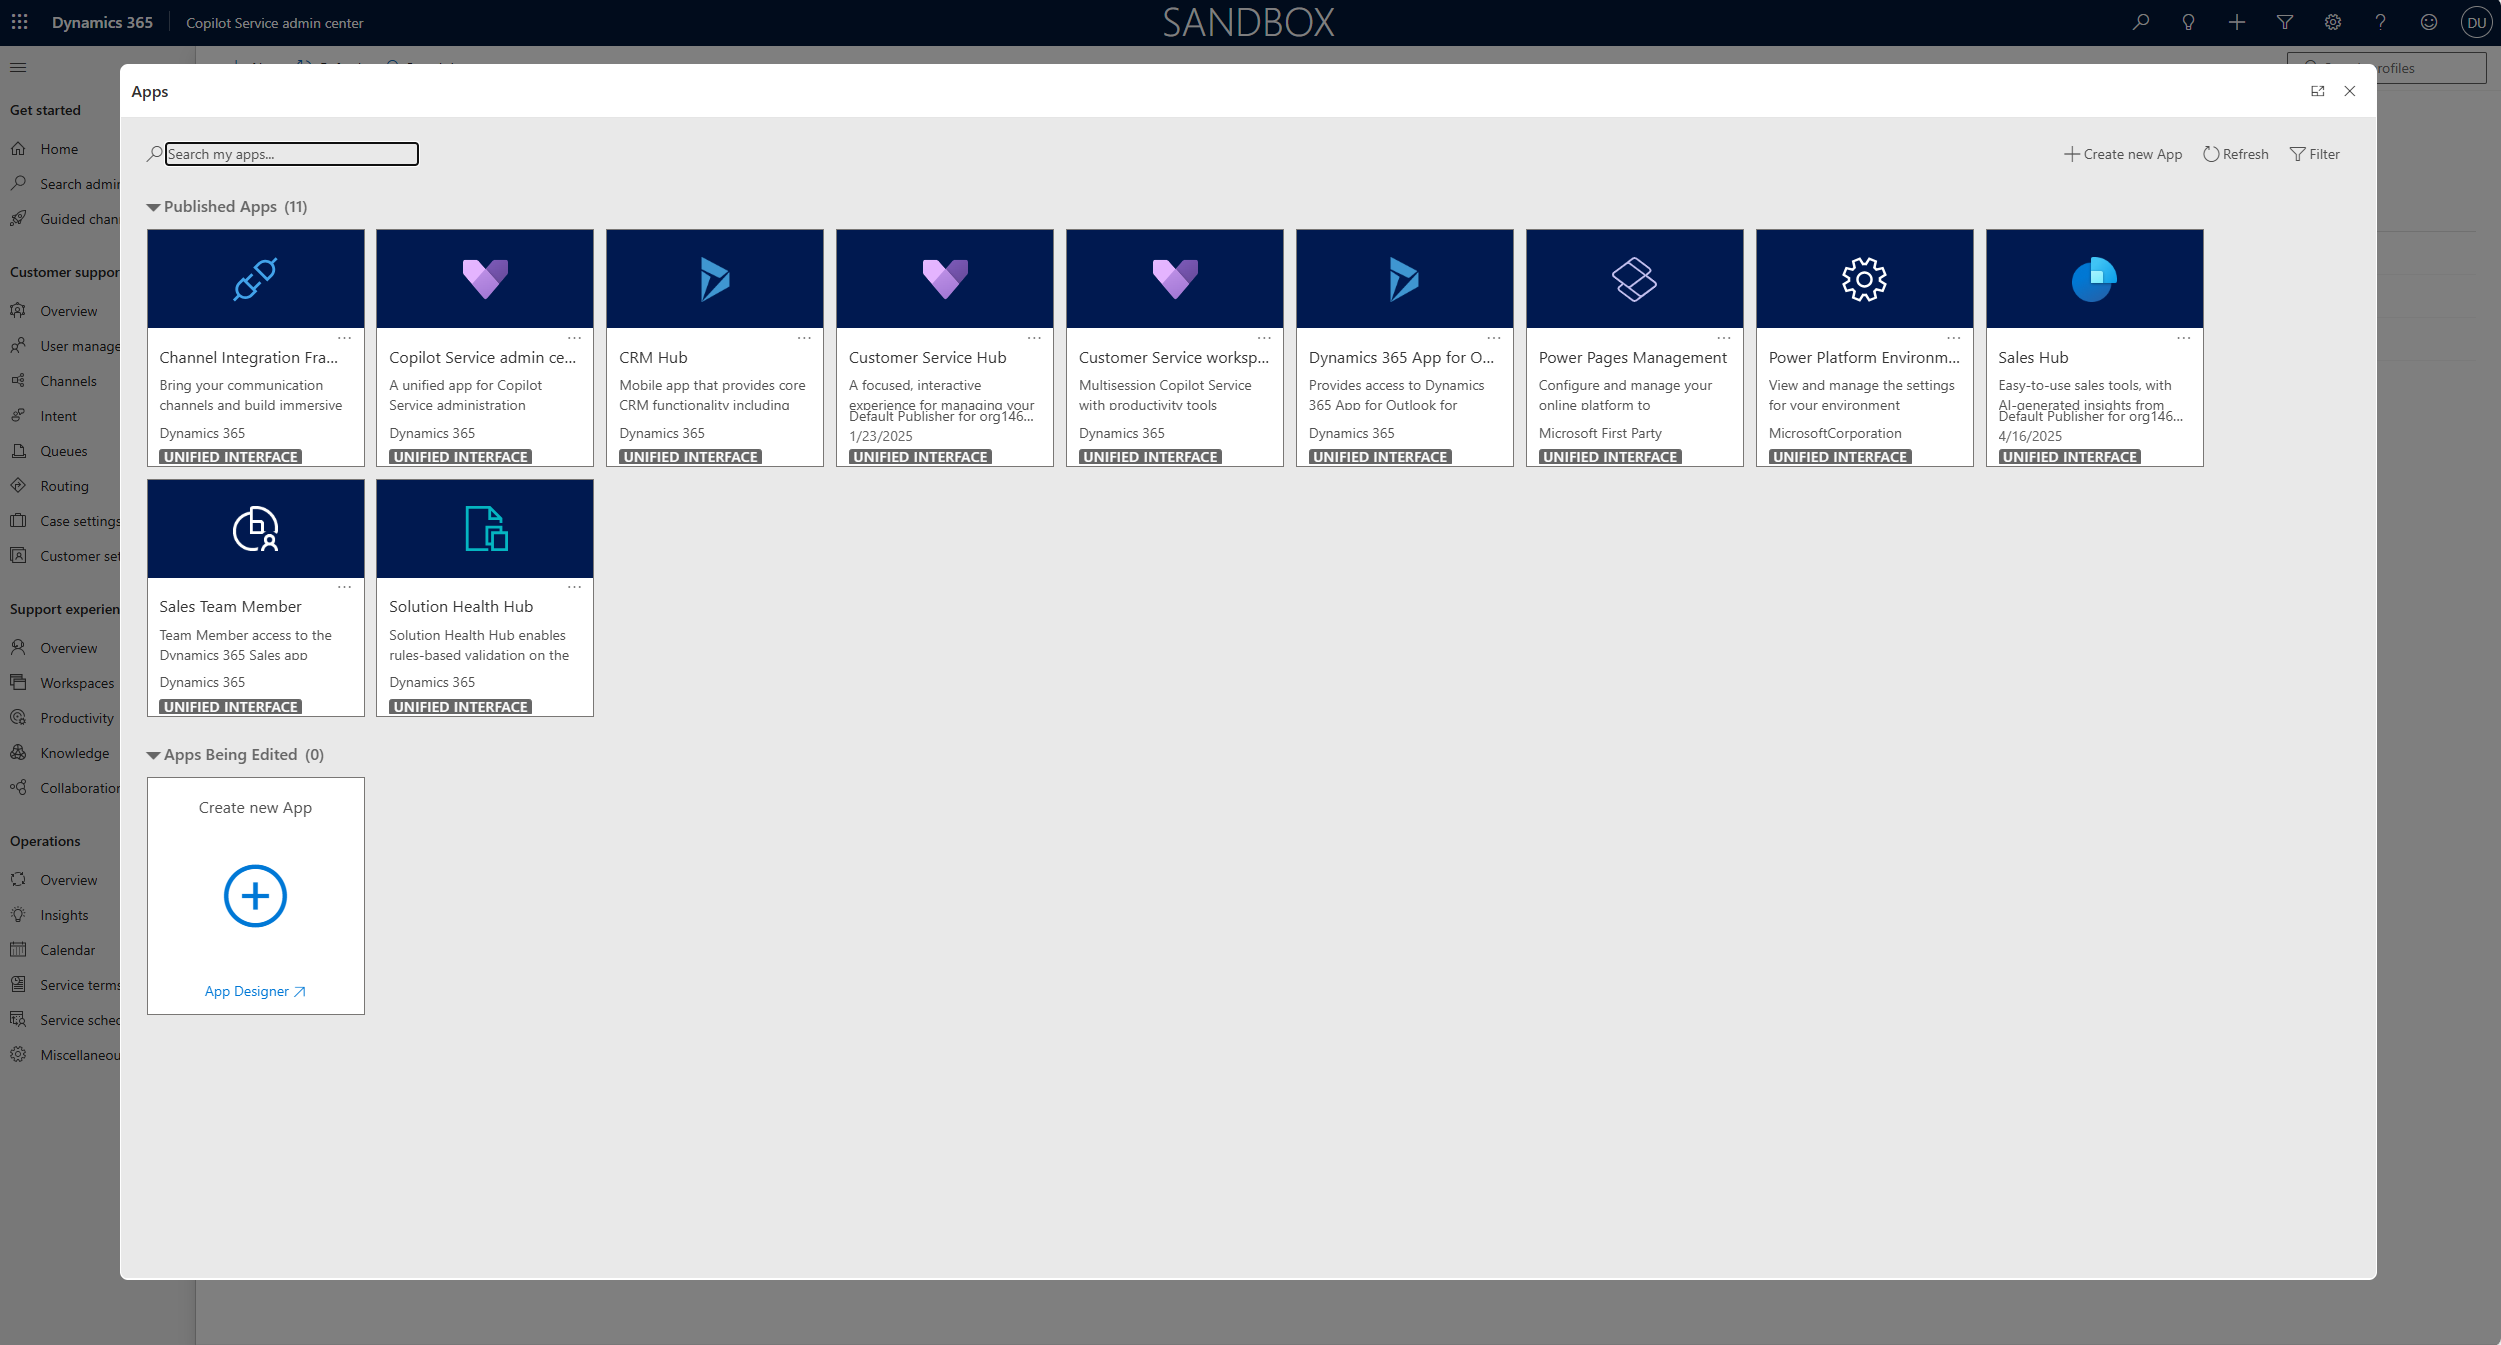
2. From the Apps menu select “Service admin centre”
3. From the left navigation select “Support experience > Workspaces”. Go to Experience profiles and select Manage.

4. Then click onto the Default profile “Customer Service Workspace - CCX”

5. To assign your Contact Centre Users to this profile, click + Add Users

6. Scroll down to reveal “Channel Providers” then click on the Third party voice channel providers CCX_Softphone
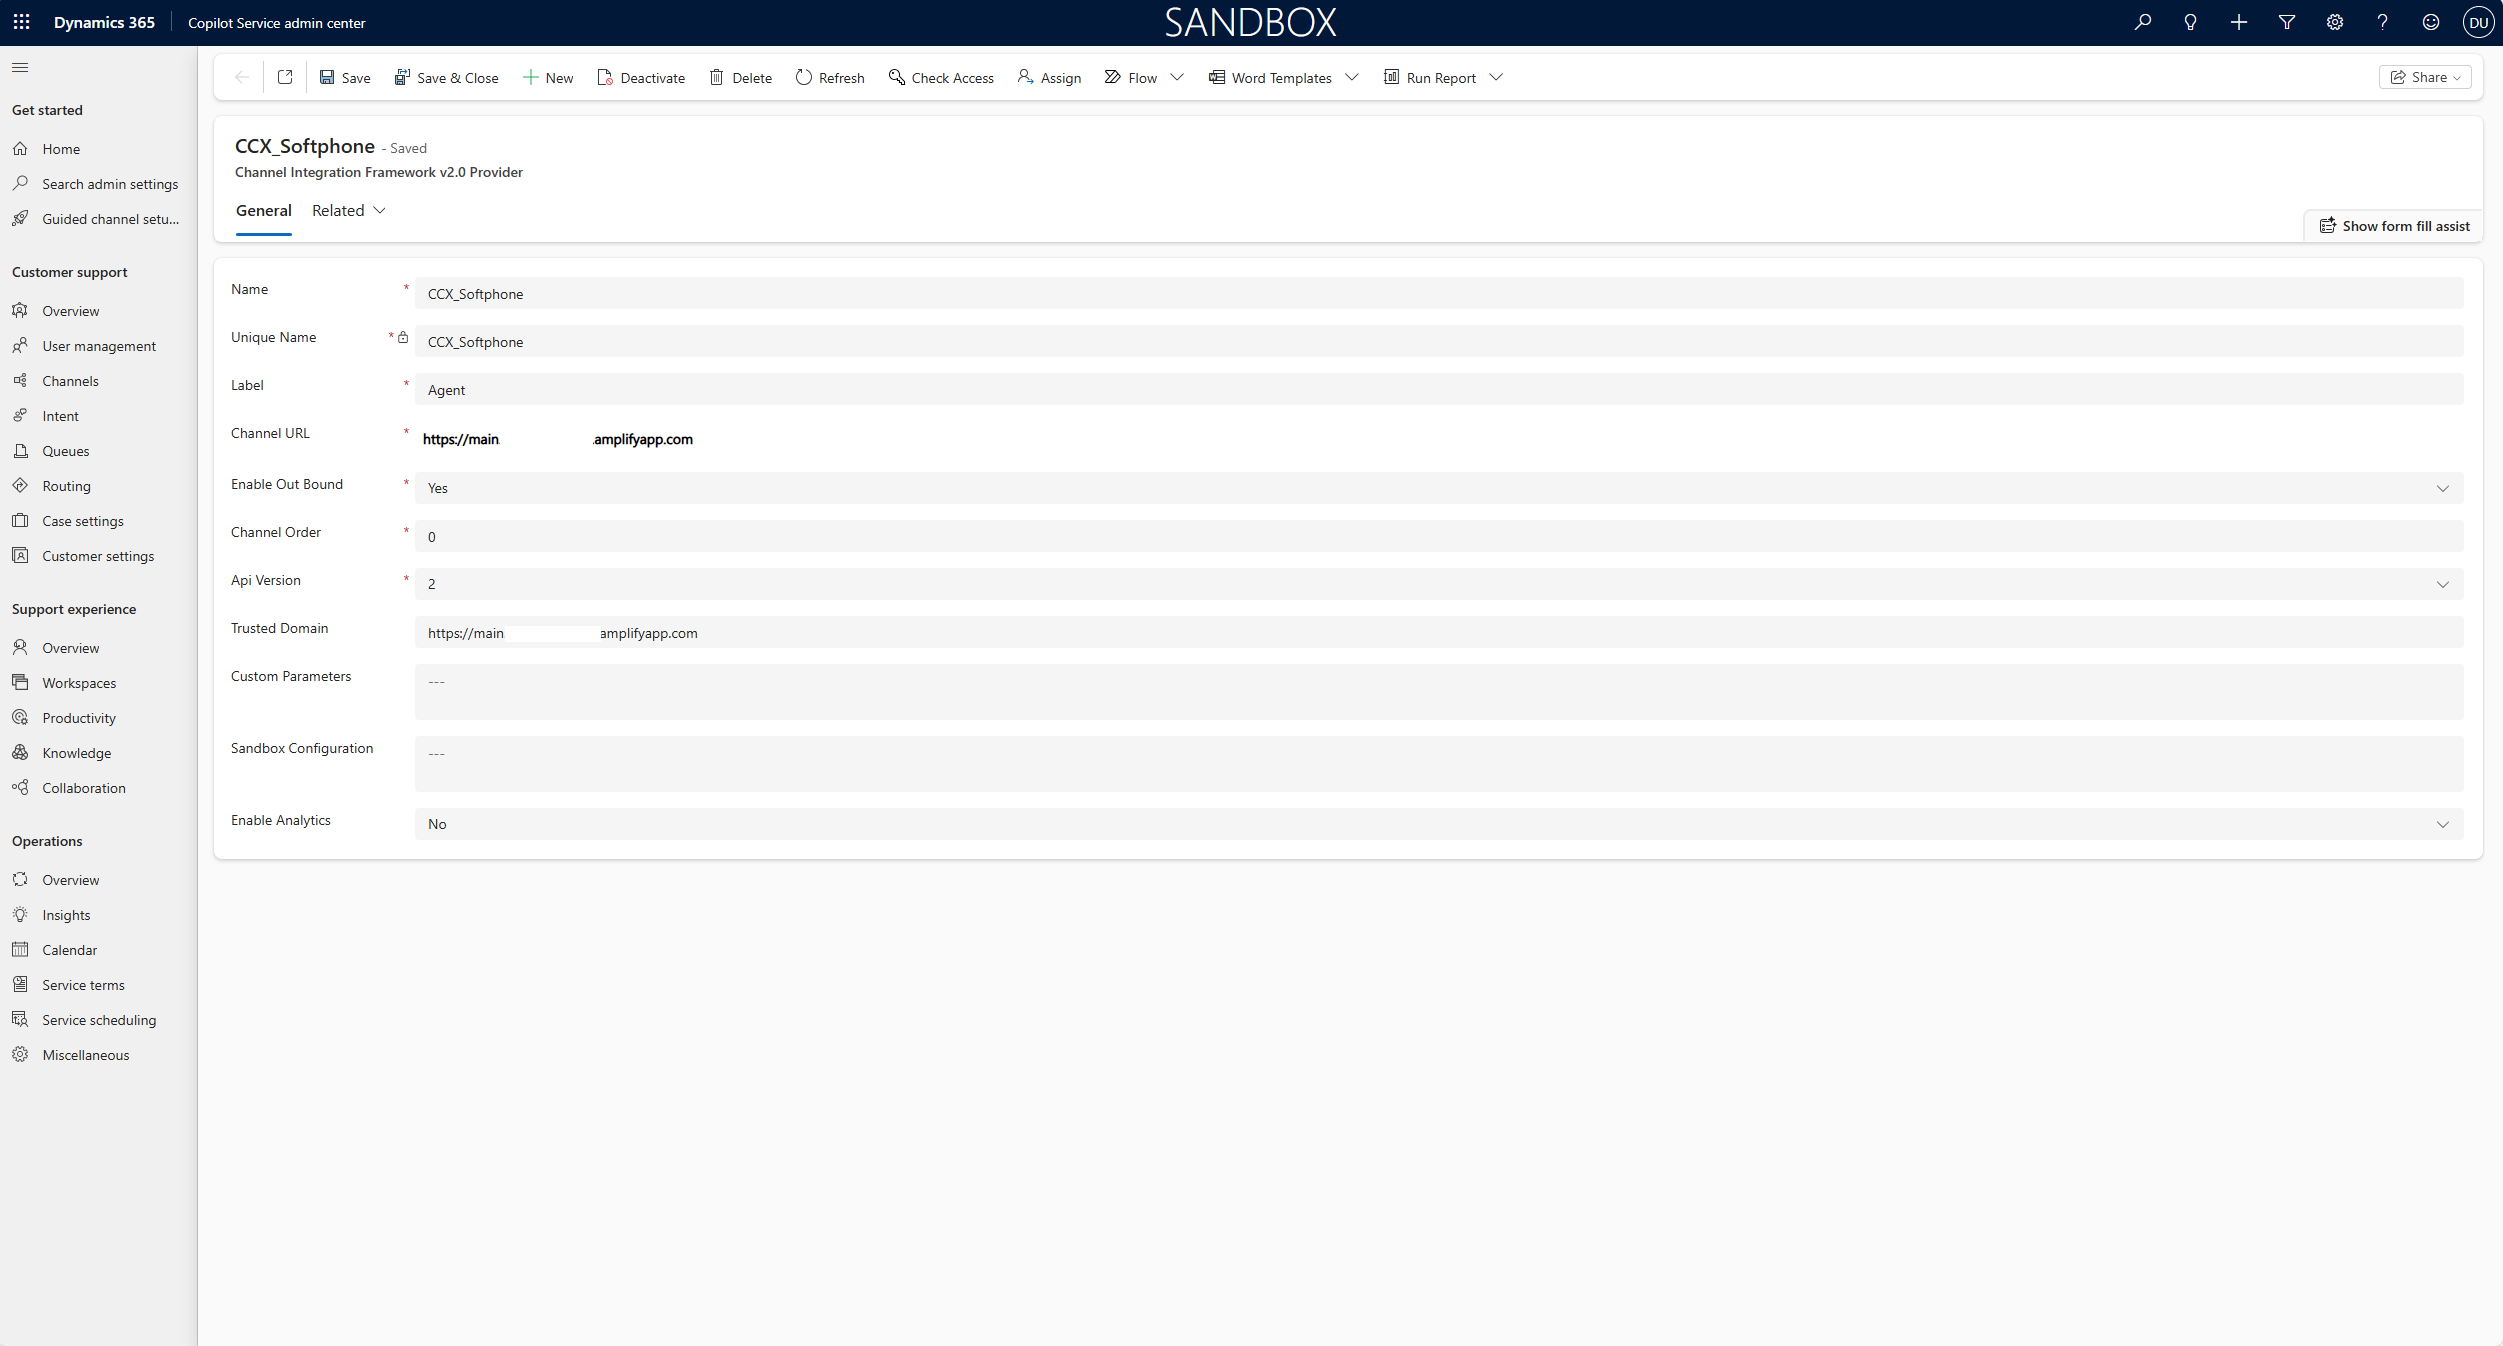
7. CCX_Softphone is your configured Channel Integration Framework v2.0 Provider.
Other Workspaces configurations
Session templates
Session templates define the initial set of opened tabs when a Dynamics session is started. By default, CornerStoneCX integration has predefined templated configured for many interactions. However, some setups might need different sessions for external and internal calls and chats.
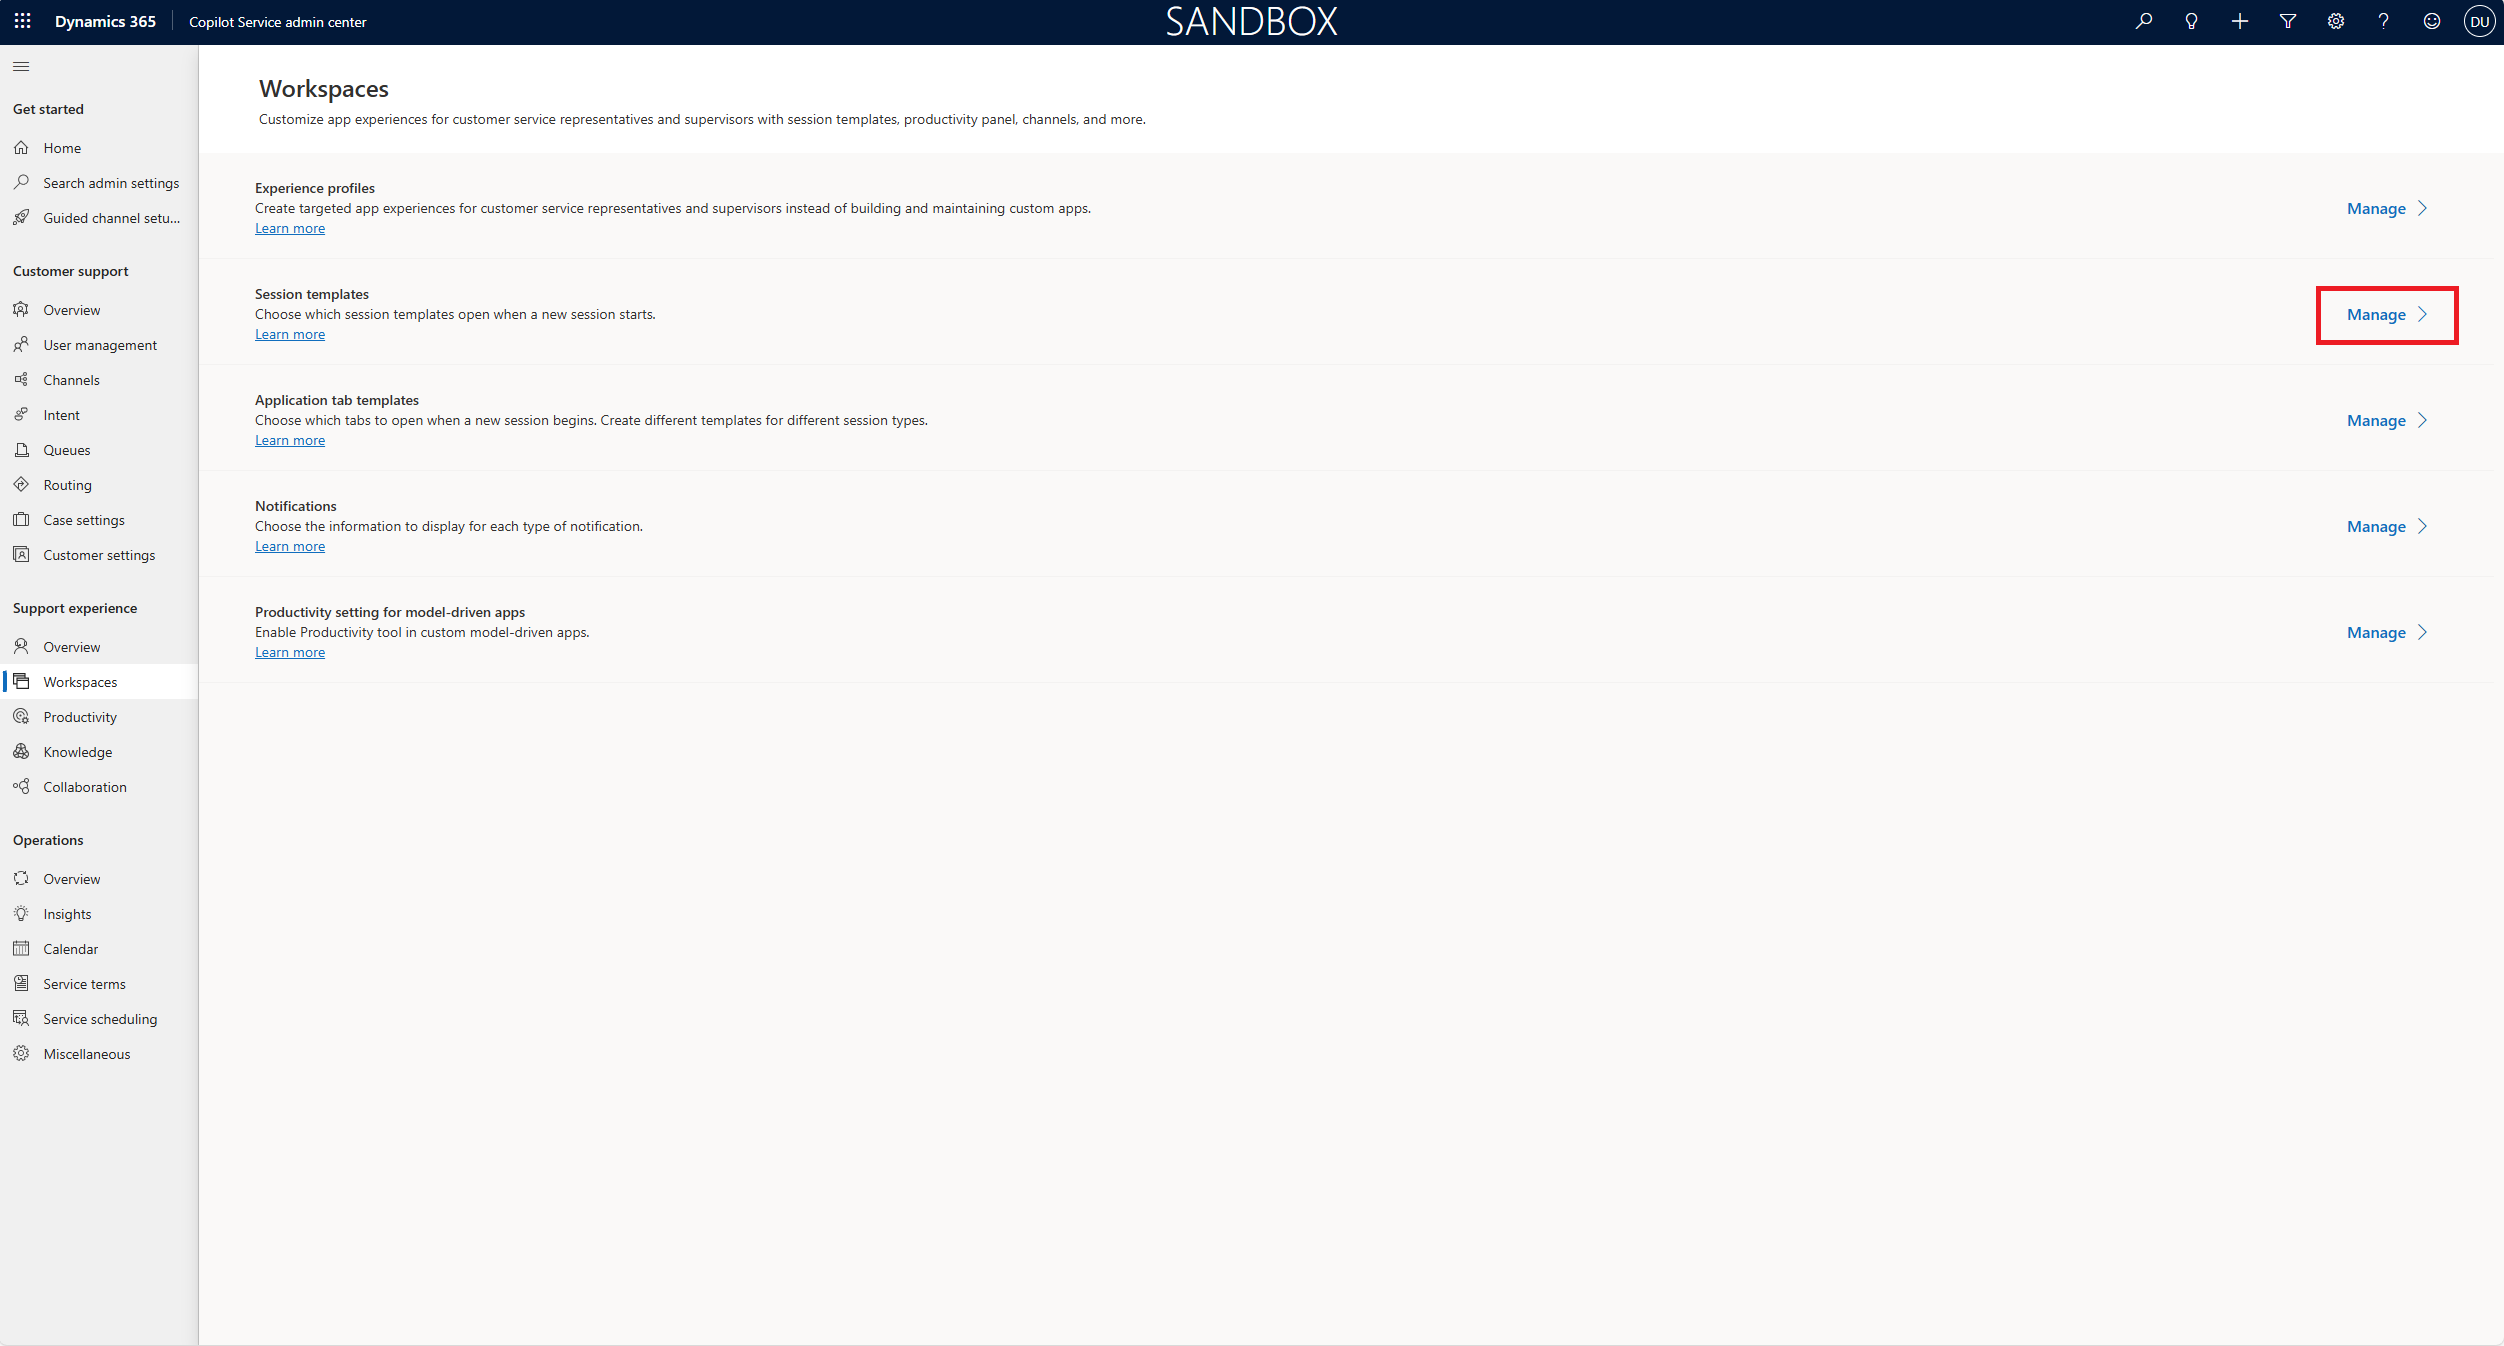
4. To review Session templates, return to Workspaces. Go to Session templates and select Manage.
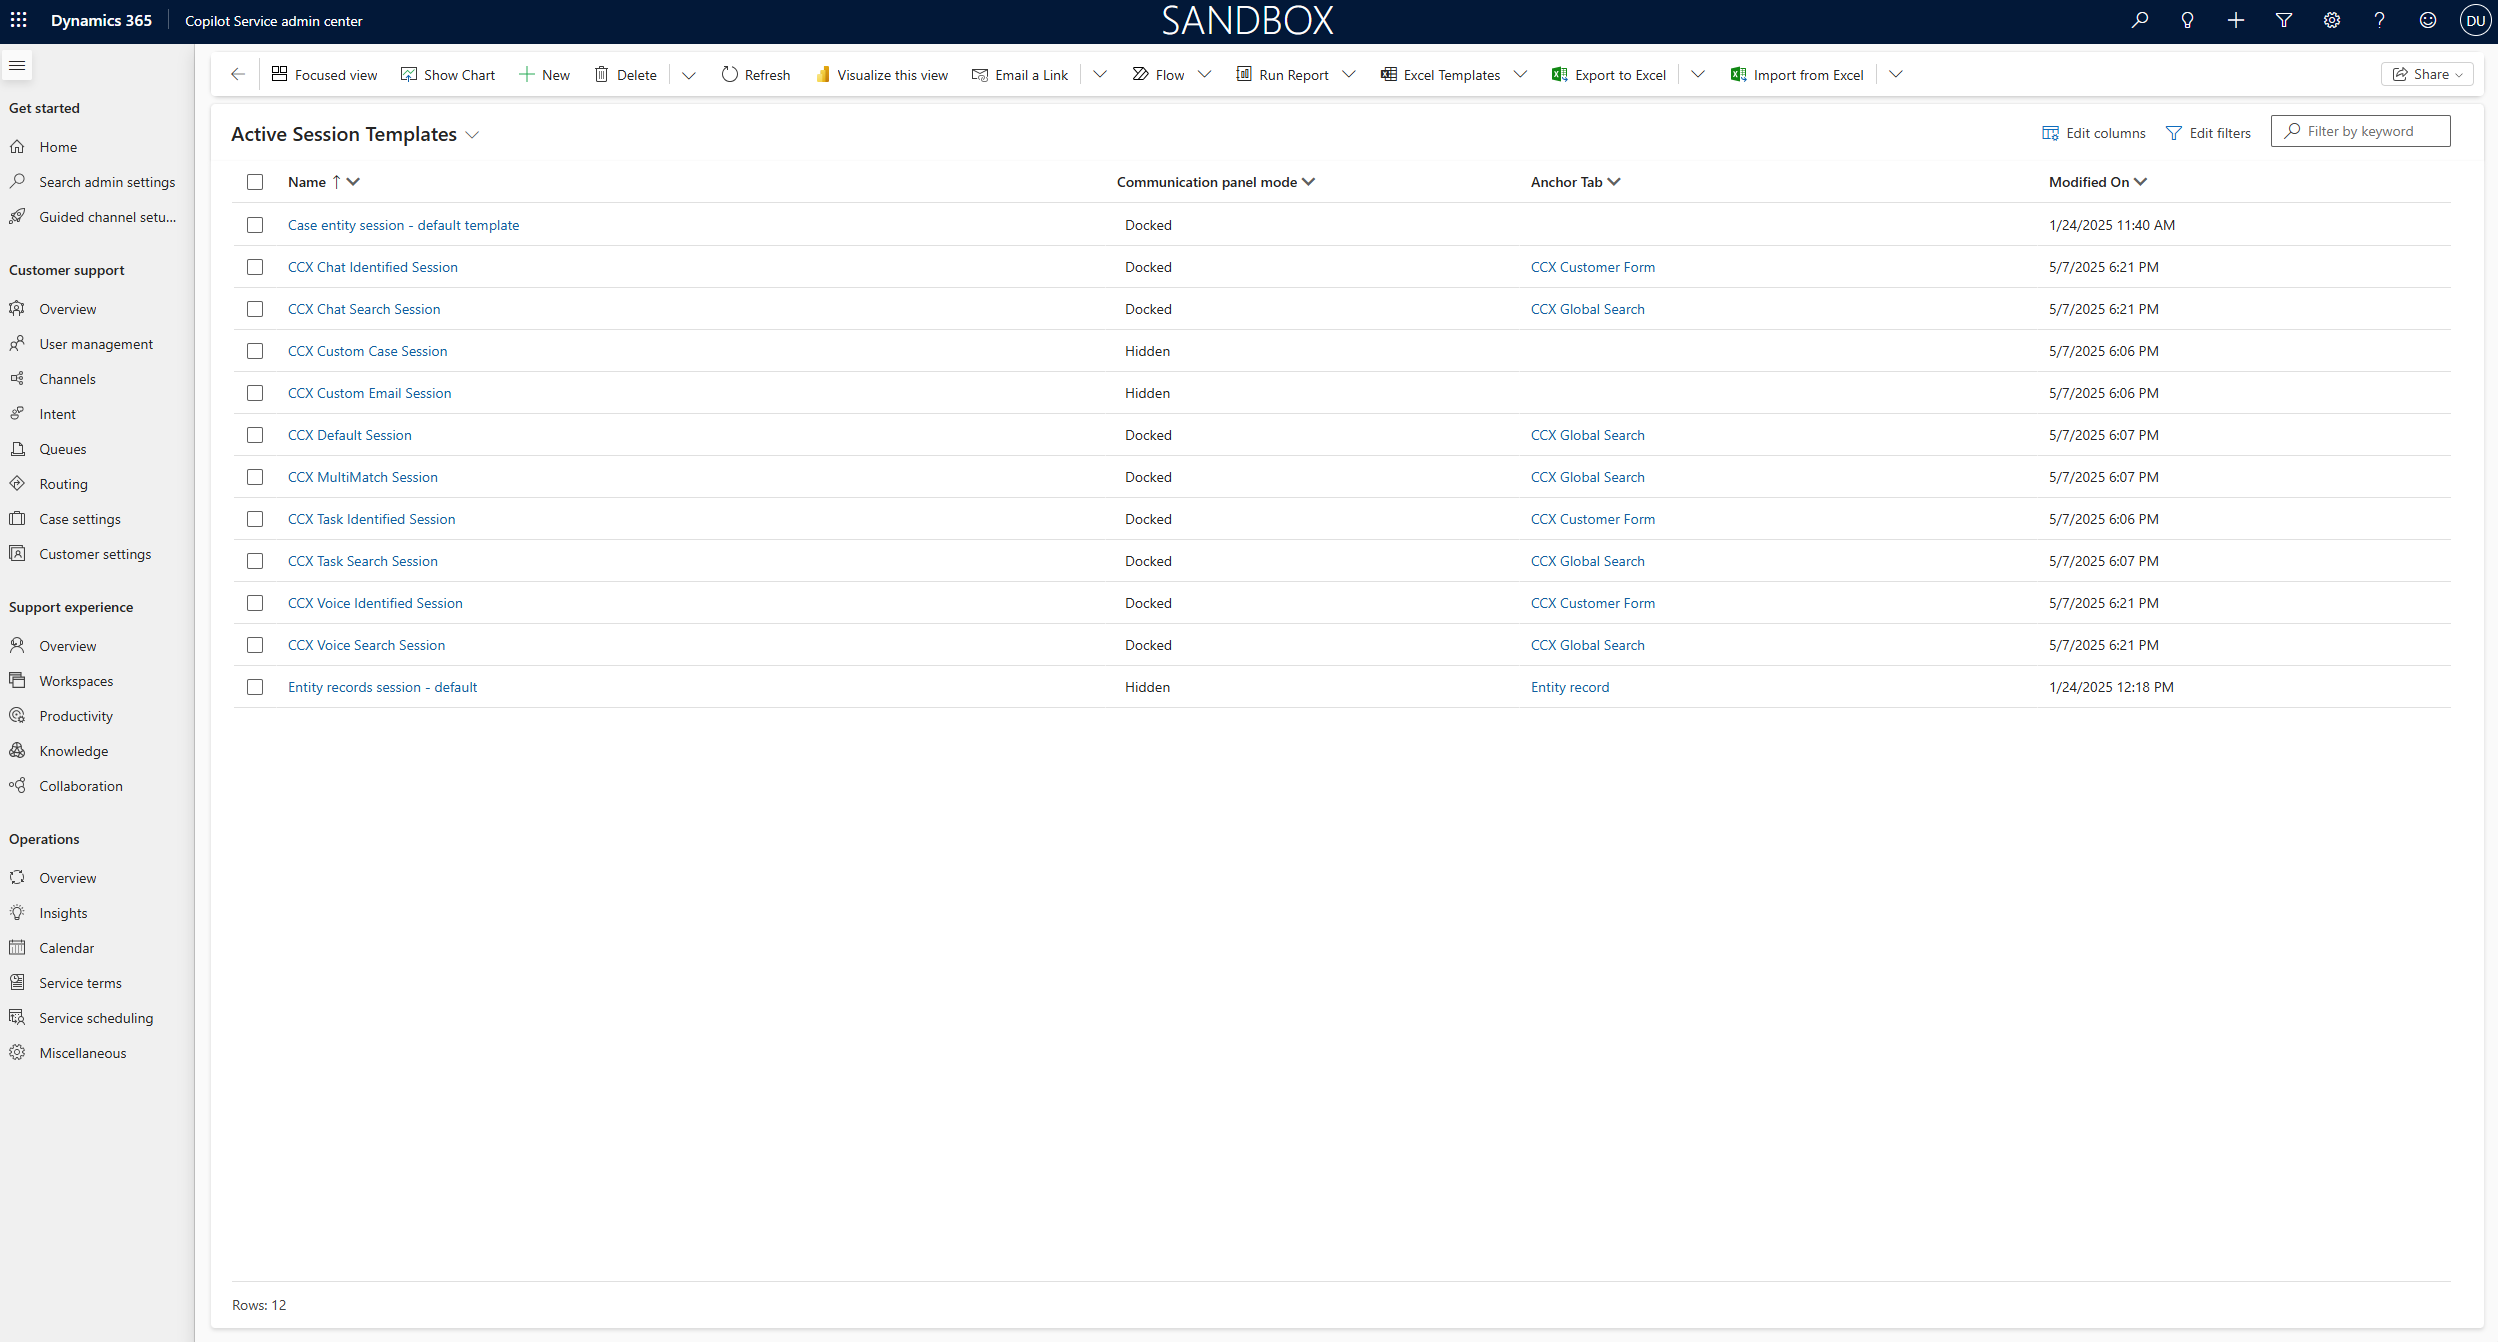
5. Default “Workspaces > Session templates”
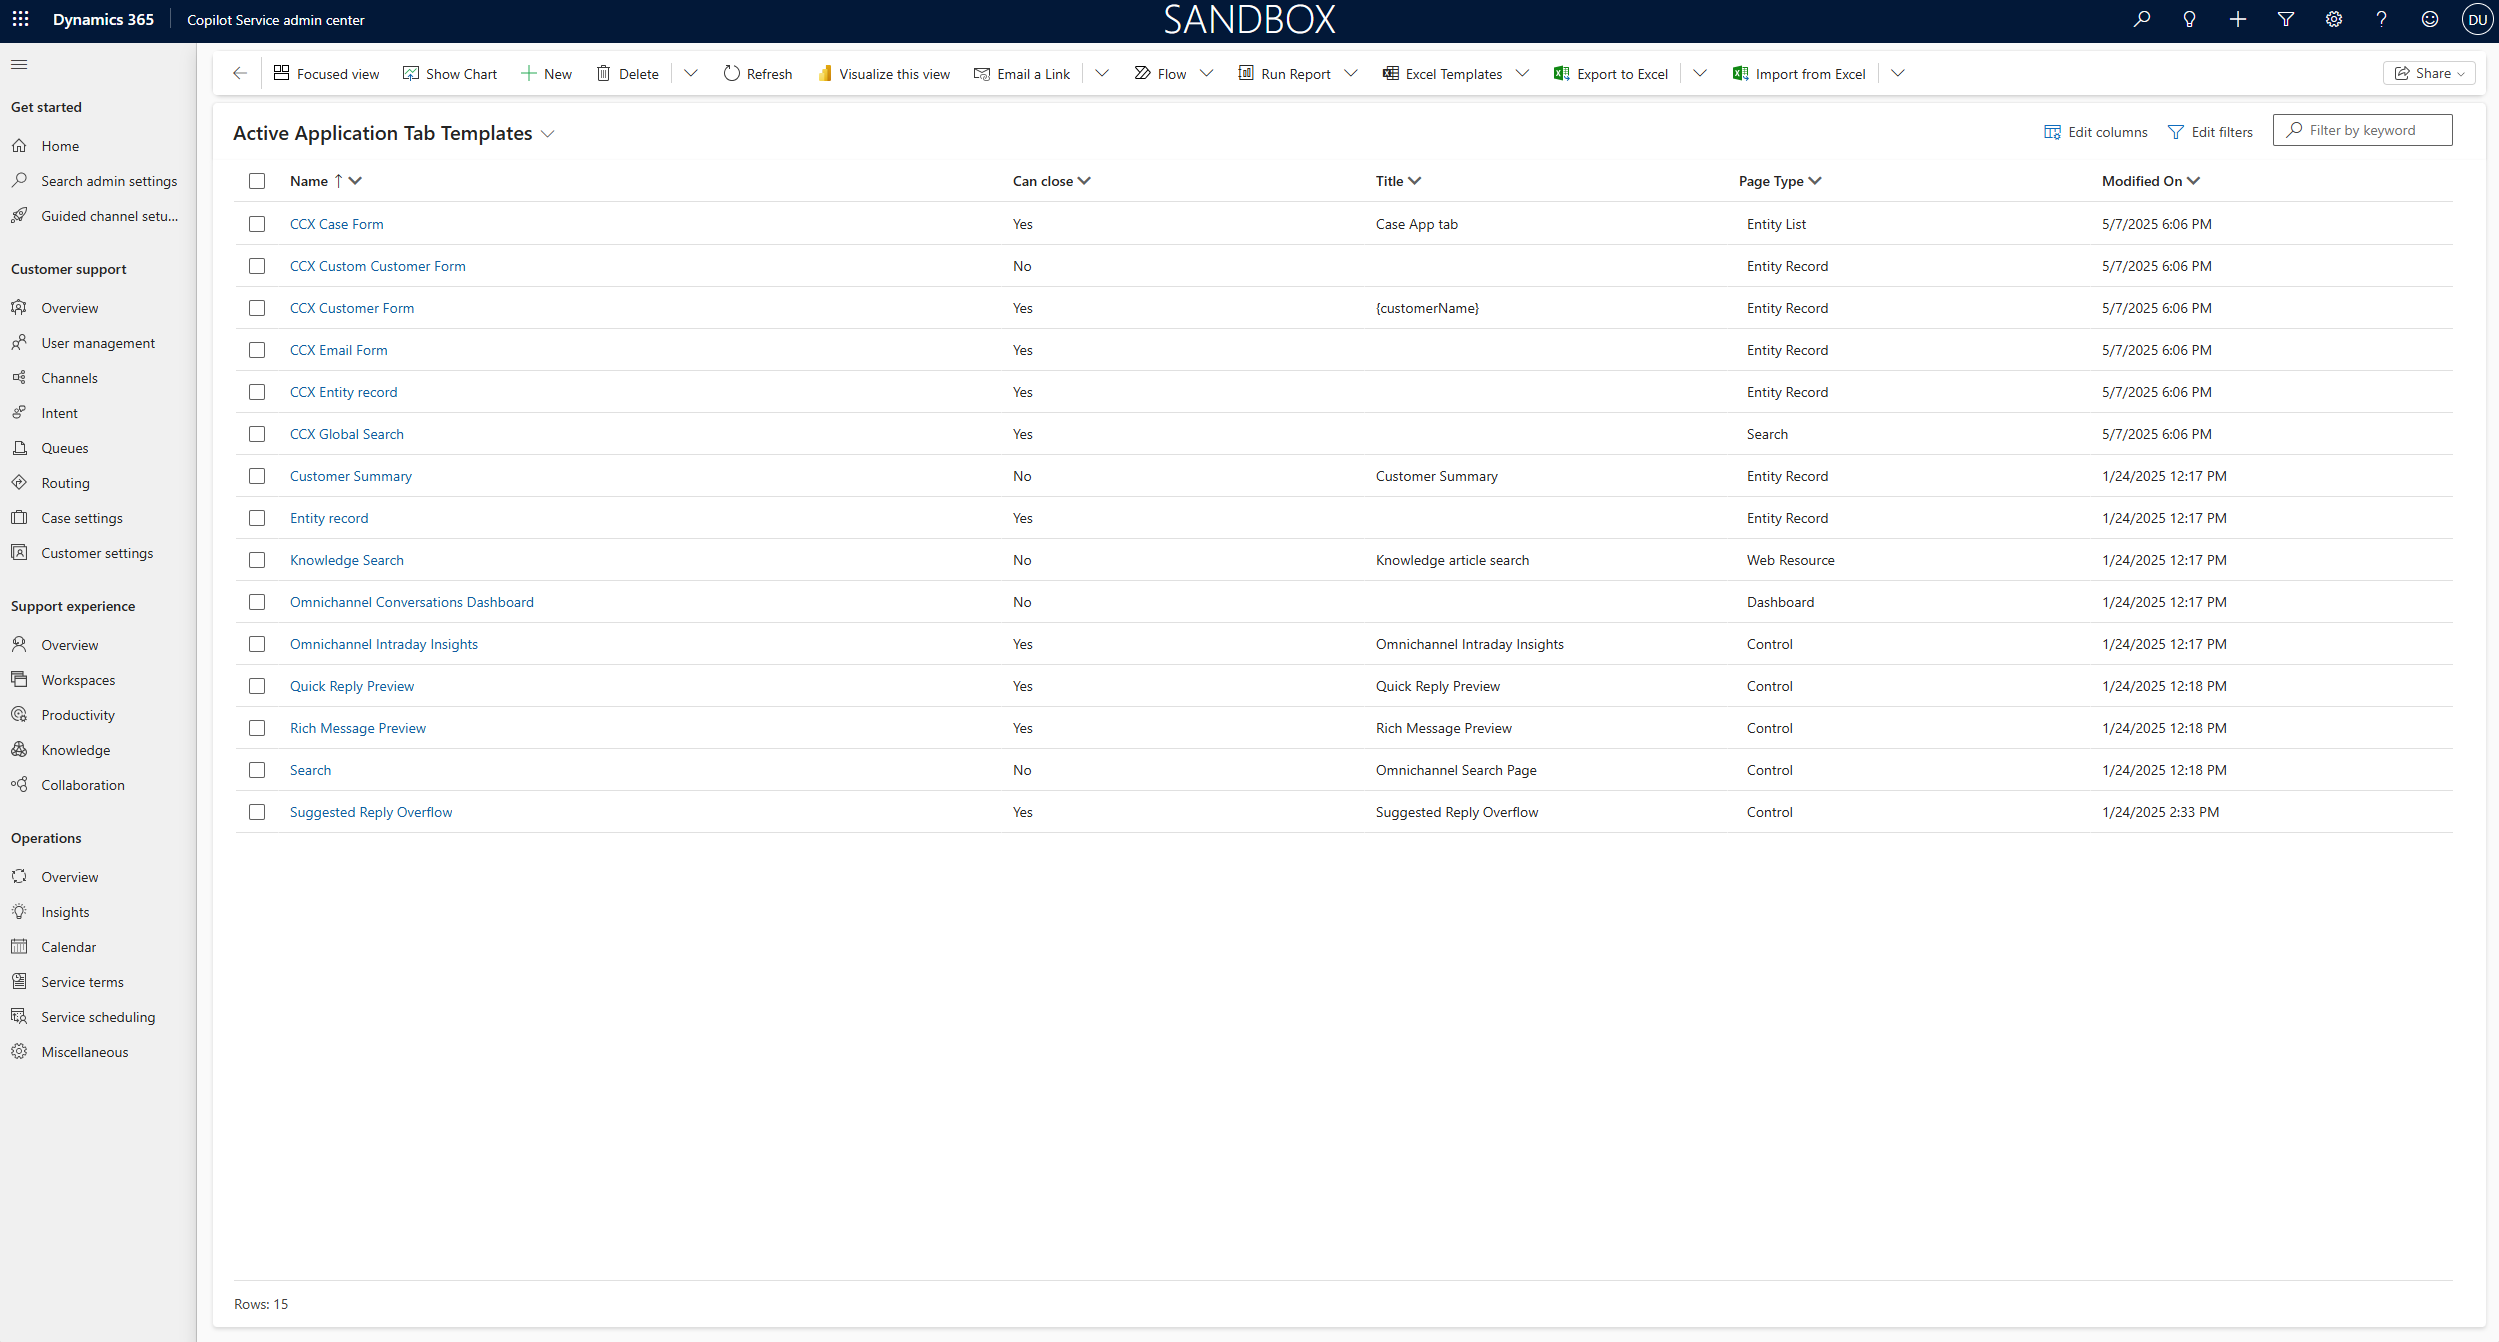
Application tab templates
Application tab templates specify the applications opened when a new session is started in the Customer Service workspace. In CornerStoneCX, Application Tab templates are predefined to handle screenpop objects and search screenpops.
1. To review Session templates, return to Workspaces. Go to Application tab templates and select Manage.
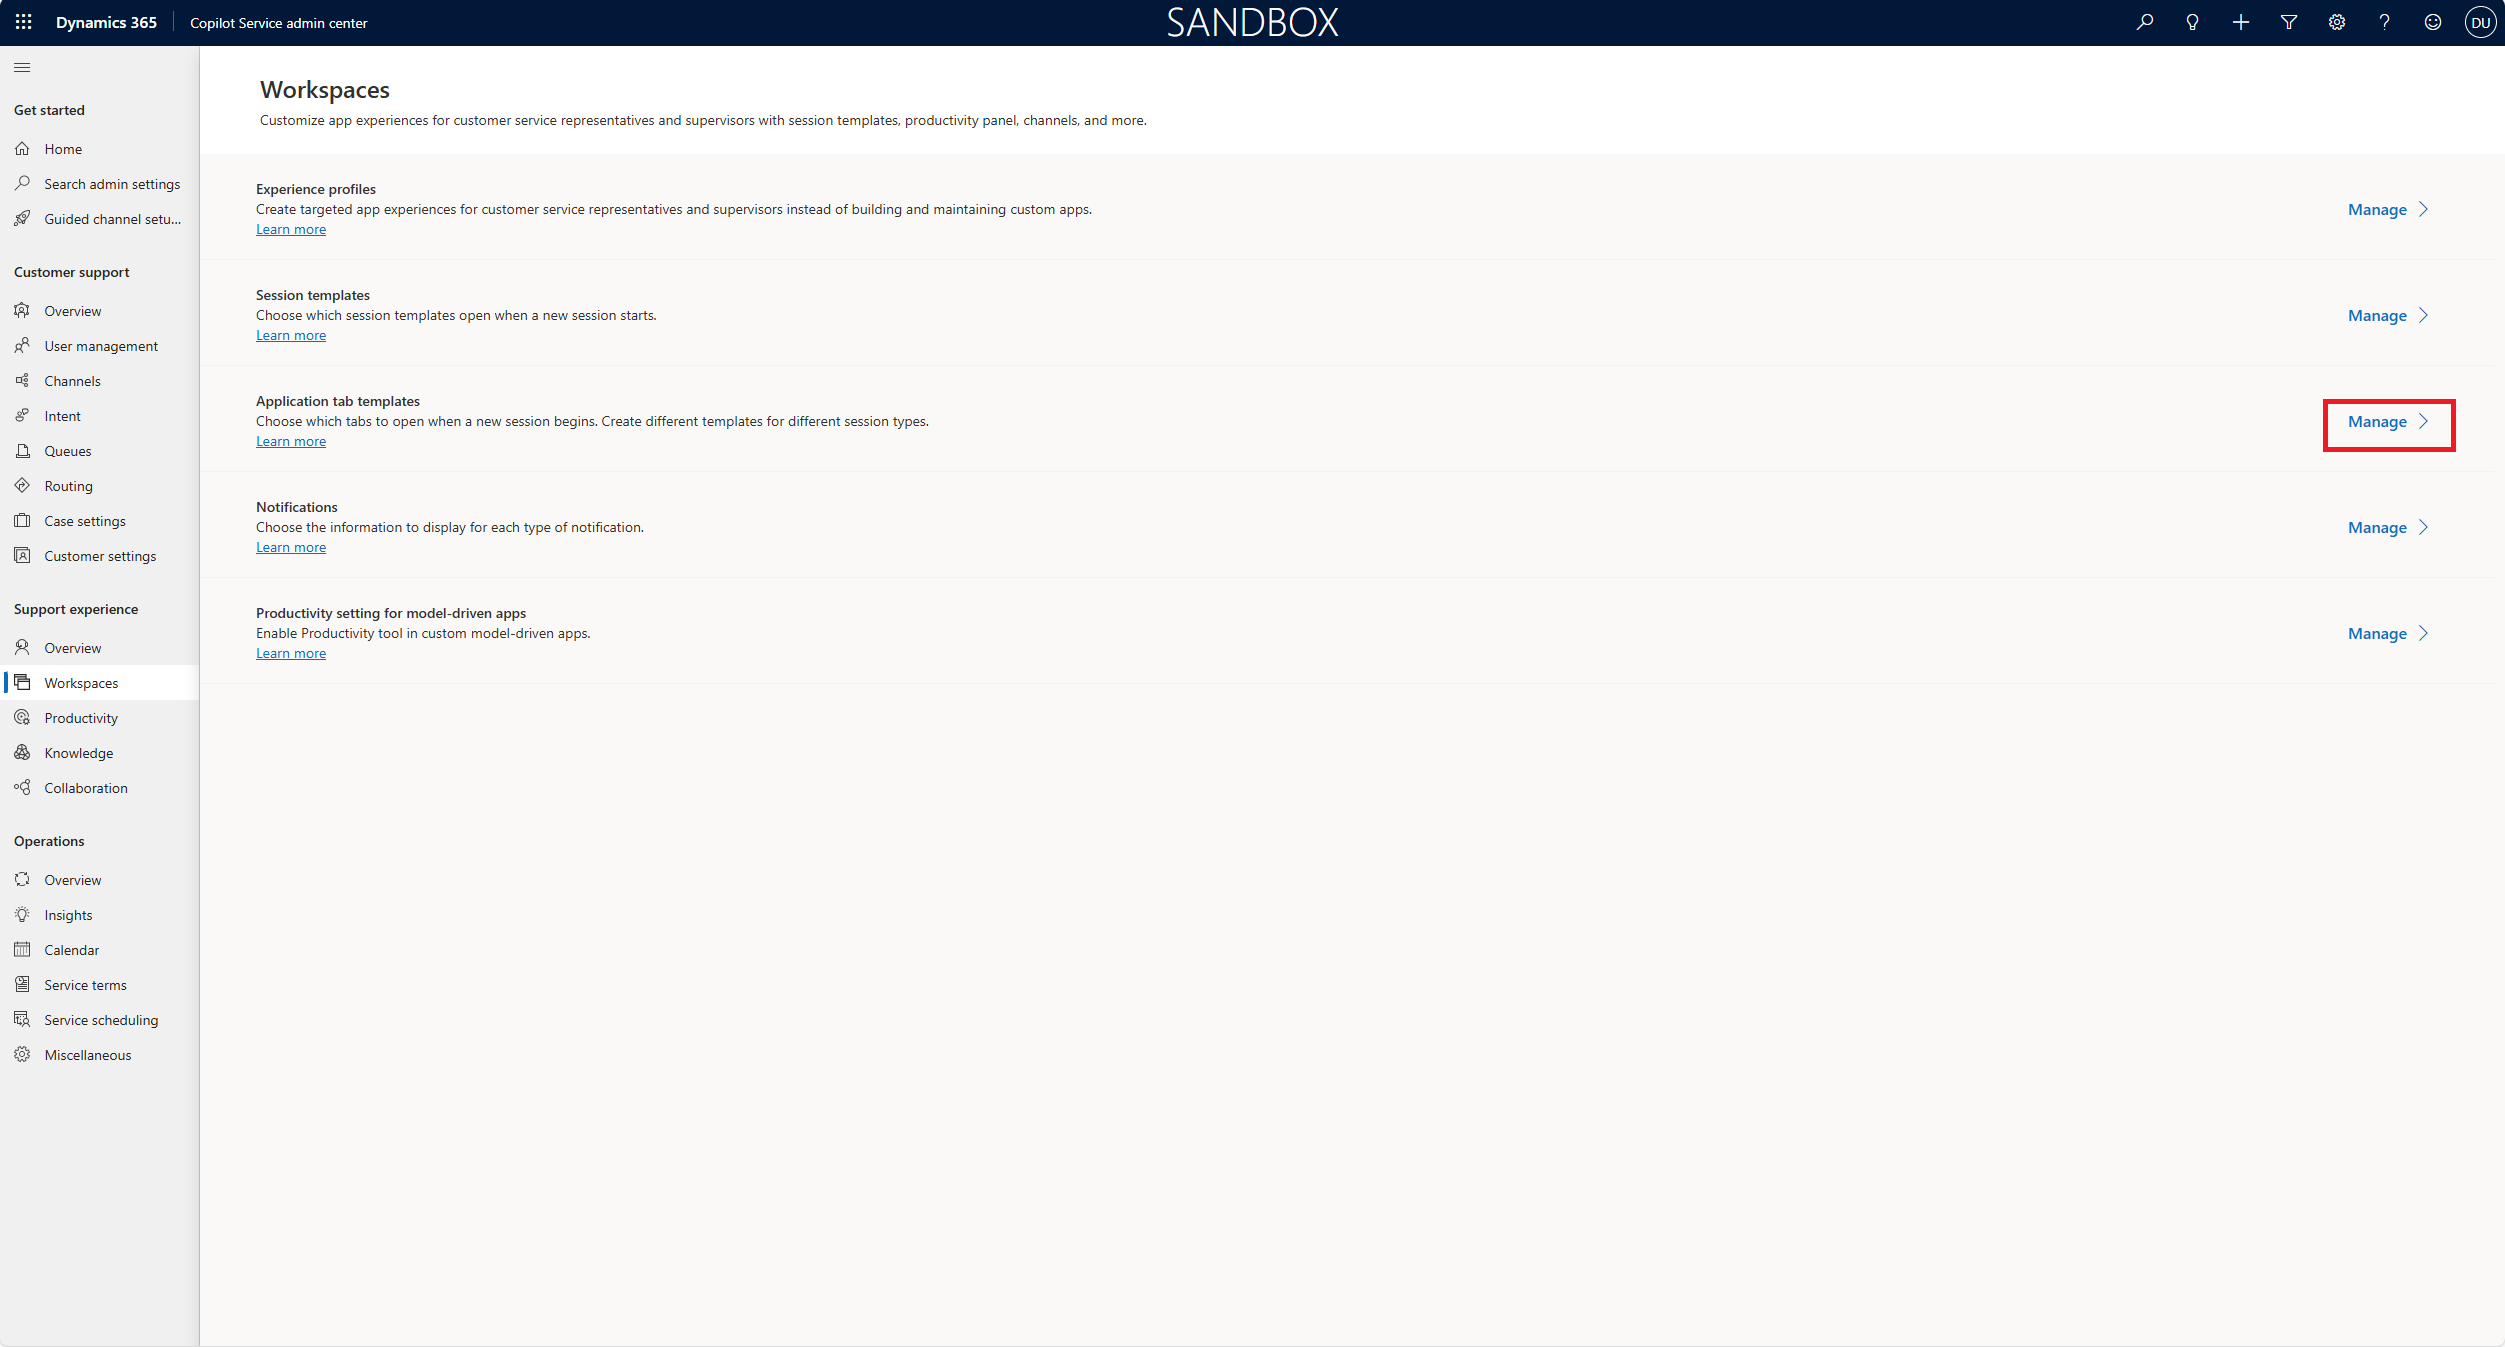
2. Default “Workspaces > Application Tab Templates”
Whitelisting URLs In Connect
1. Follow this guide to whitelist URLS in your amazon instance Use an allowlist for integrated applications in Amazon Connect - Amazon Connect You will need
to whitelist the following URLs - “Channel URL” from the email title “New Domain Provisioned - Amazon Connect For Dynamics 365”. - Your “Dynamics Environment URL”.
Configure Click-to-Call functionality (optional)
Click-to-call functionality allows you to dial outbound by simply clicking on a phone icon beside a contact’s name in your Dynamics 365 instance. Note that click-to-call must be enabled on every form that you will use in Dynamics 365. Although very useful, click-to-call functionality is optional. If you do not wish to enable click-to-call in your Dynamics 365 environment, you can skip this step. The following provides an example of how to enable click-to-call for the Contact form, which is associated with contact objects.
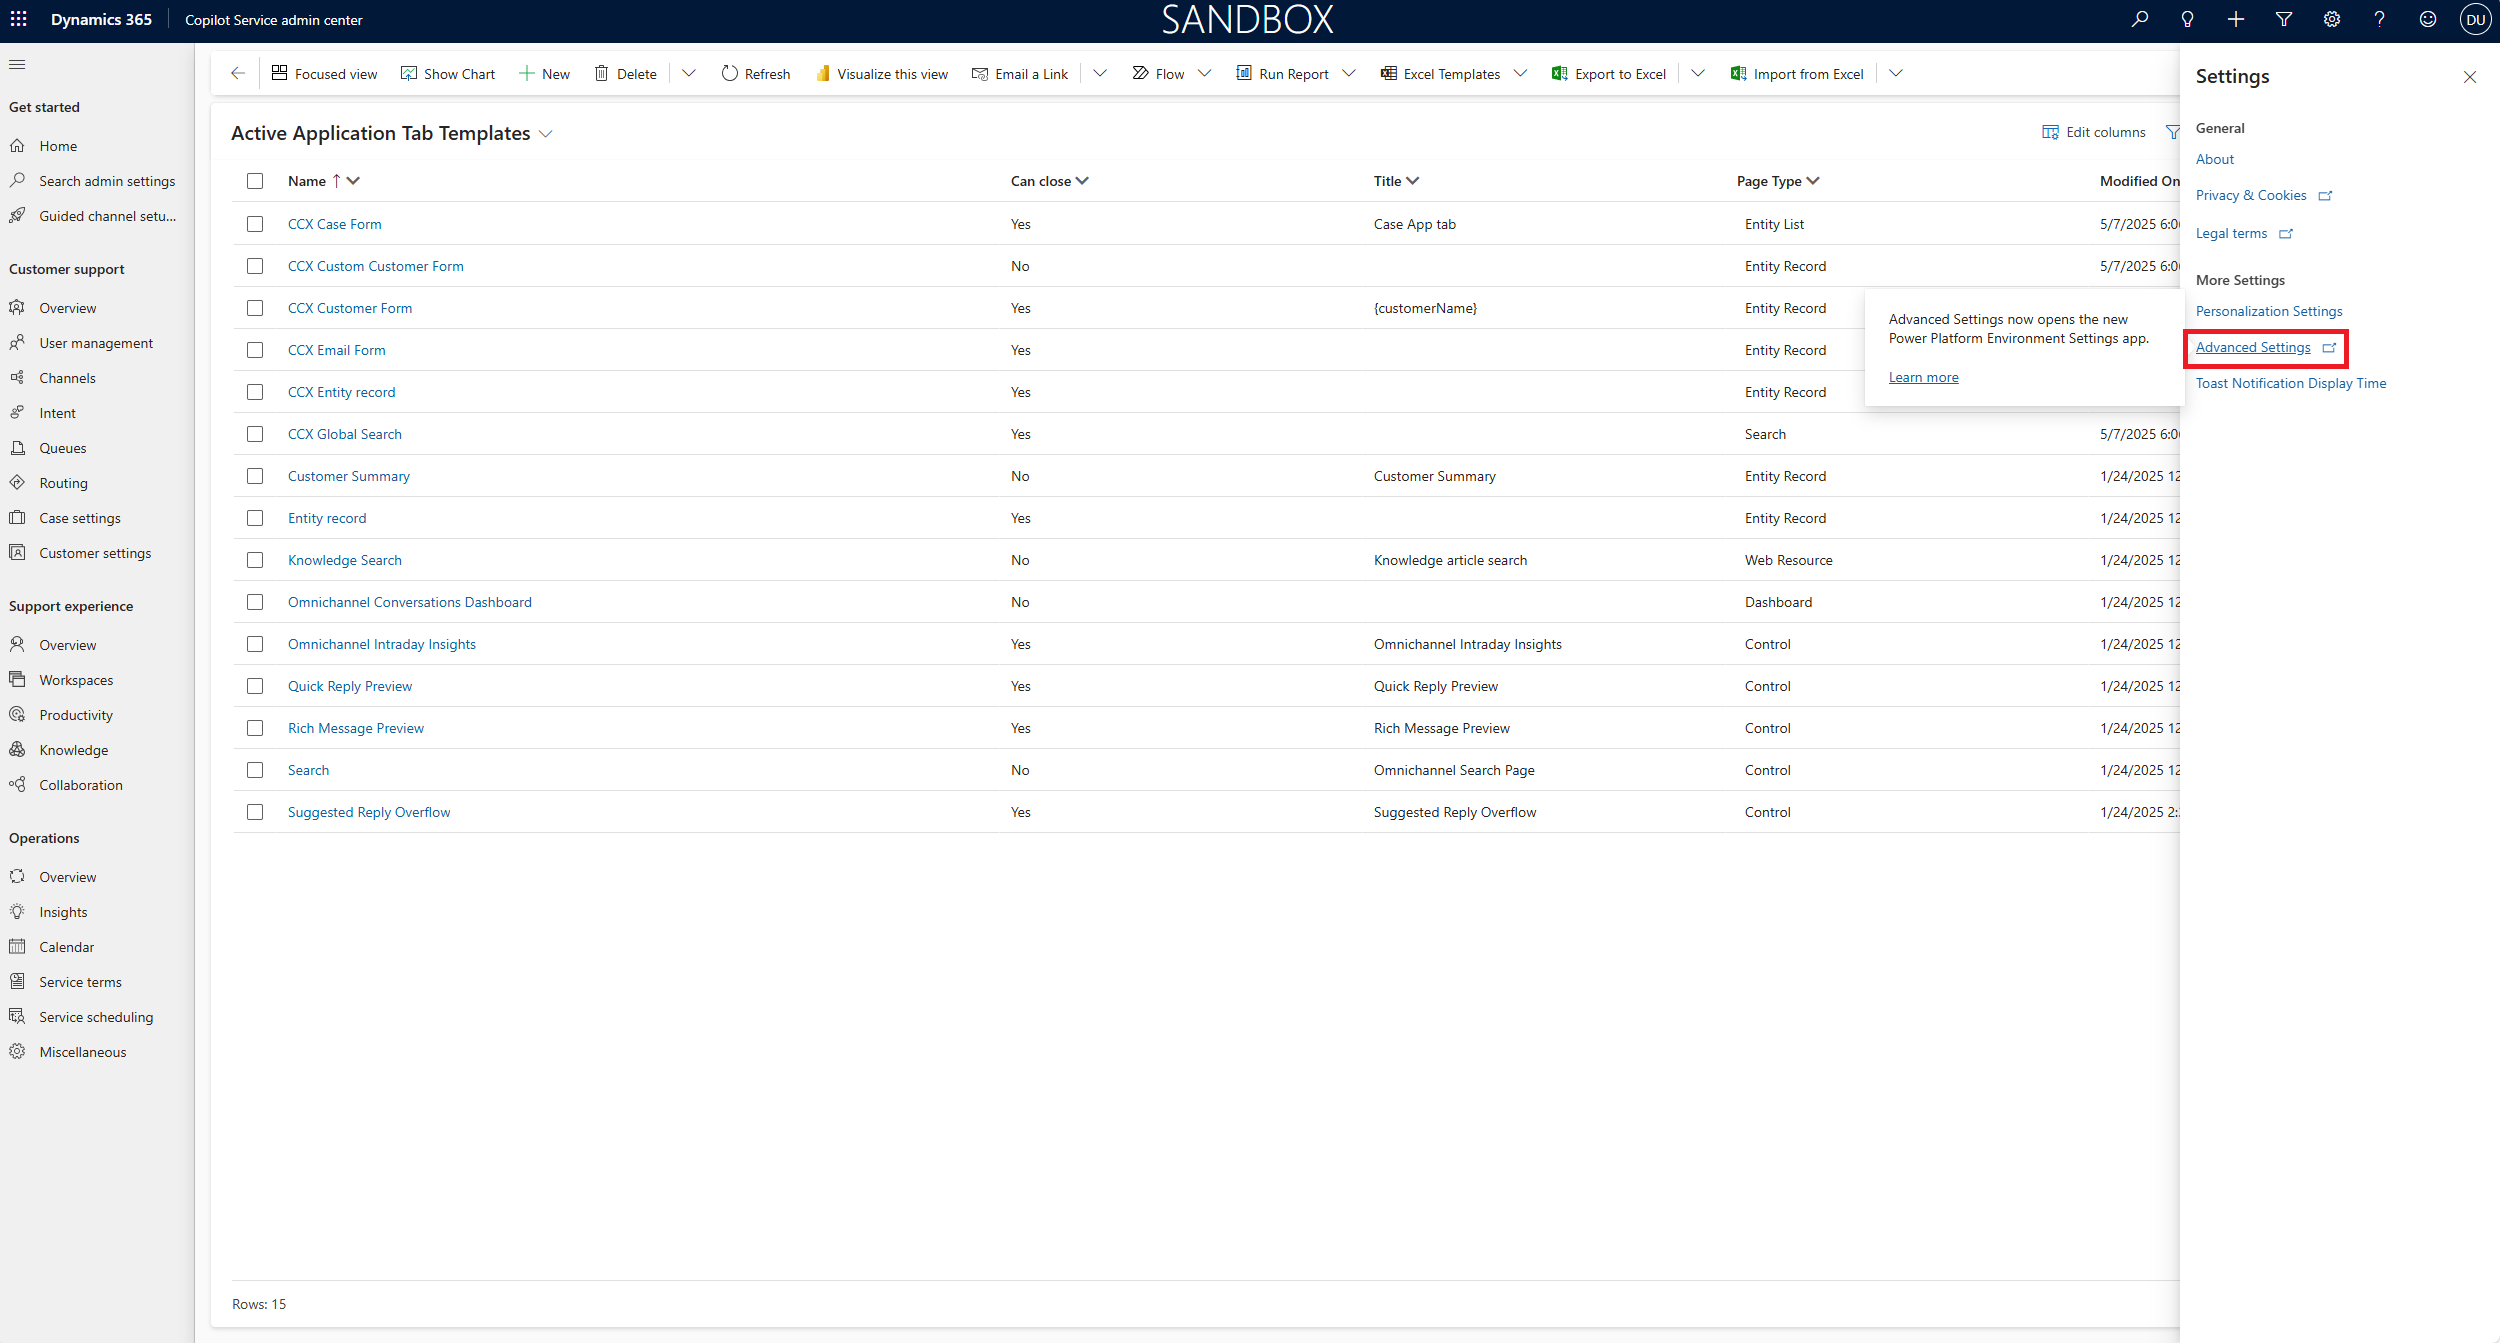
1. In Dynamics 365, go to Settings (gear icon) > Advanced Settings and a new window will pop.
2. From the left navigation select “Customizations > Customize the system”.
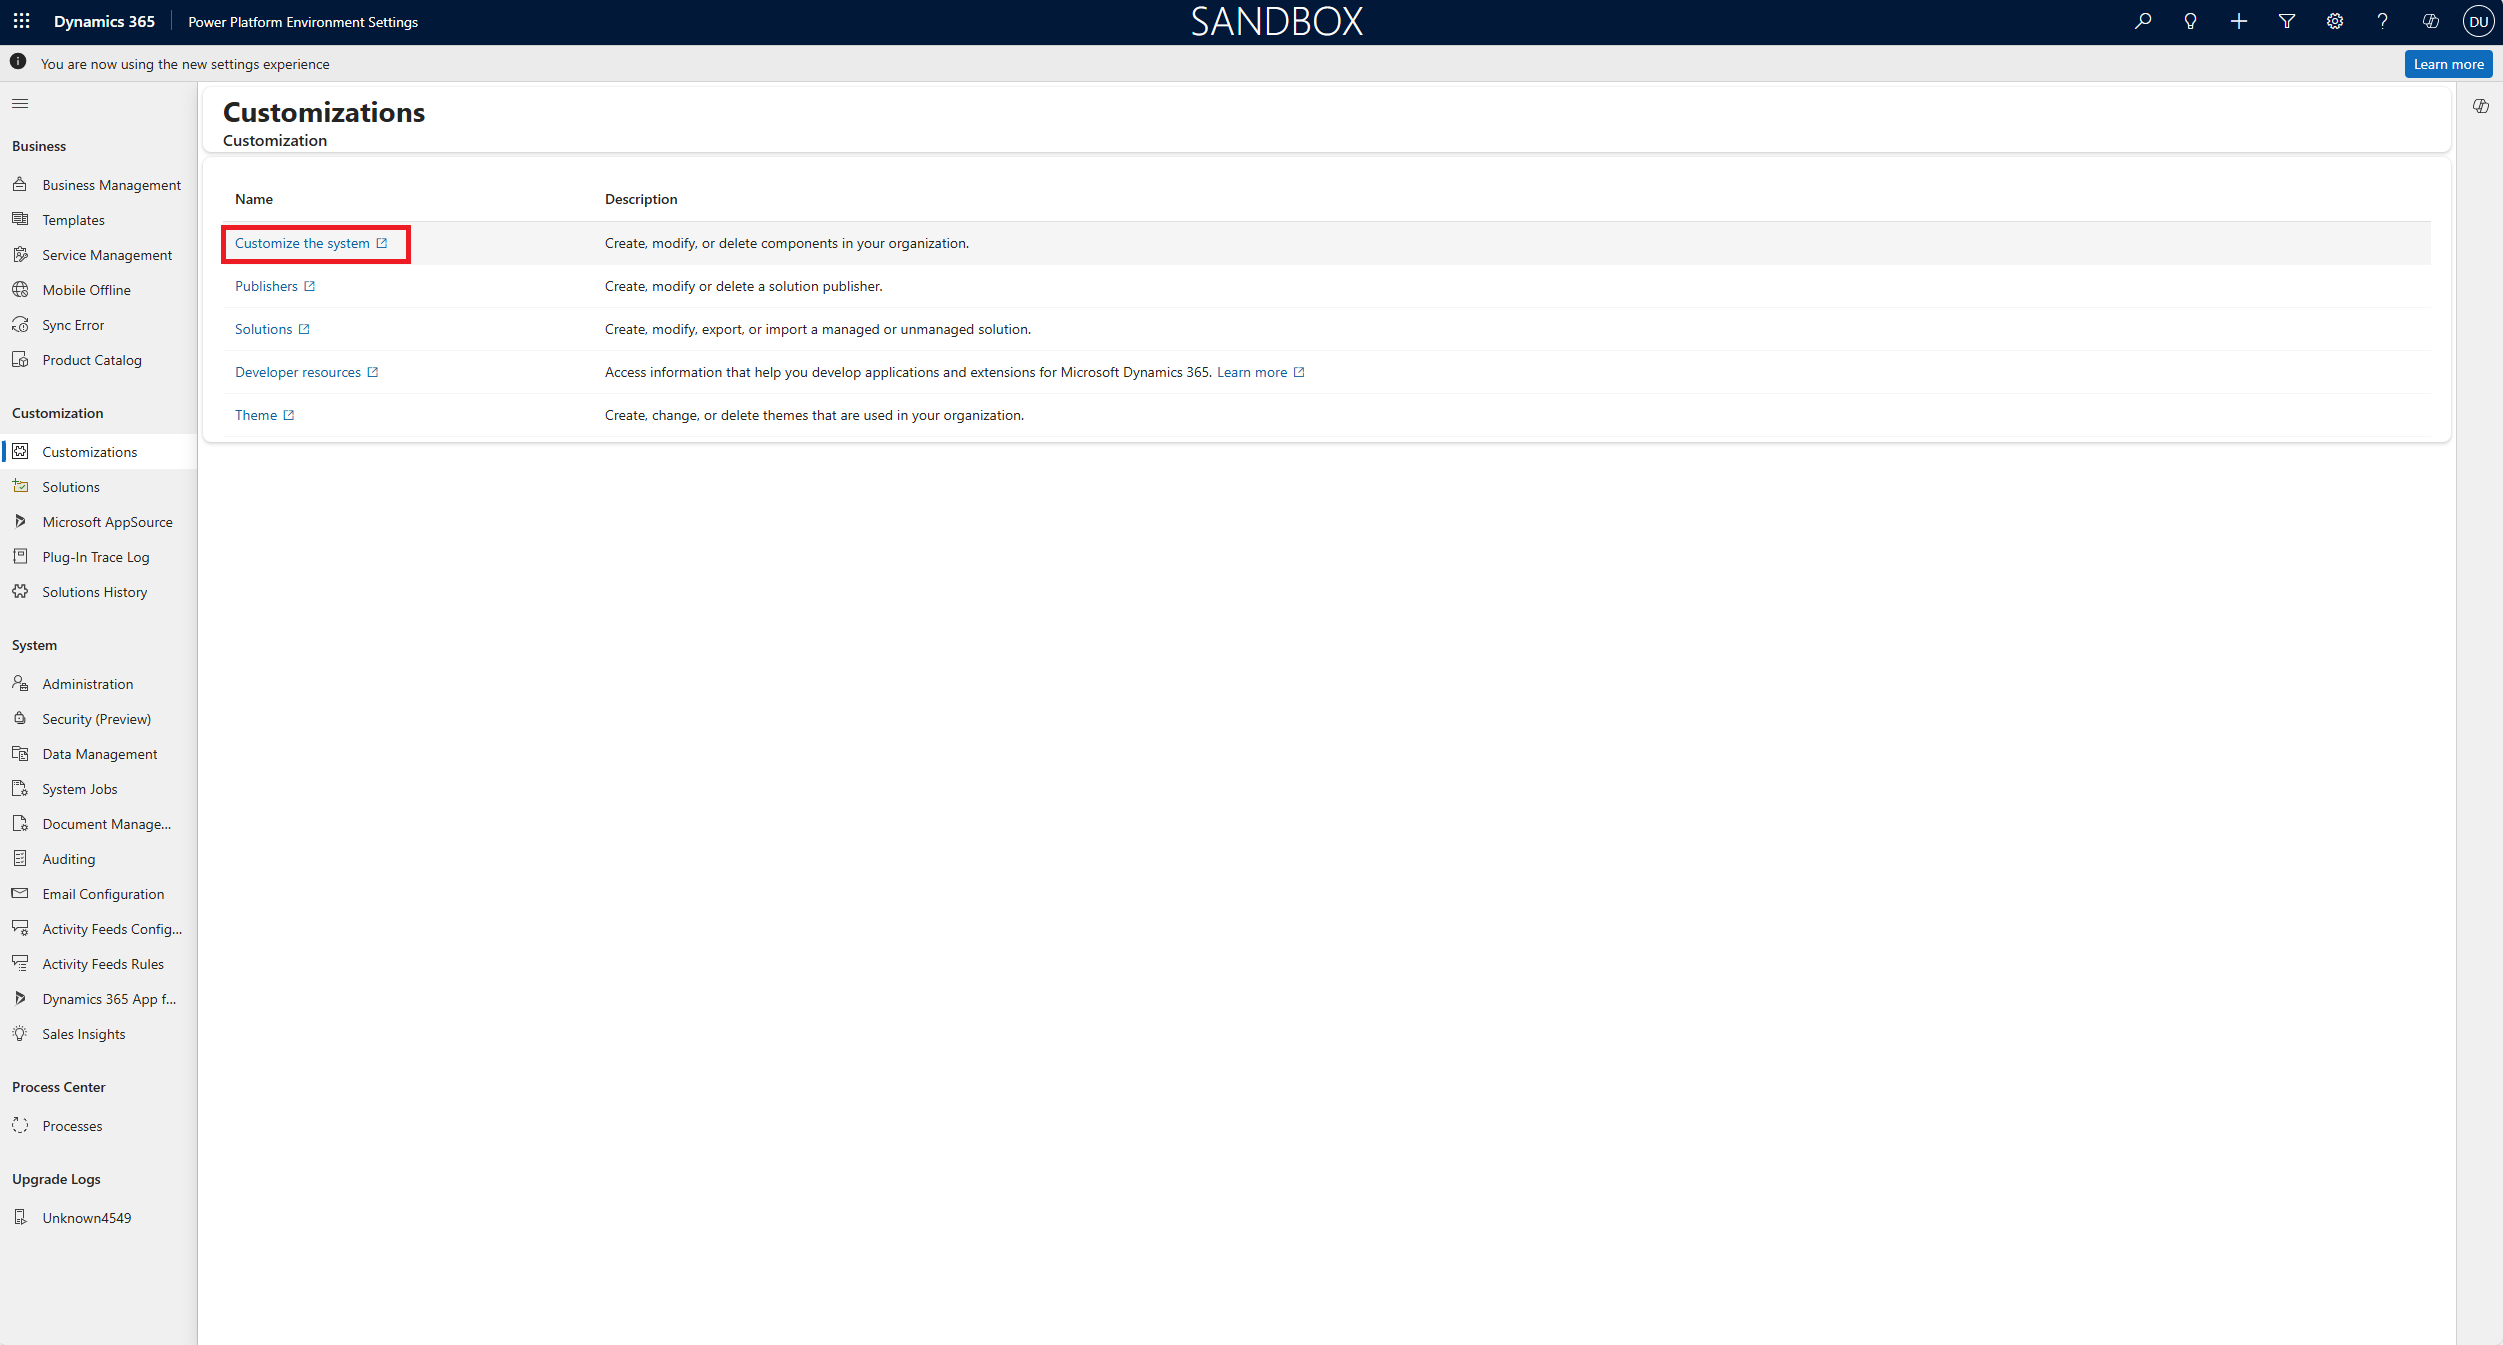 3. From here, the Power Apps service will launch.
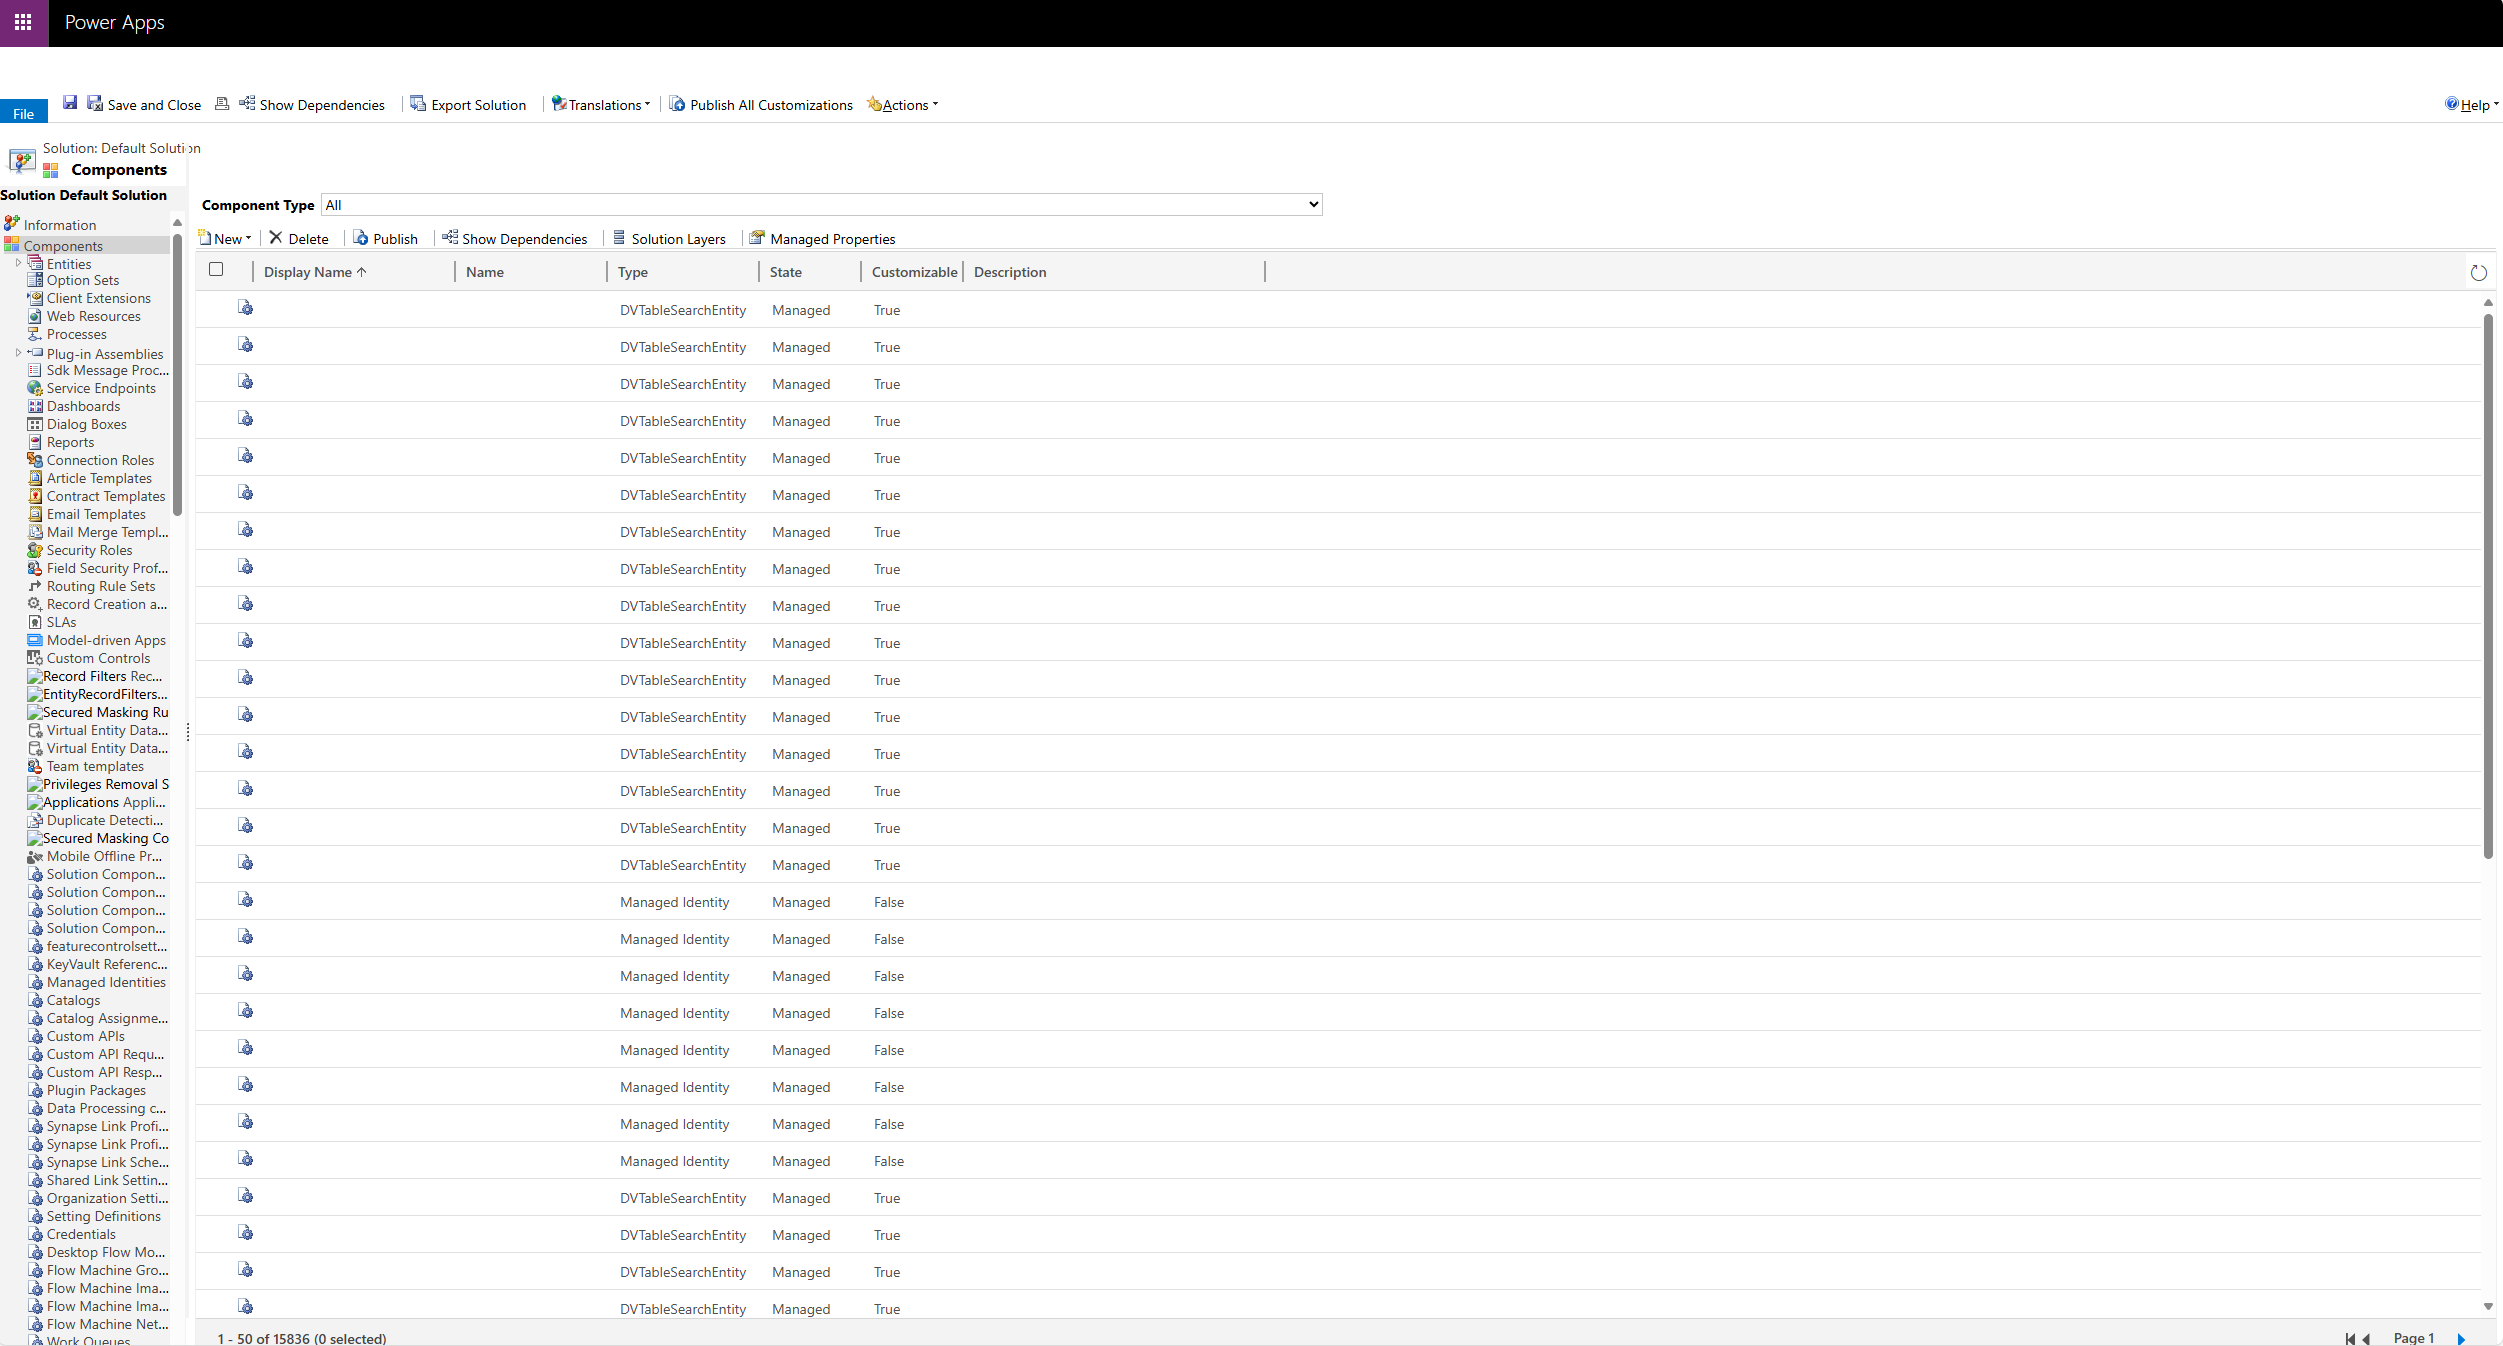
4. In the Solution: Default Solution panel, go to Components > Entities > Contact > Forms.
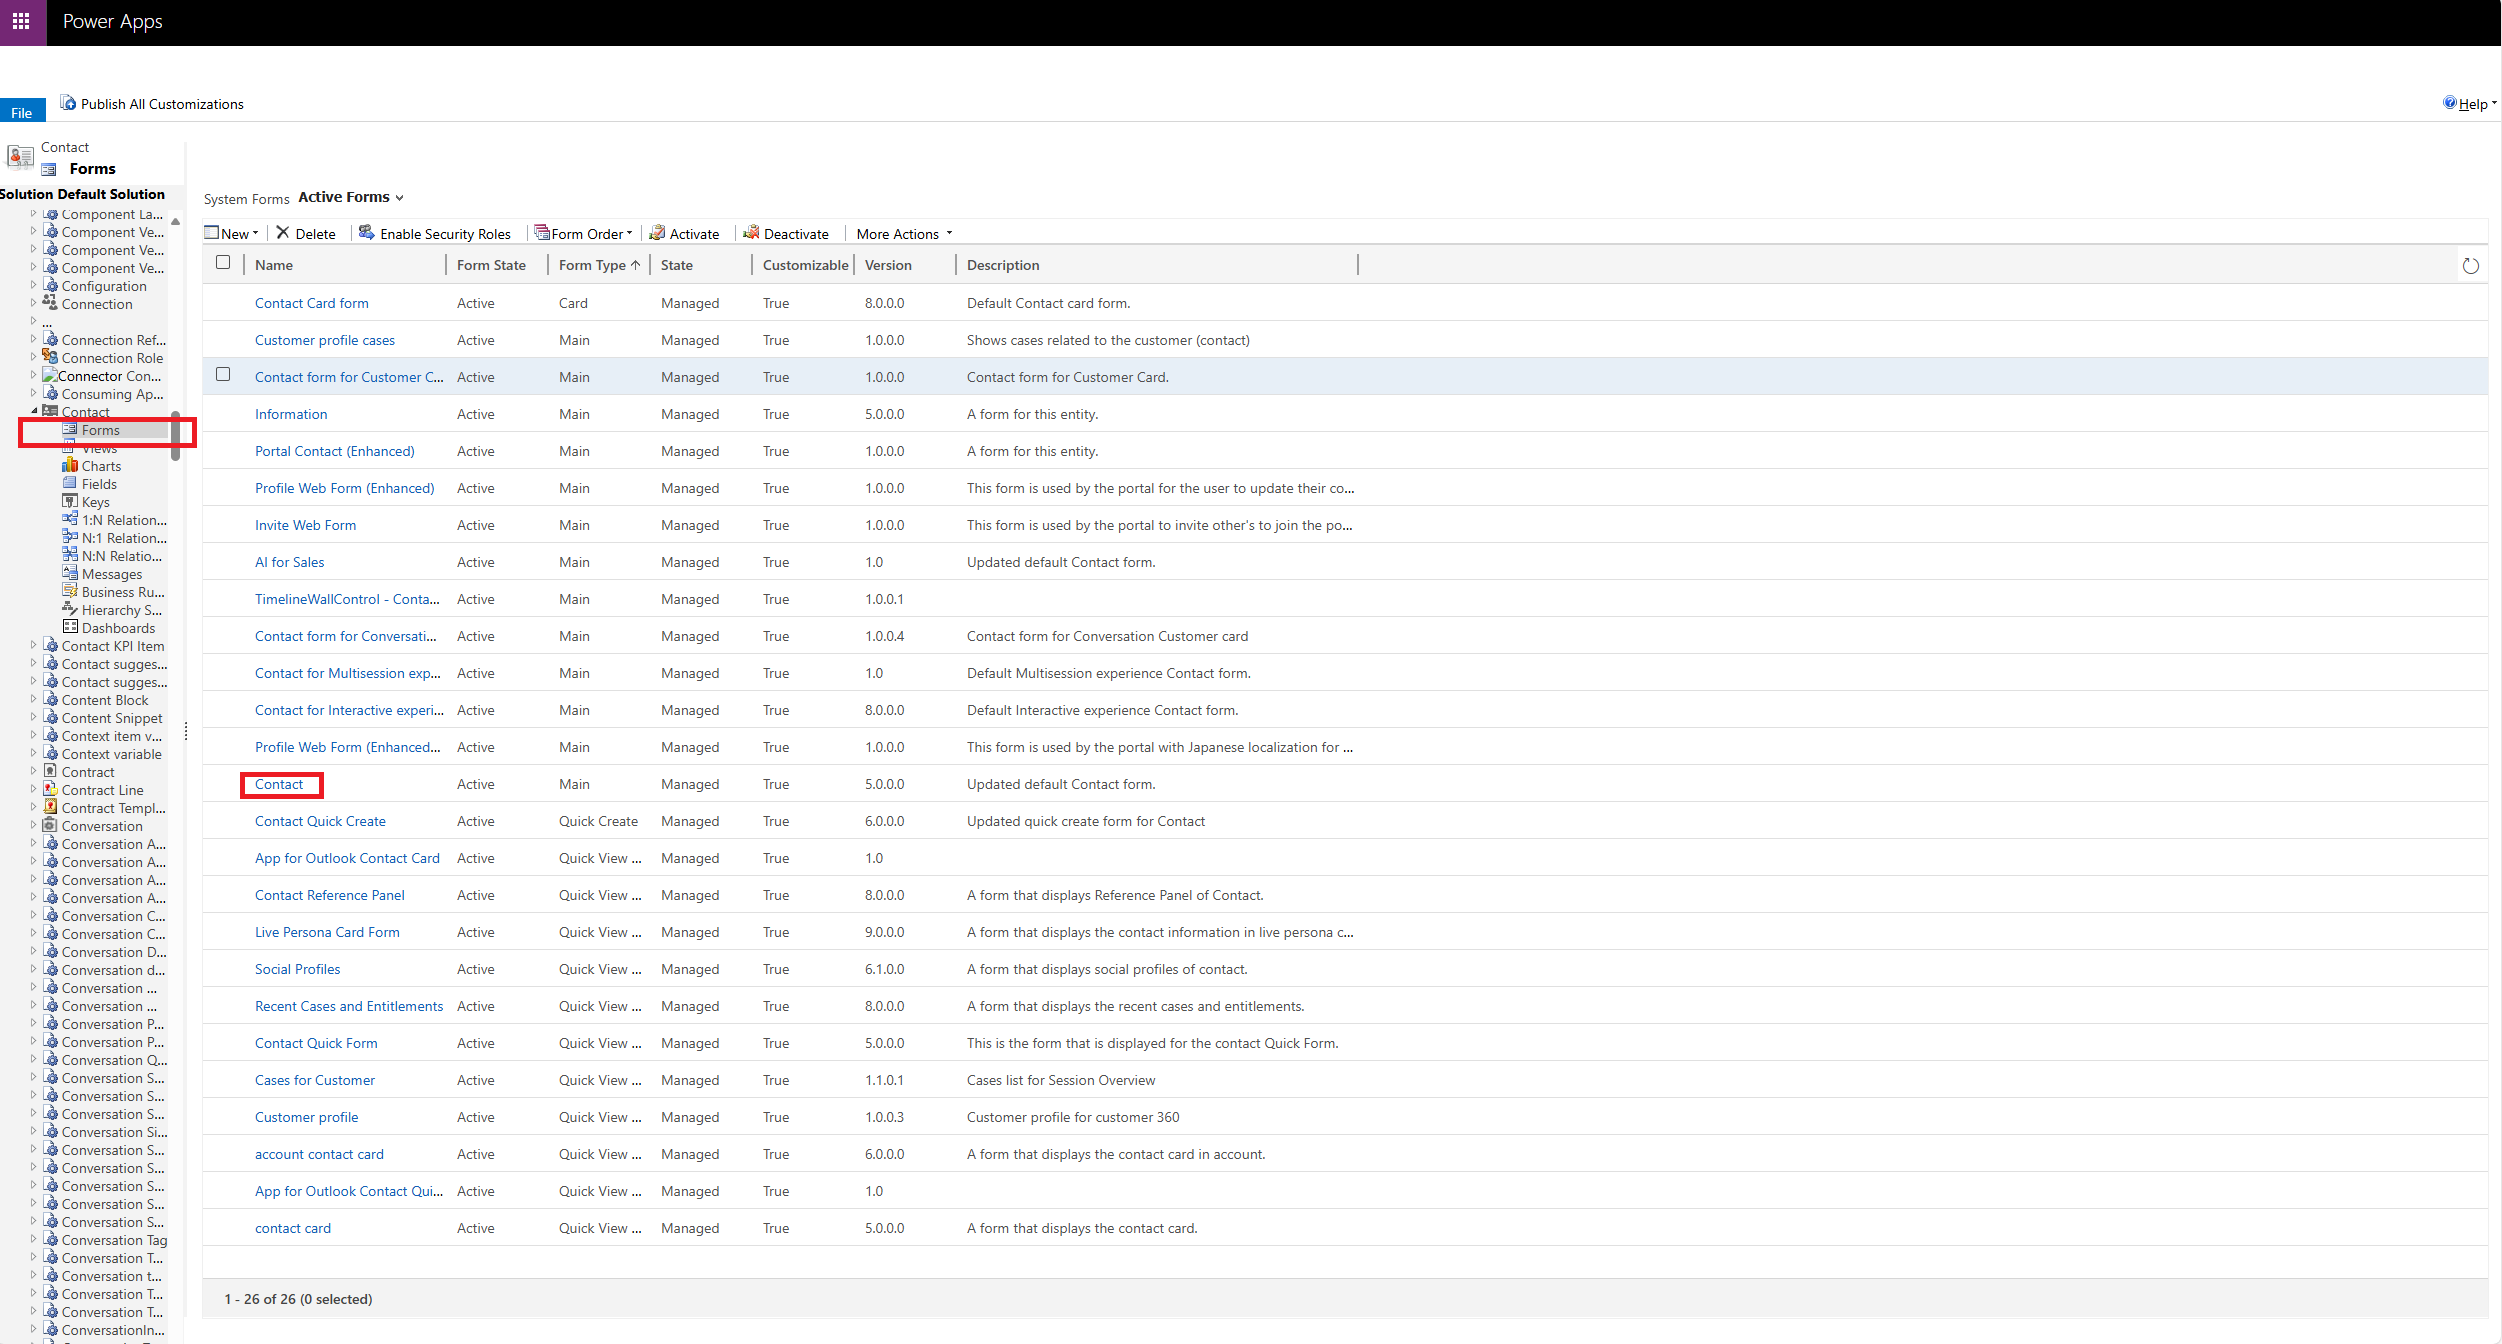
Go to "Components > Entities > Contact > Forms"
1. Select a form (in this example, “Contact” form) from the list of active form types; the form will pop in a new window.
2. On this form, you will see the fields layout including all the types of phone fields. You will need to modify every phone field. To do this:
3. Double-click on each phone field 4. Go to Controls tab > Add Control > Channel Communication Control
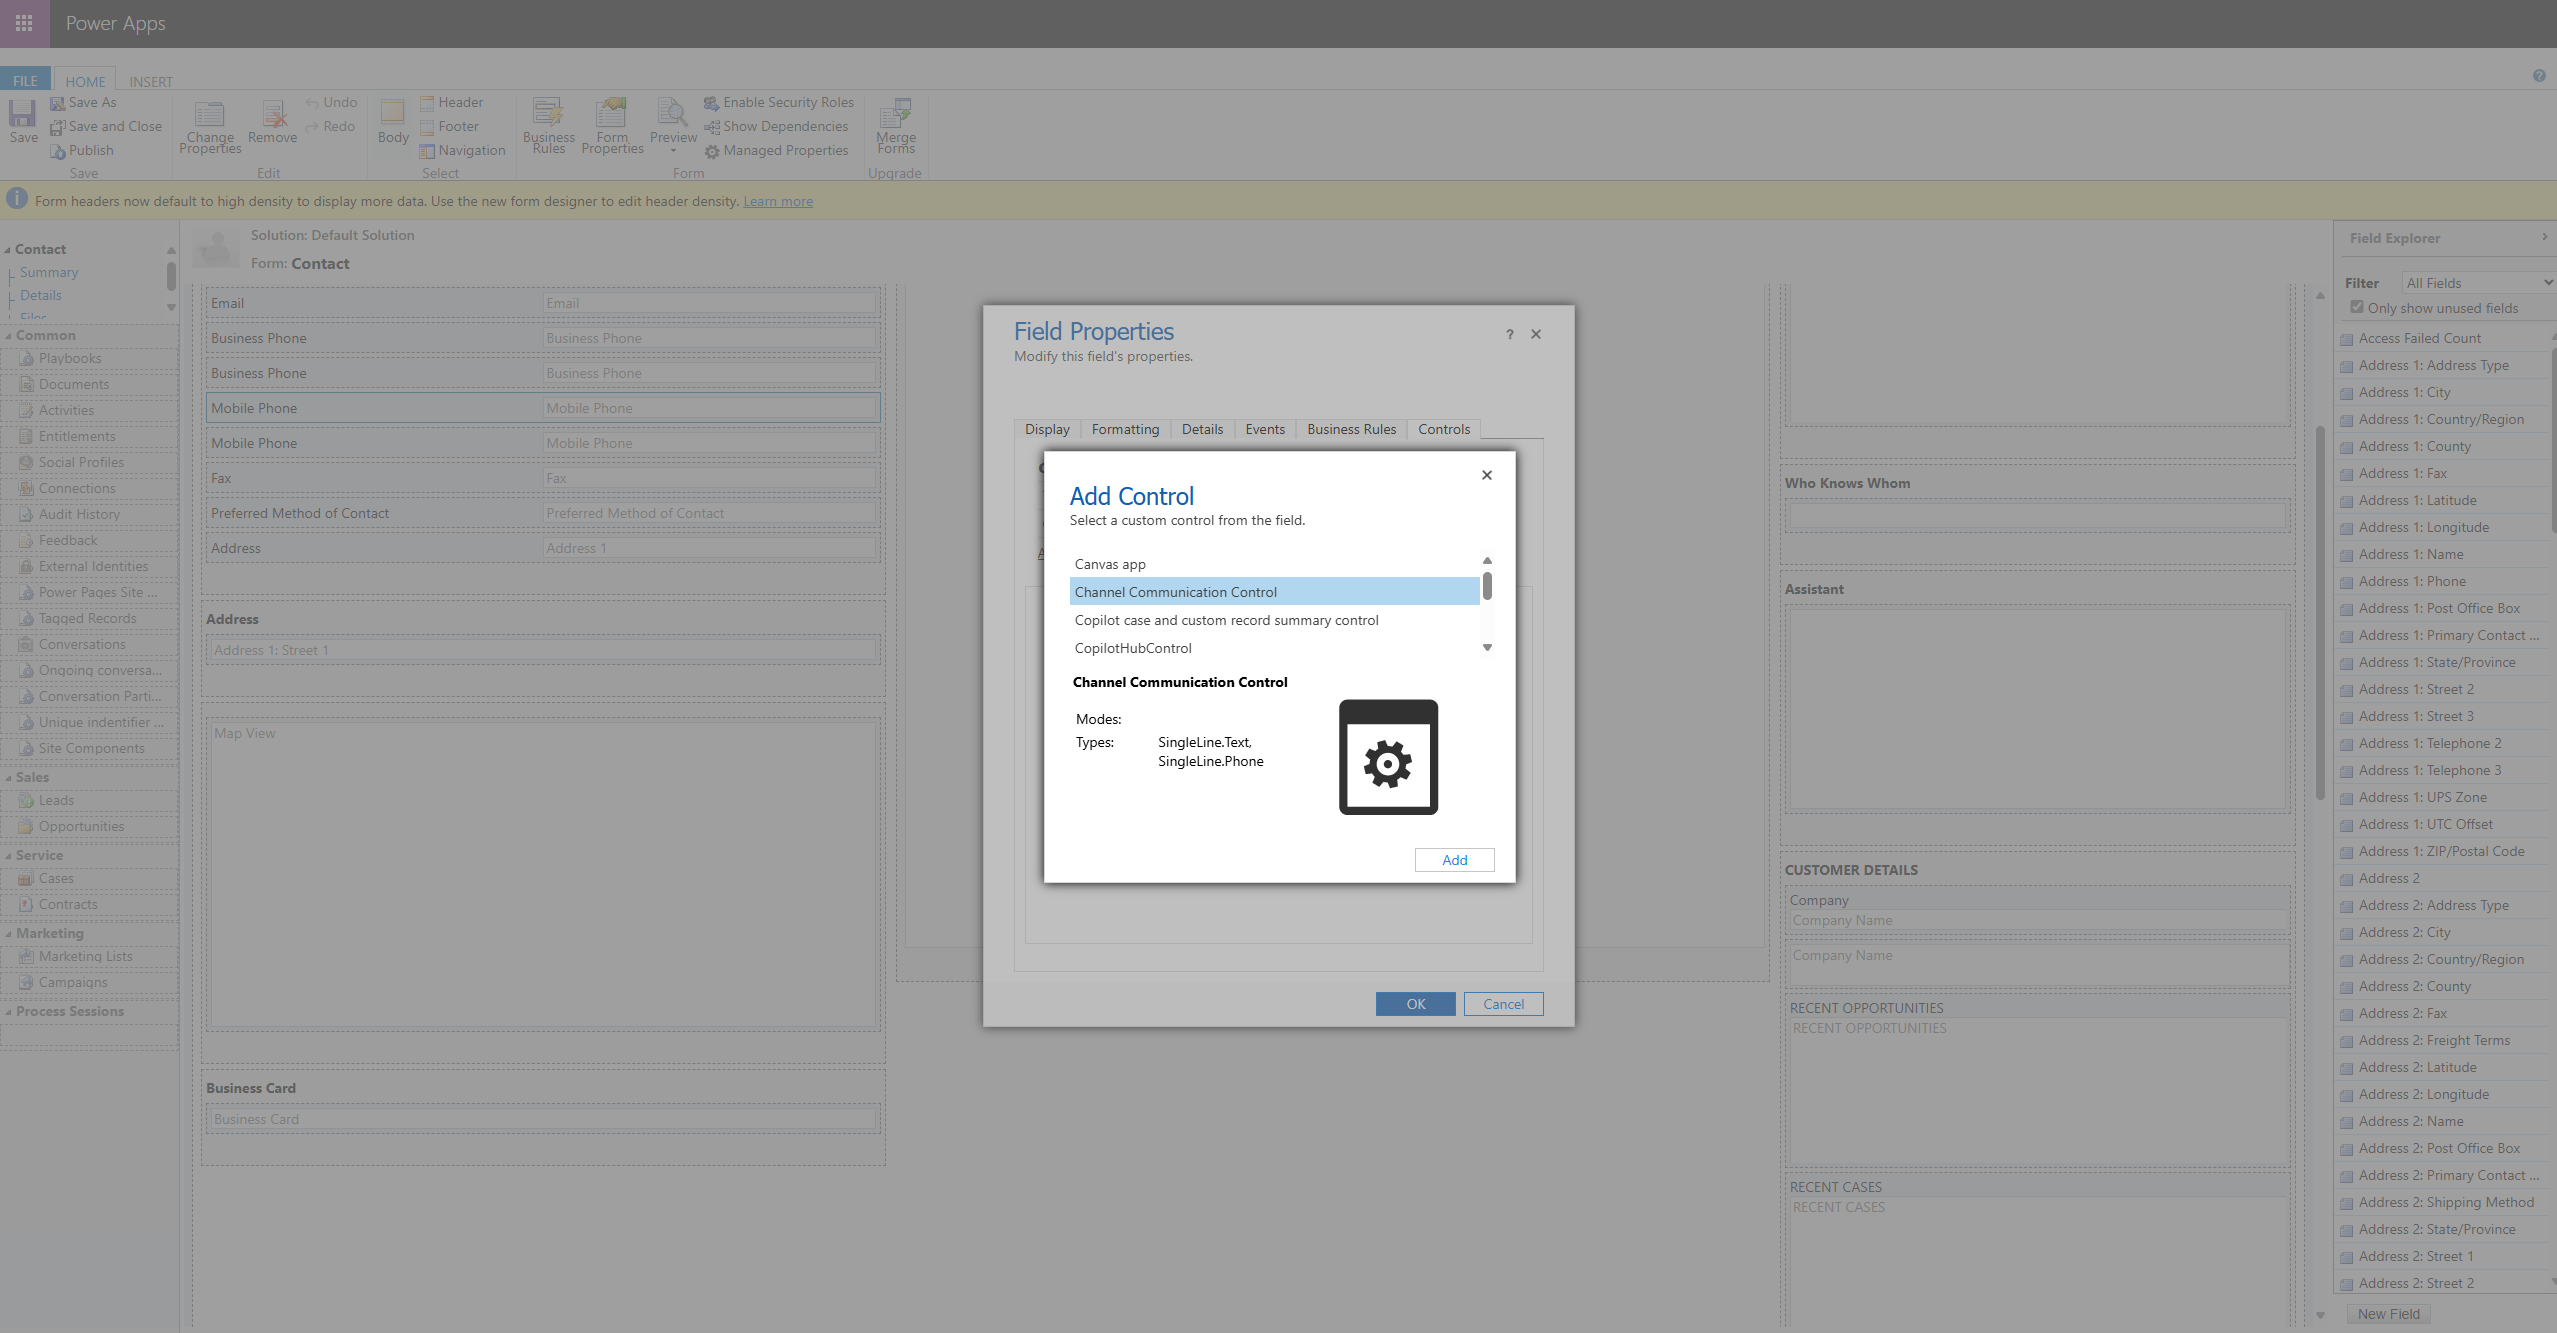
5. Select "Channel Communication Control", for every type of communication, select the corresponding radio button (i.e., web, phone, tablet).
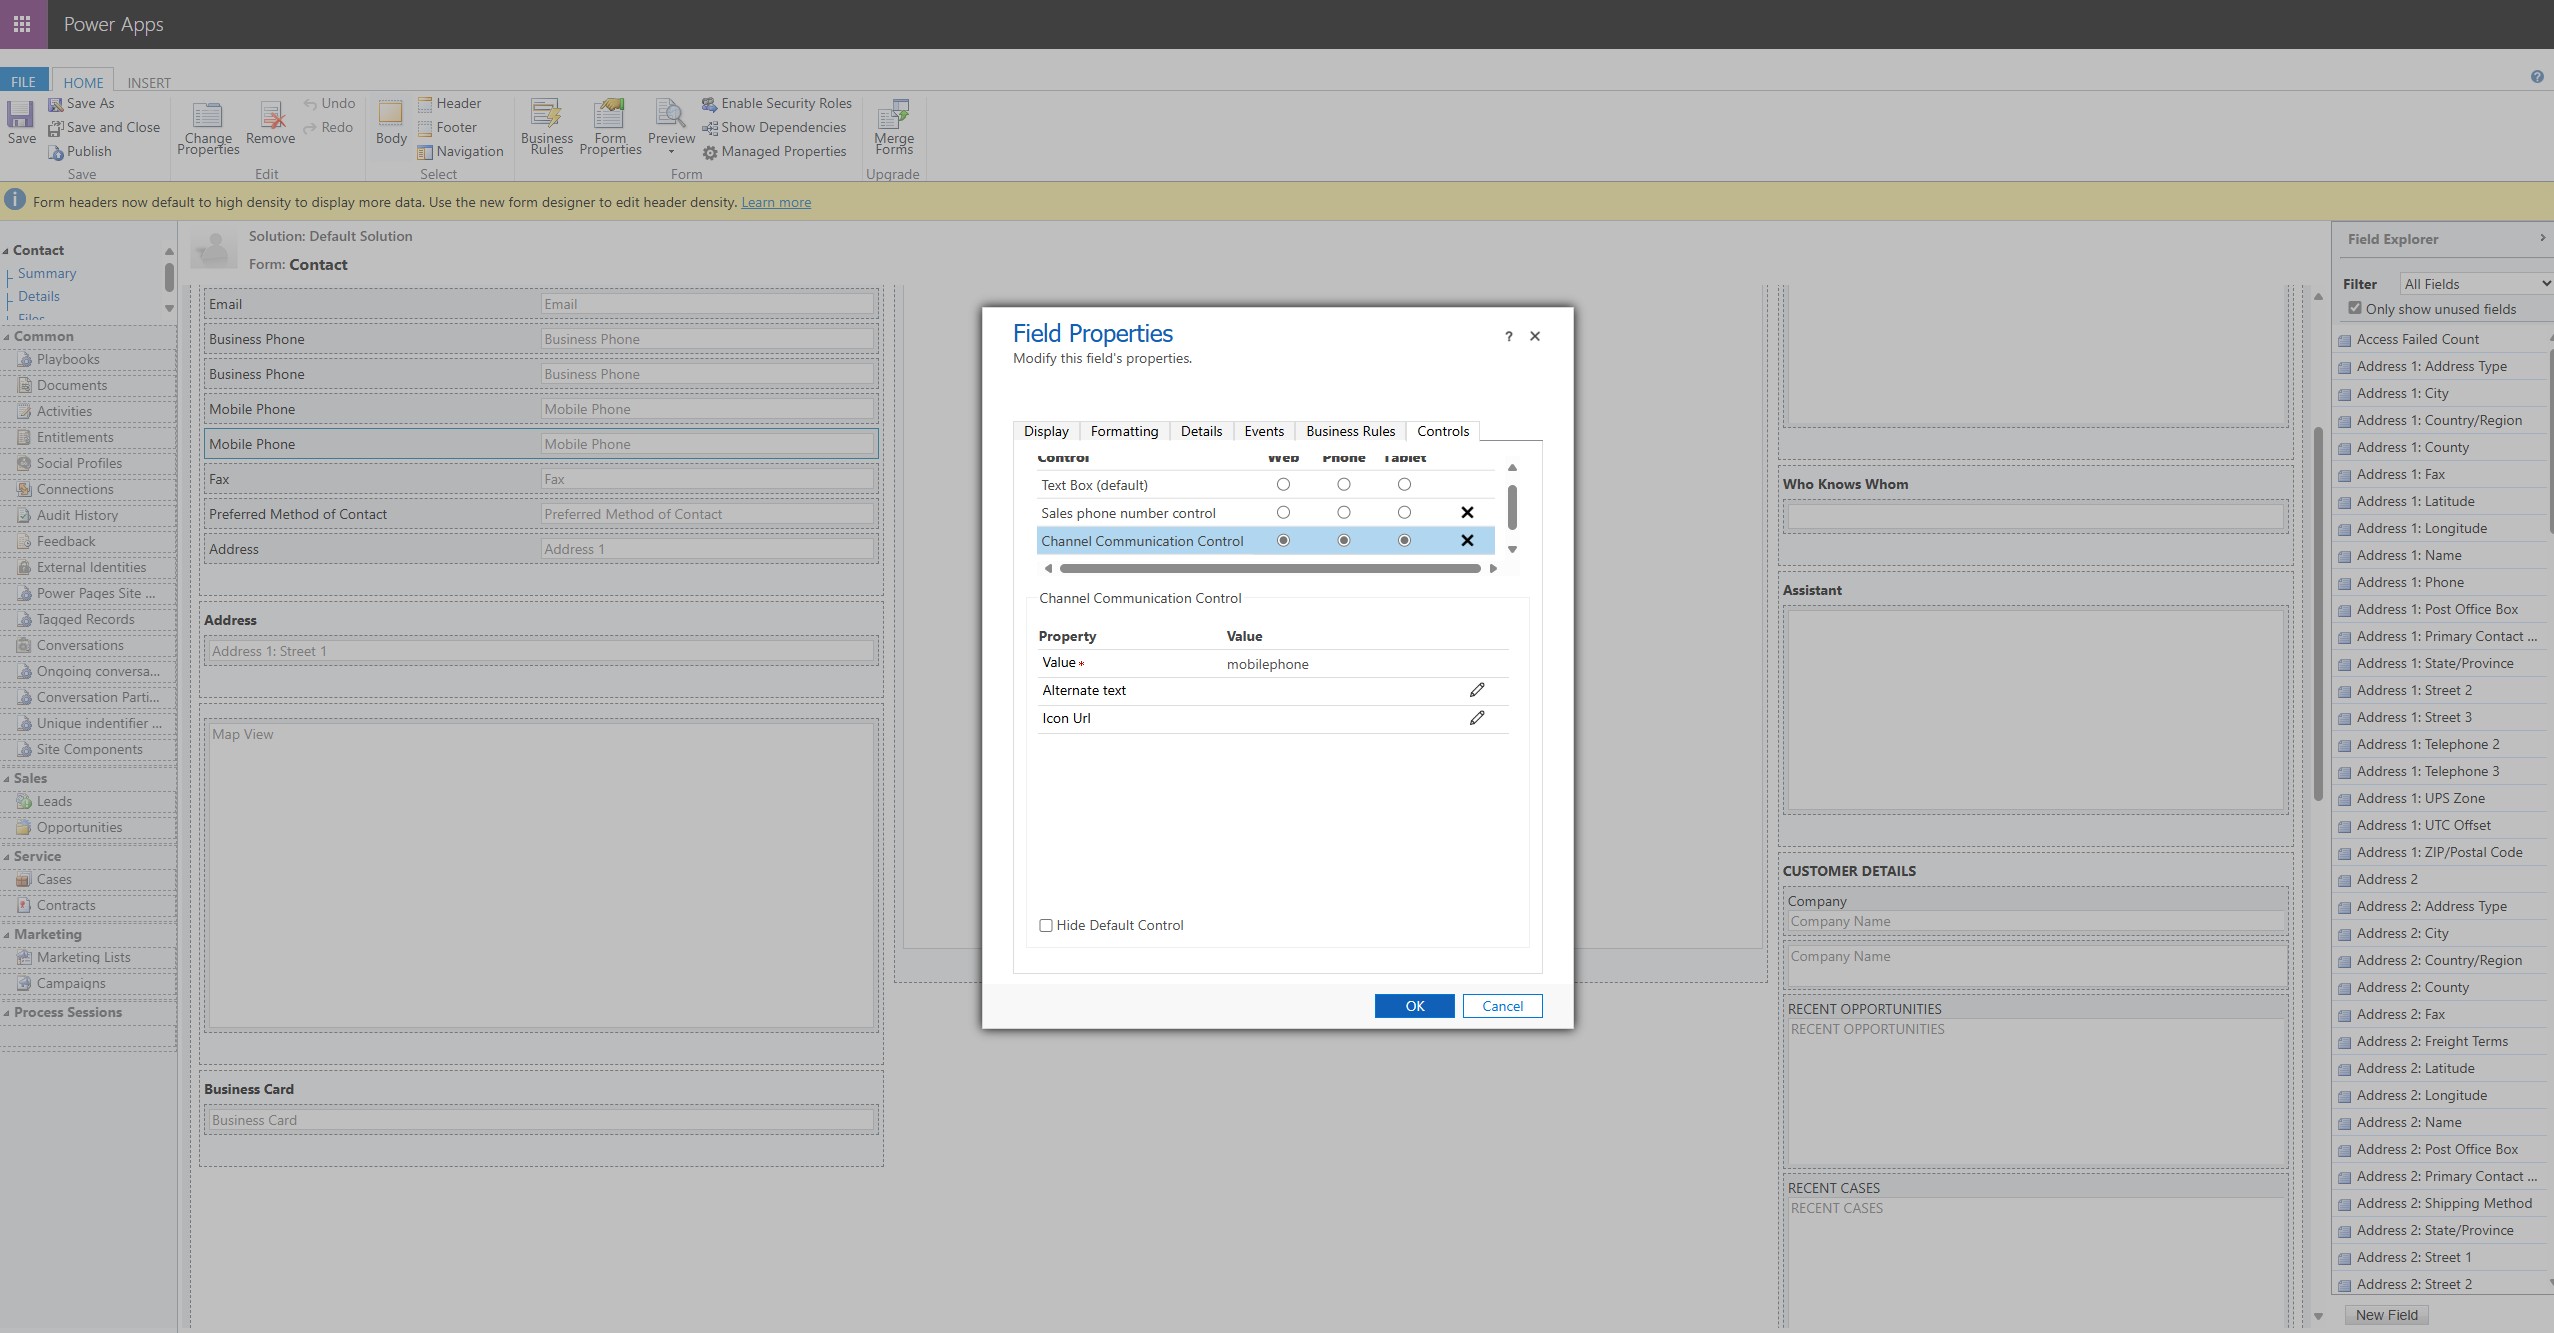
6. Select communication type(s) - Click OK. - Click to Save the form. - Click Publish.
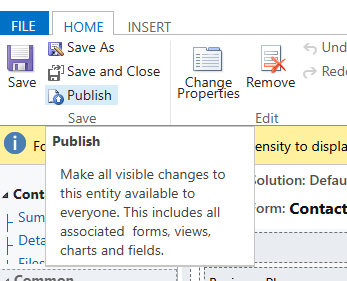
You must publish!
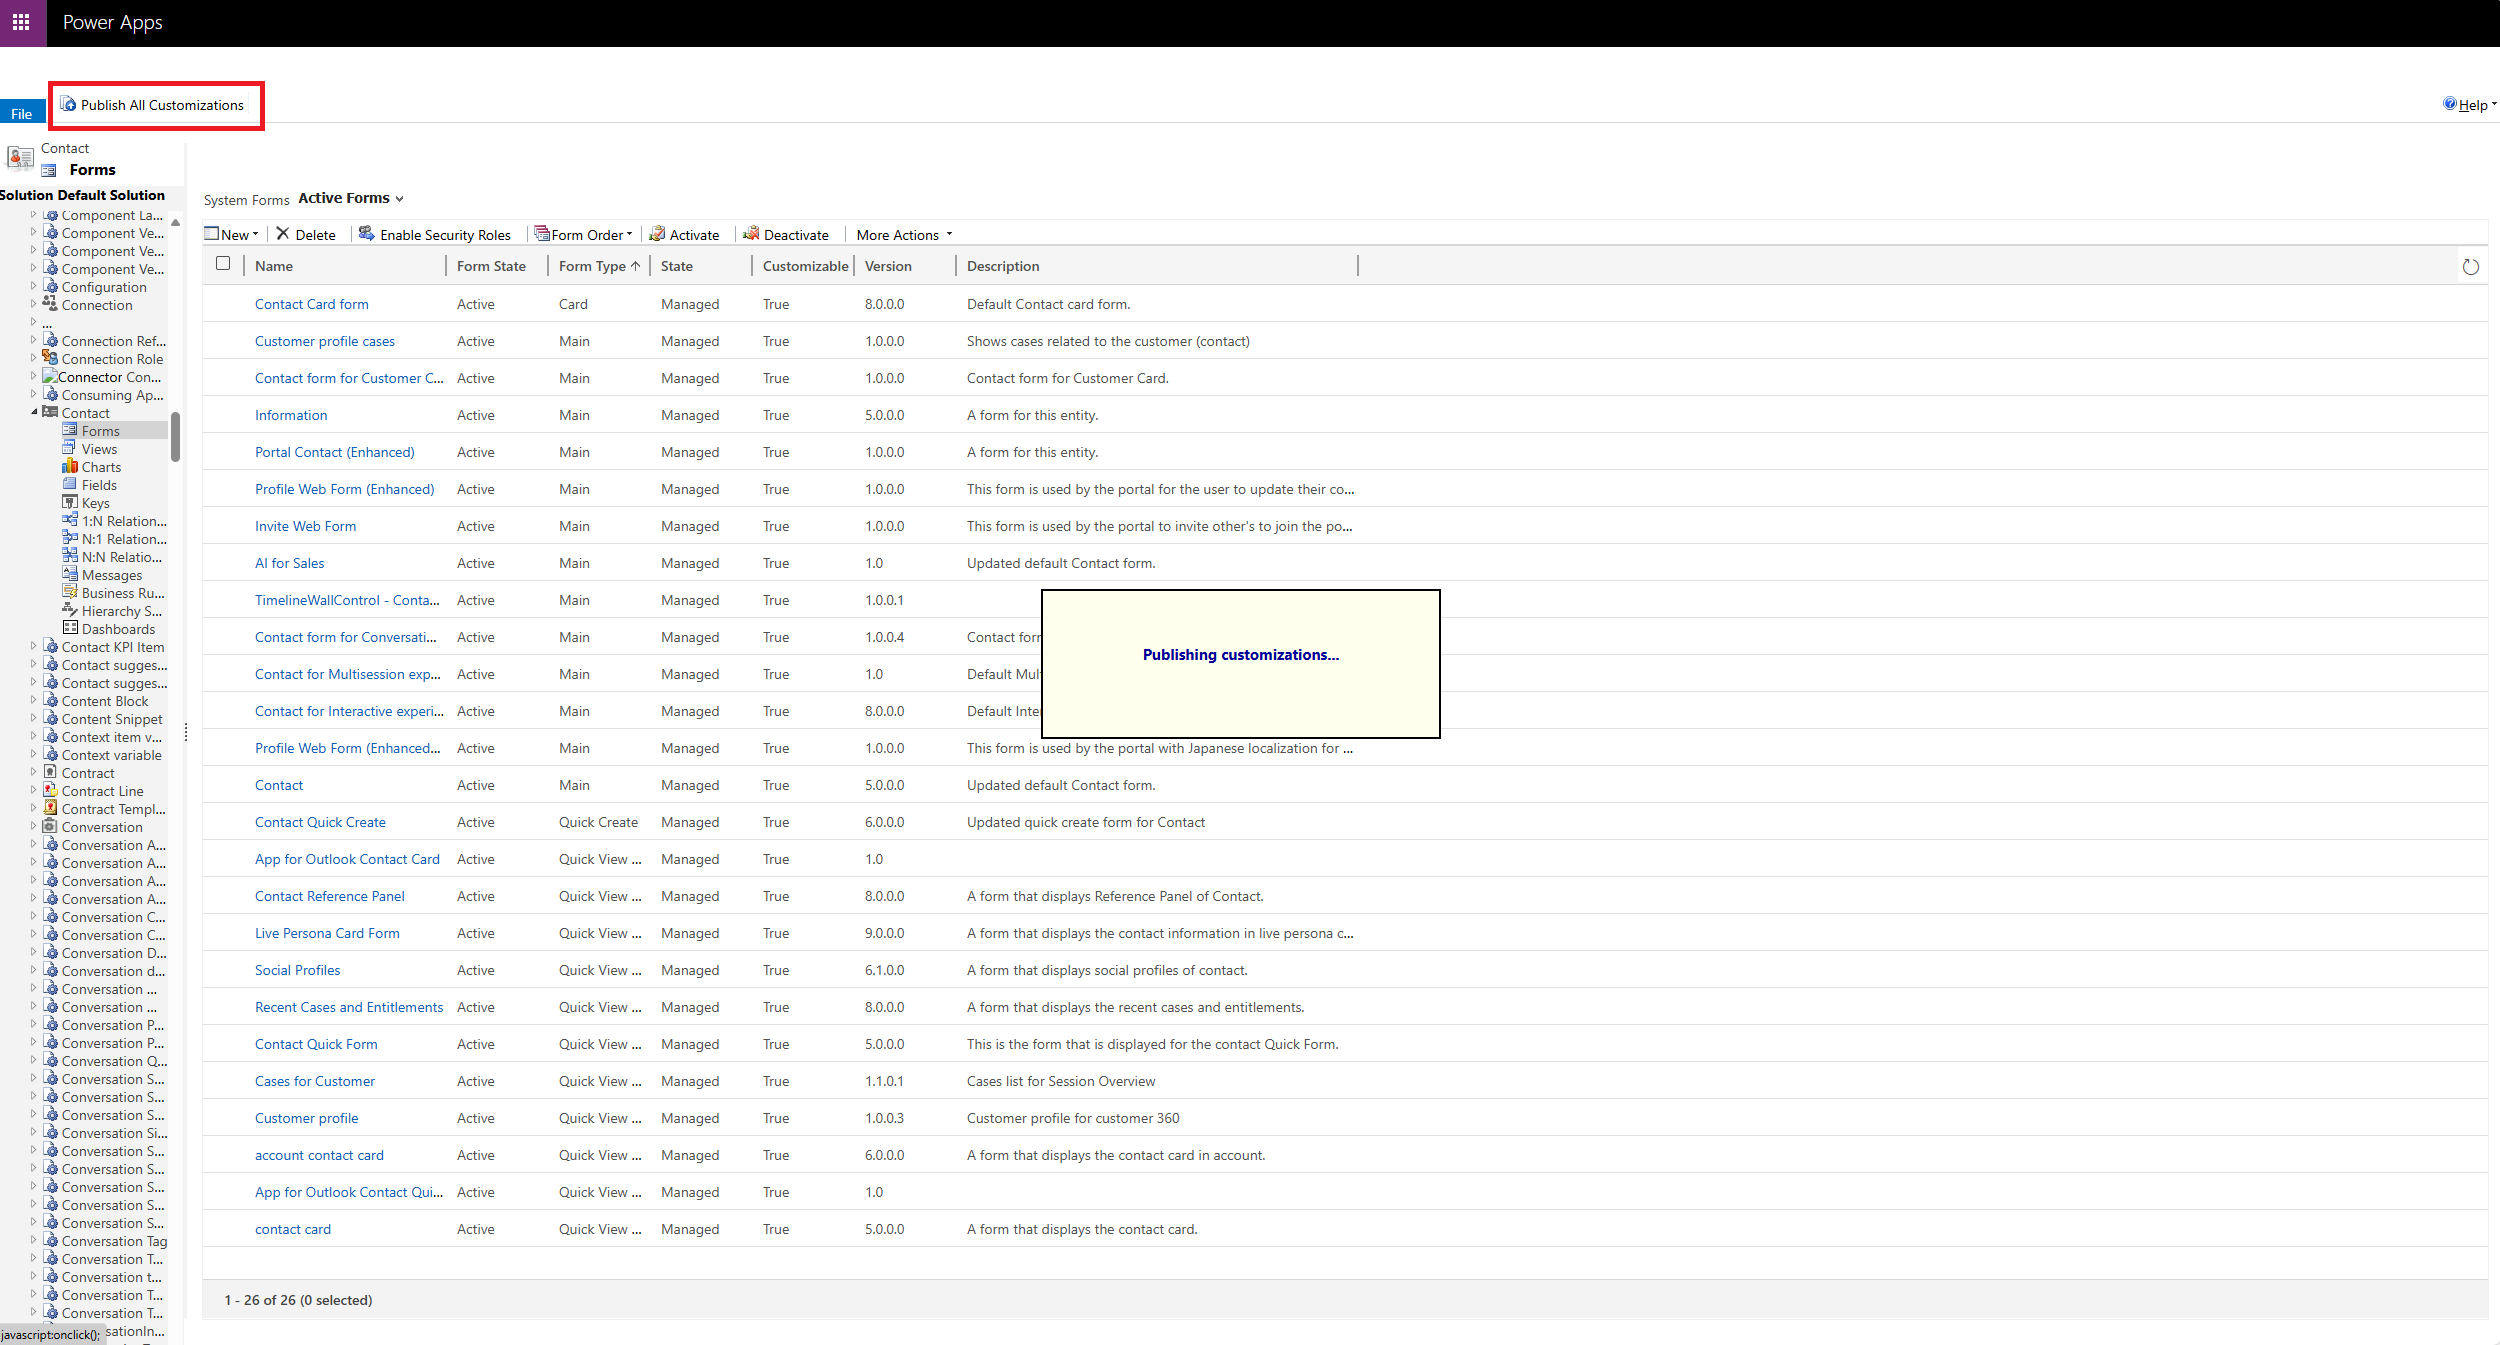
7. Optional: In the main Power Apps window, click Publish all Customizations. This step needed only if you edited multiple entities and simply saved changes rather than published them.
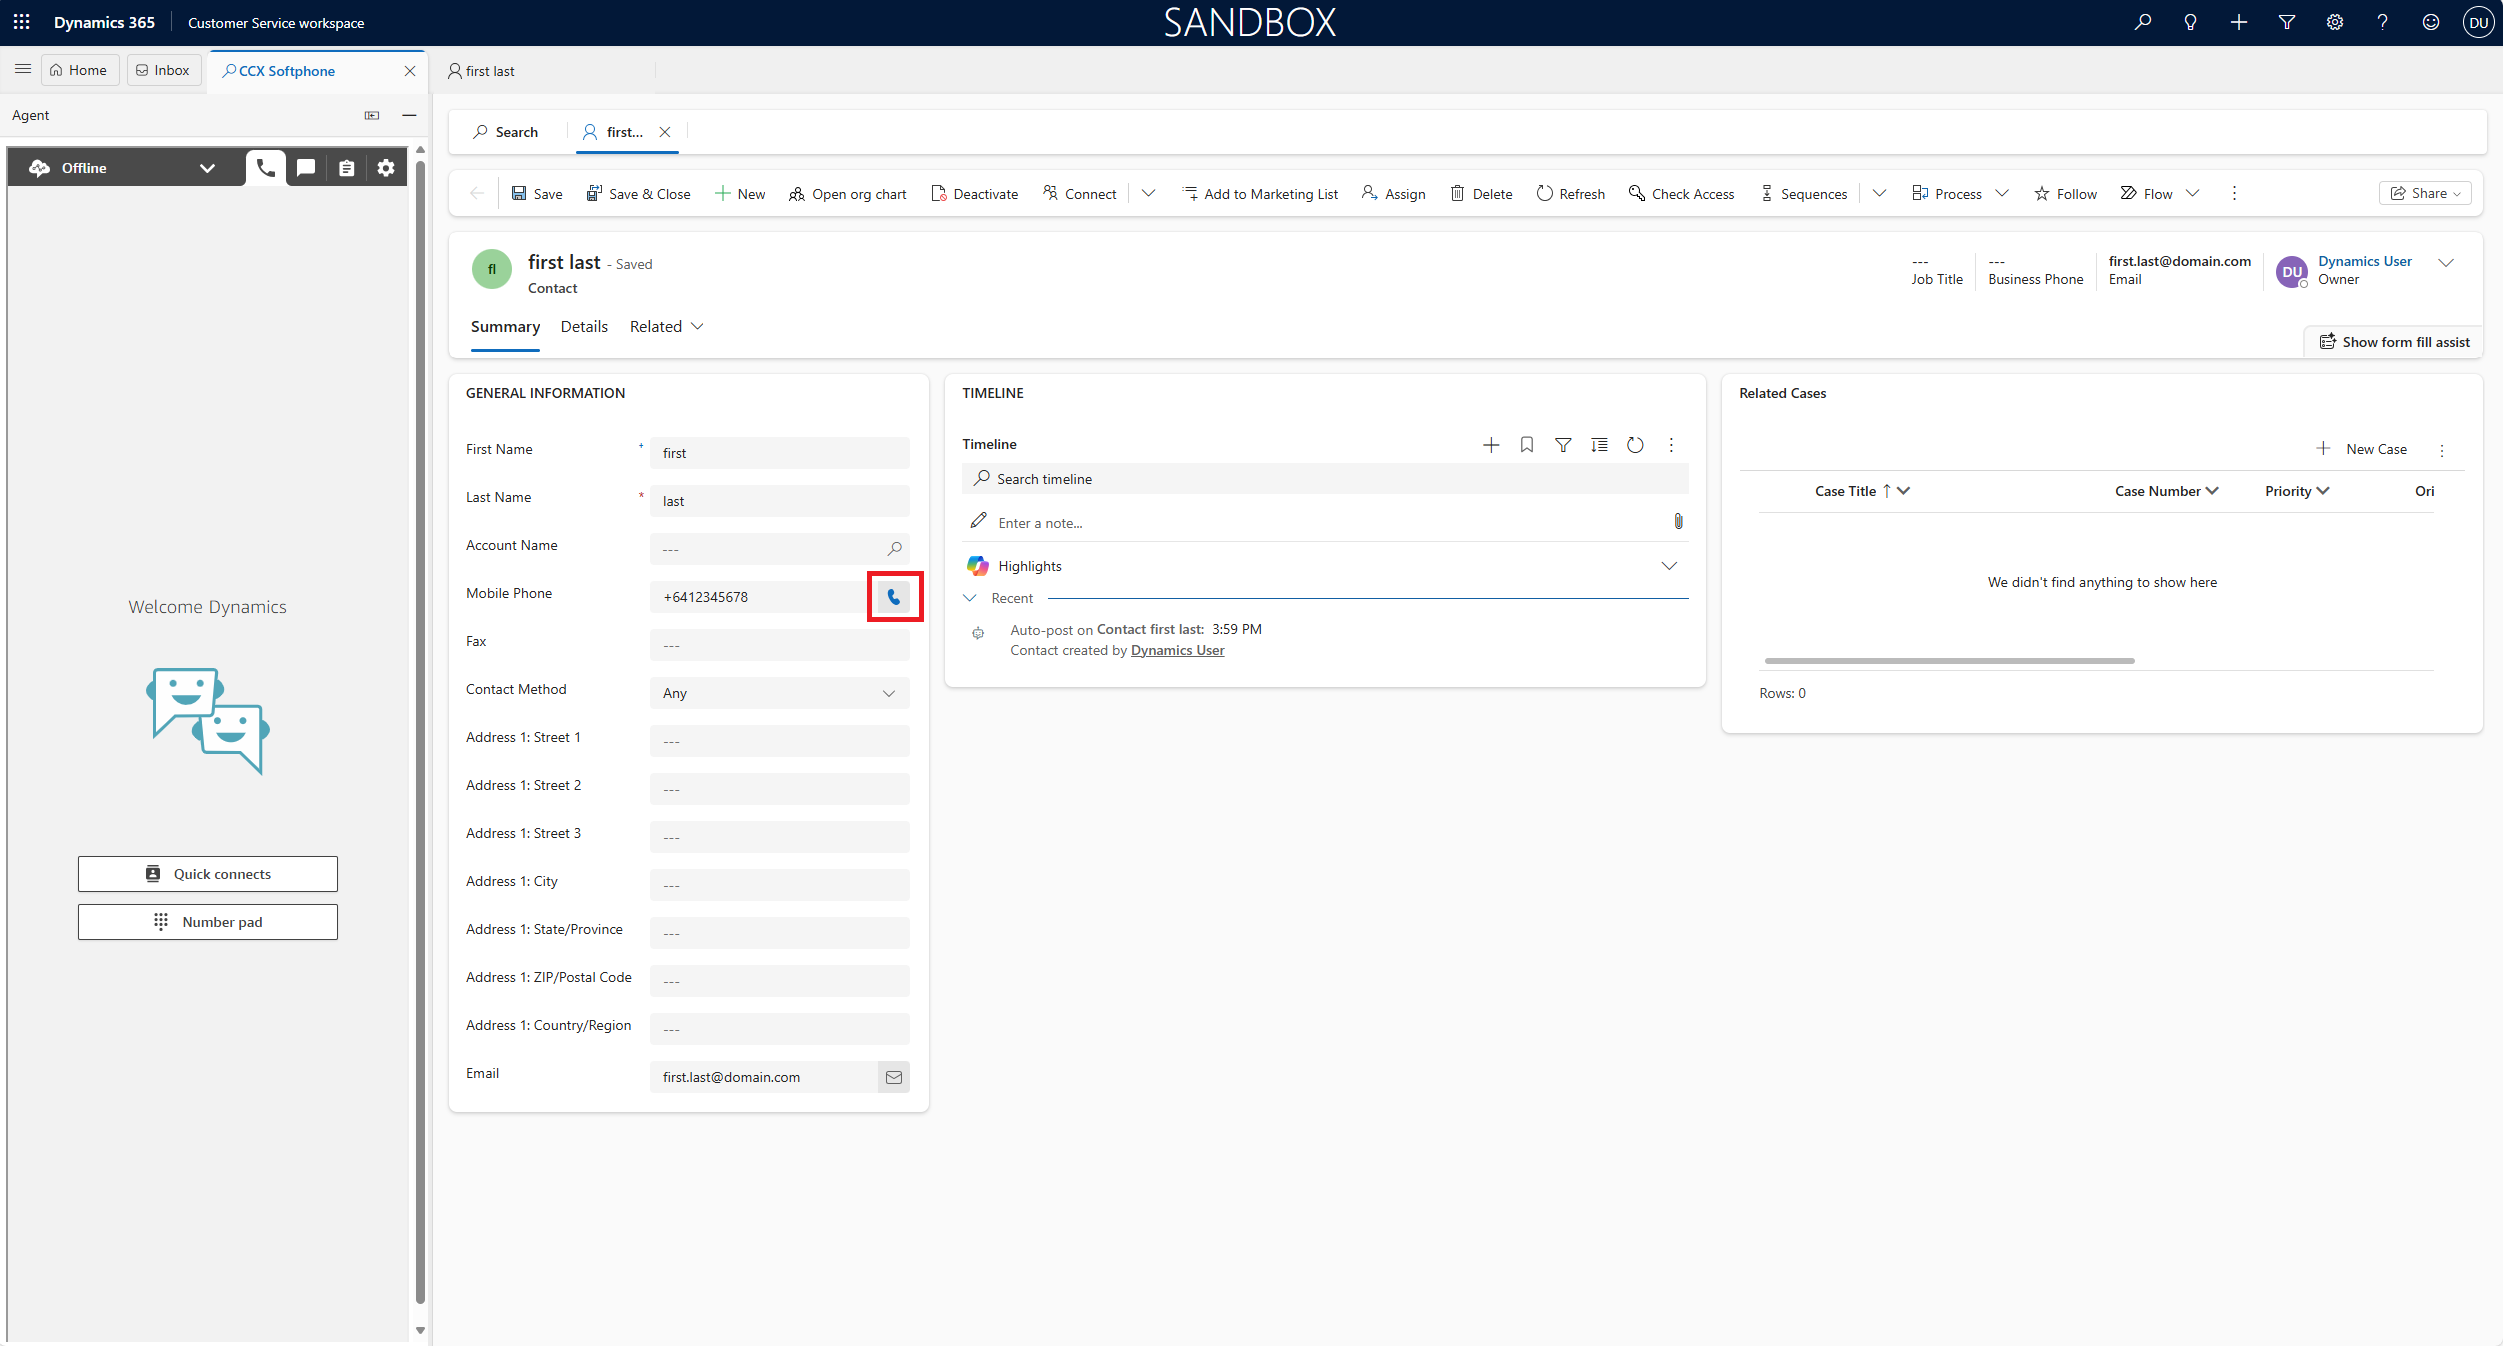
 8. To verify the changes are made, return to the form page and refresh it. The old phone icons will be replaced with new ones. The new icons will work when you are logged into the Agent Desktop frame. Note: In order to see changes to your contact forms, you will need at least one contact in your Dynamics 365 environment.
Everything that is required should be deployed at this point. If you are stuck or run into issues at any stage, please reach out to our support team Support